Rotary Engine Building, Porting & Swaps All you could ever want to know about rebuilding and porting your rotary engine! Discussions also on Water, Alcohol, Etc. Injection

4 Rotor Build in Sweden

Thread Tools
 
Search this Thread
 
Old 11-07-2011, 11:03 AM
  #121  
Member
 
John Huijben's Avatar
 
Join Date: Oct 2010
Location: Netherlands
Posts: 34
Default

Looks insane as always.

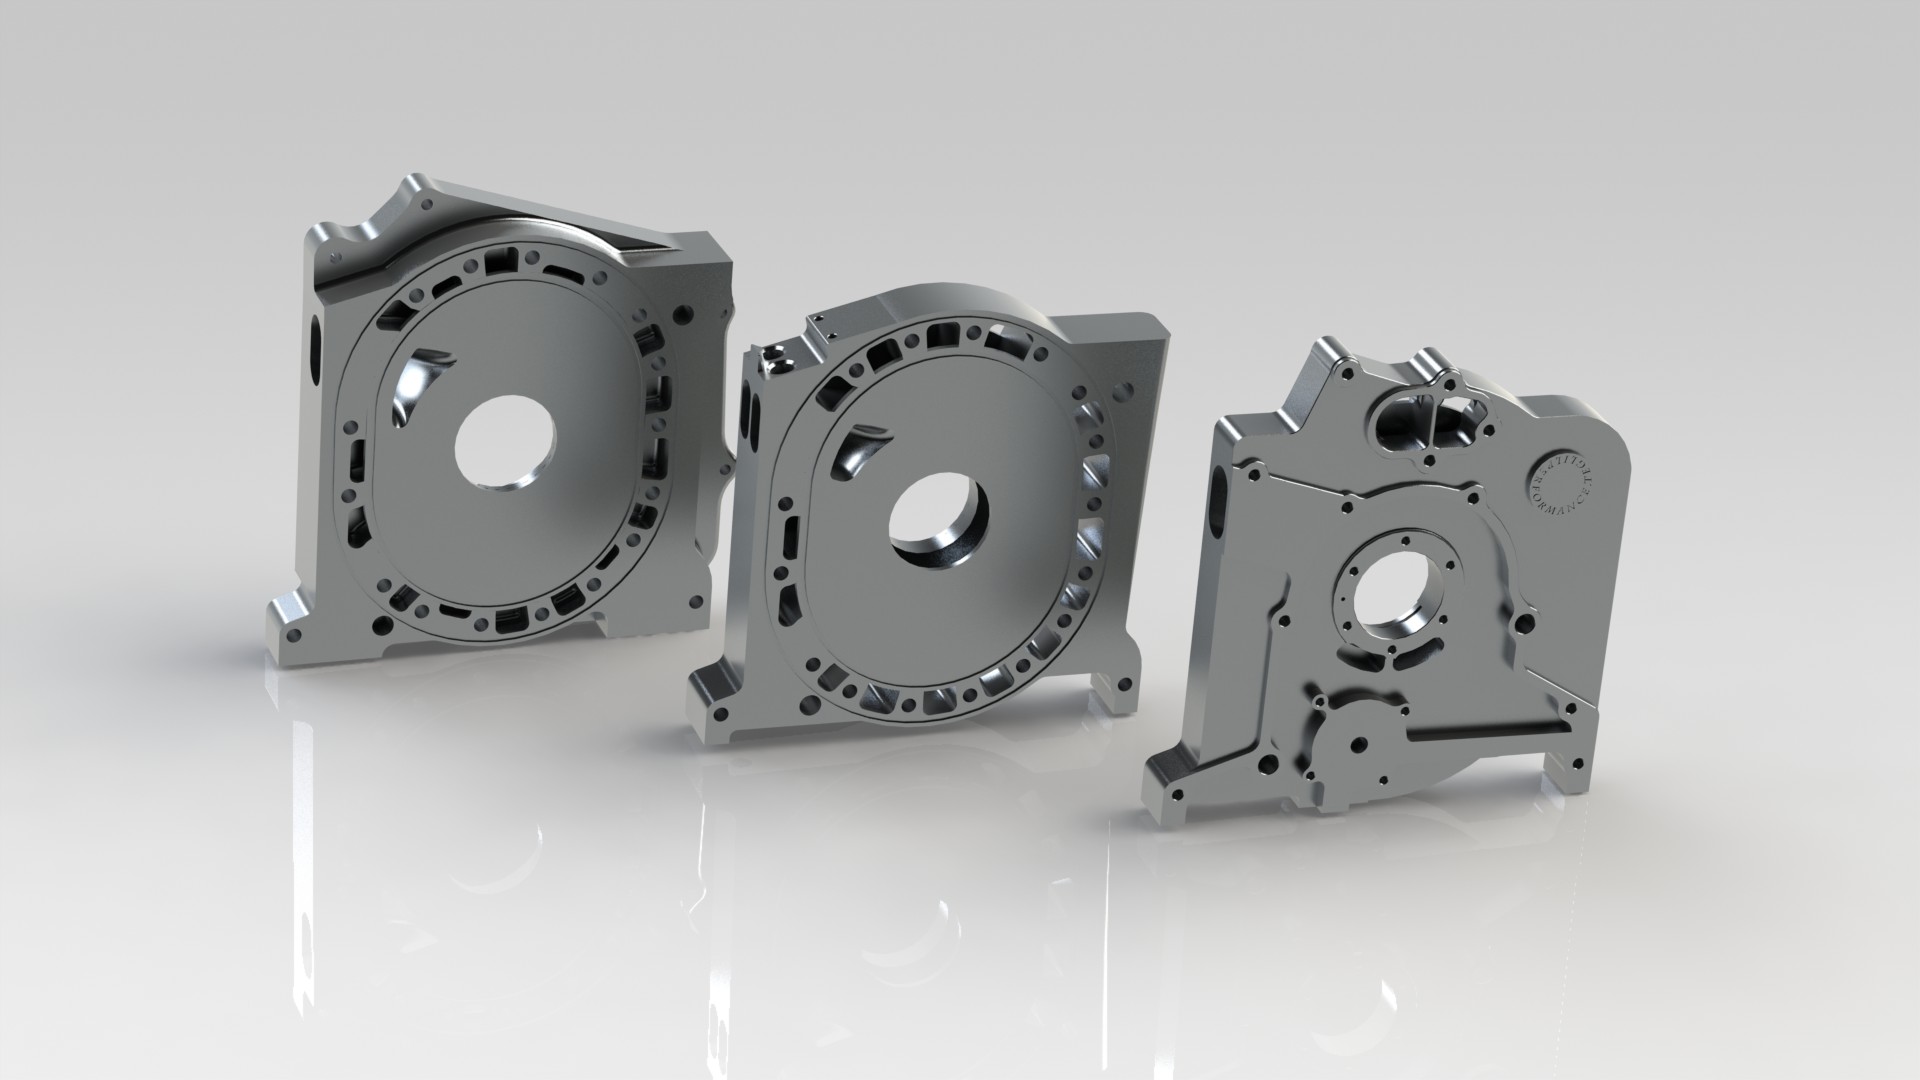
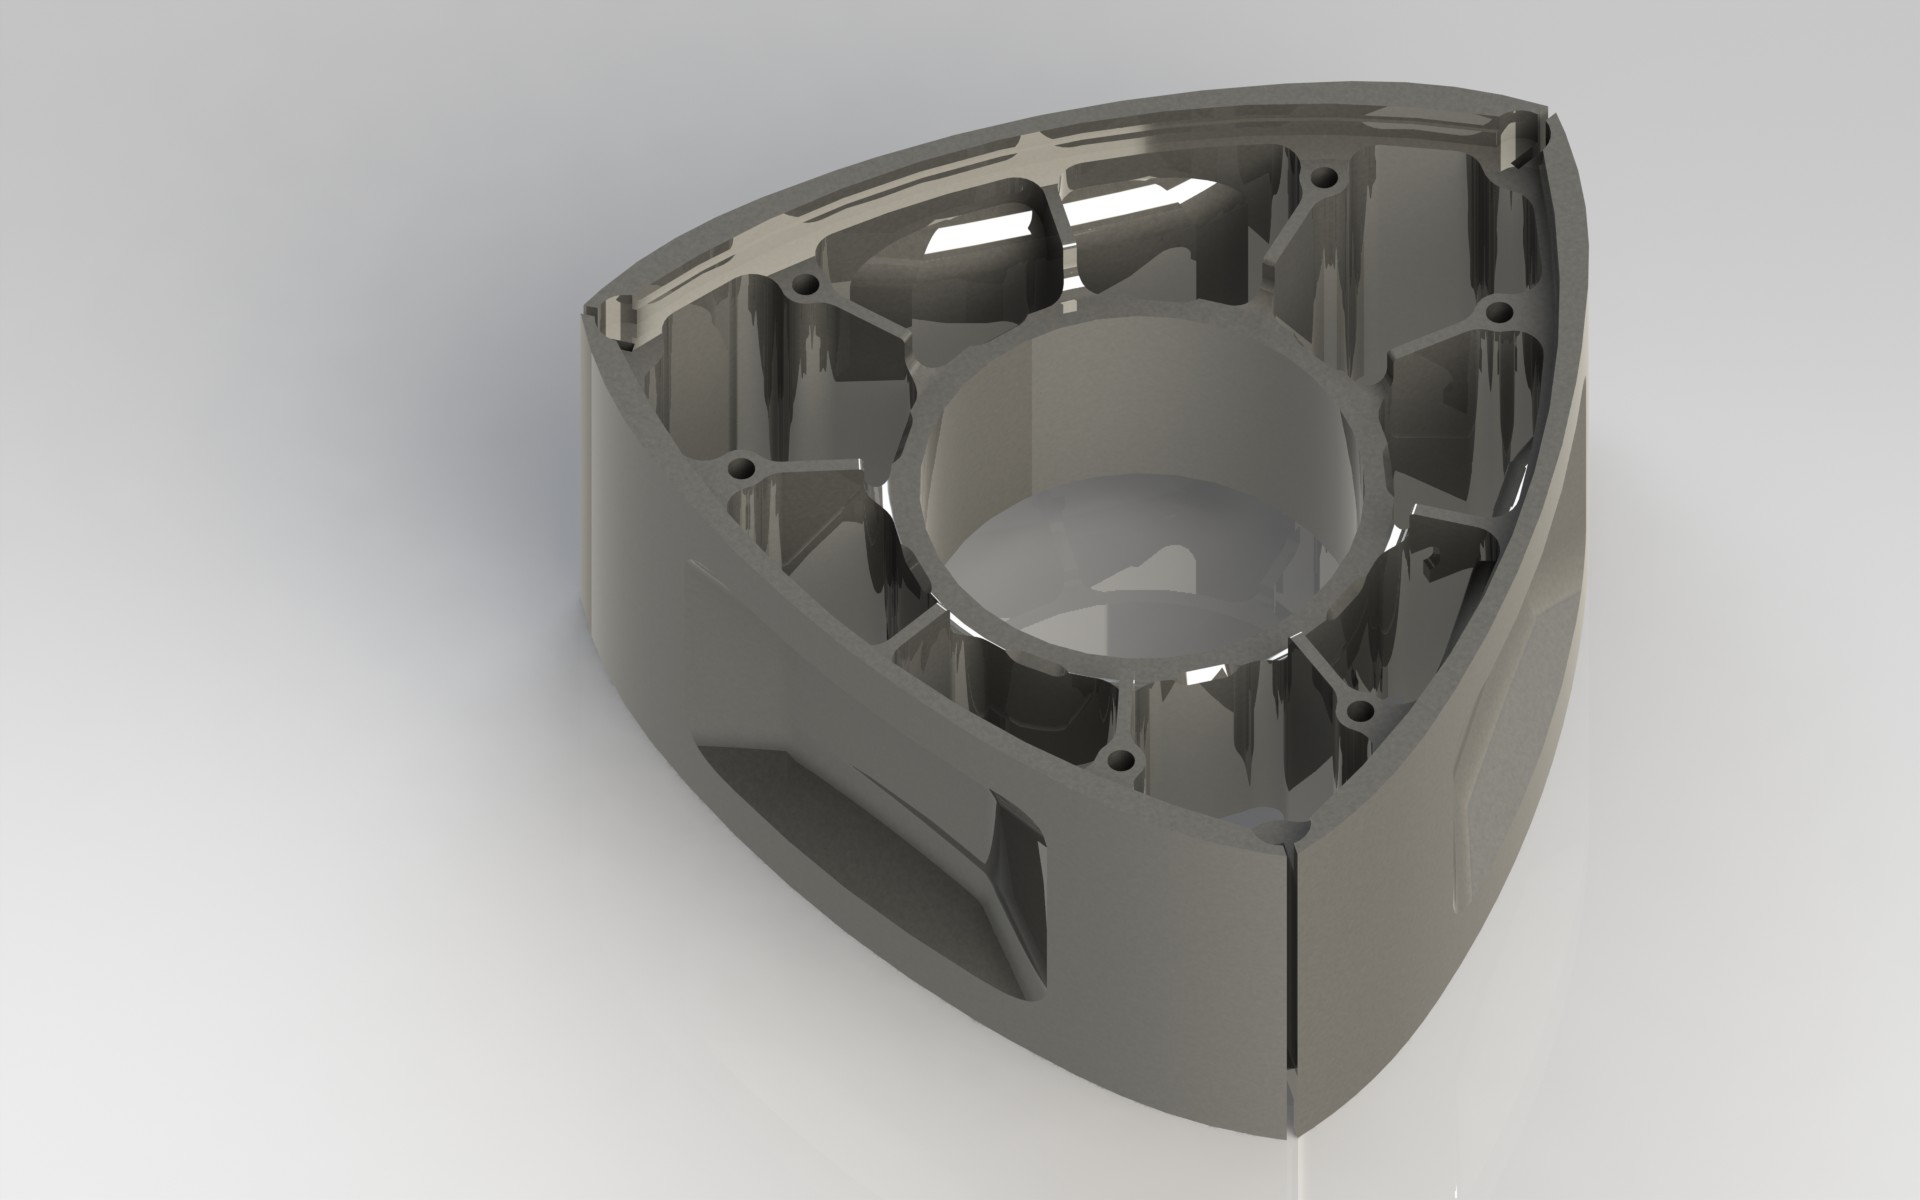
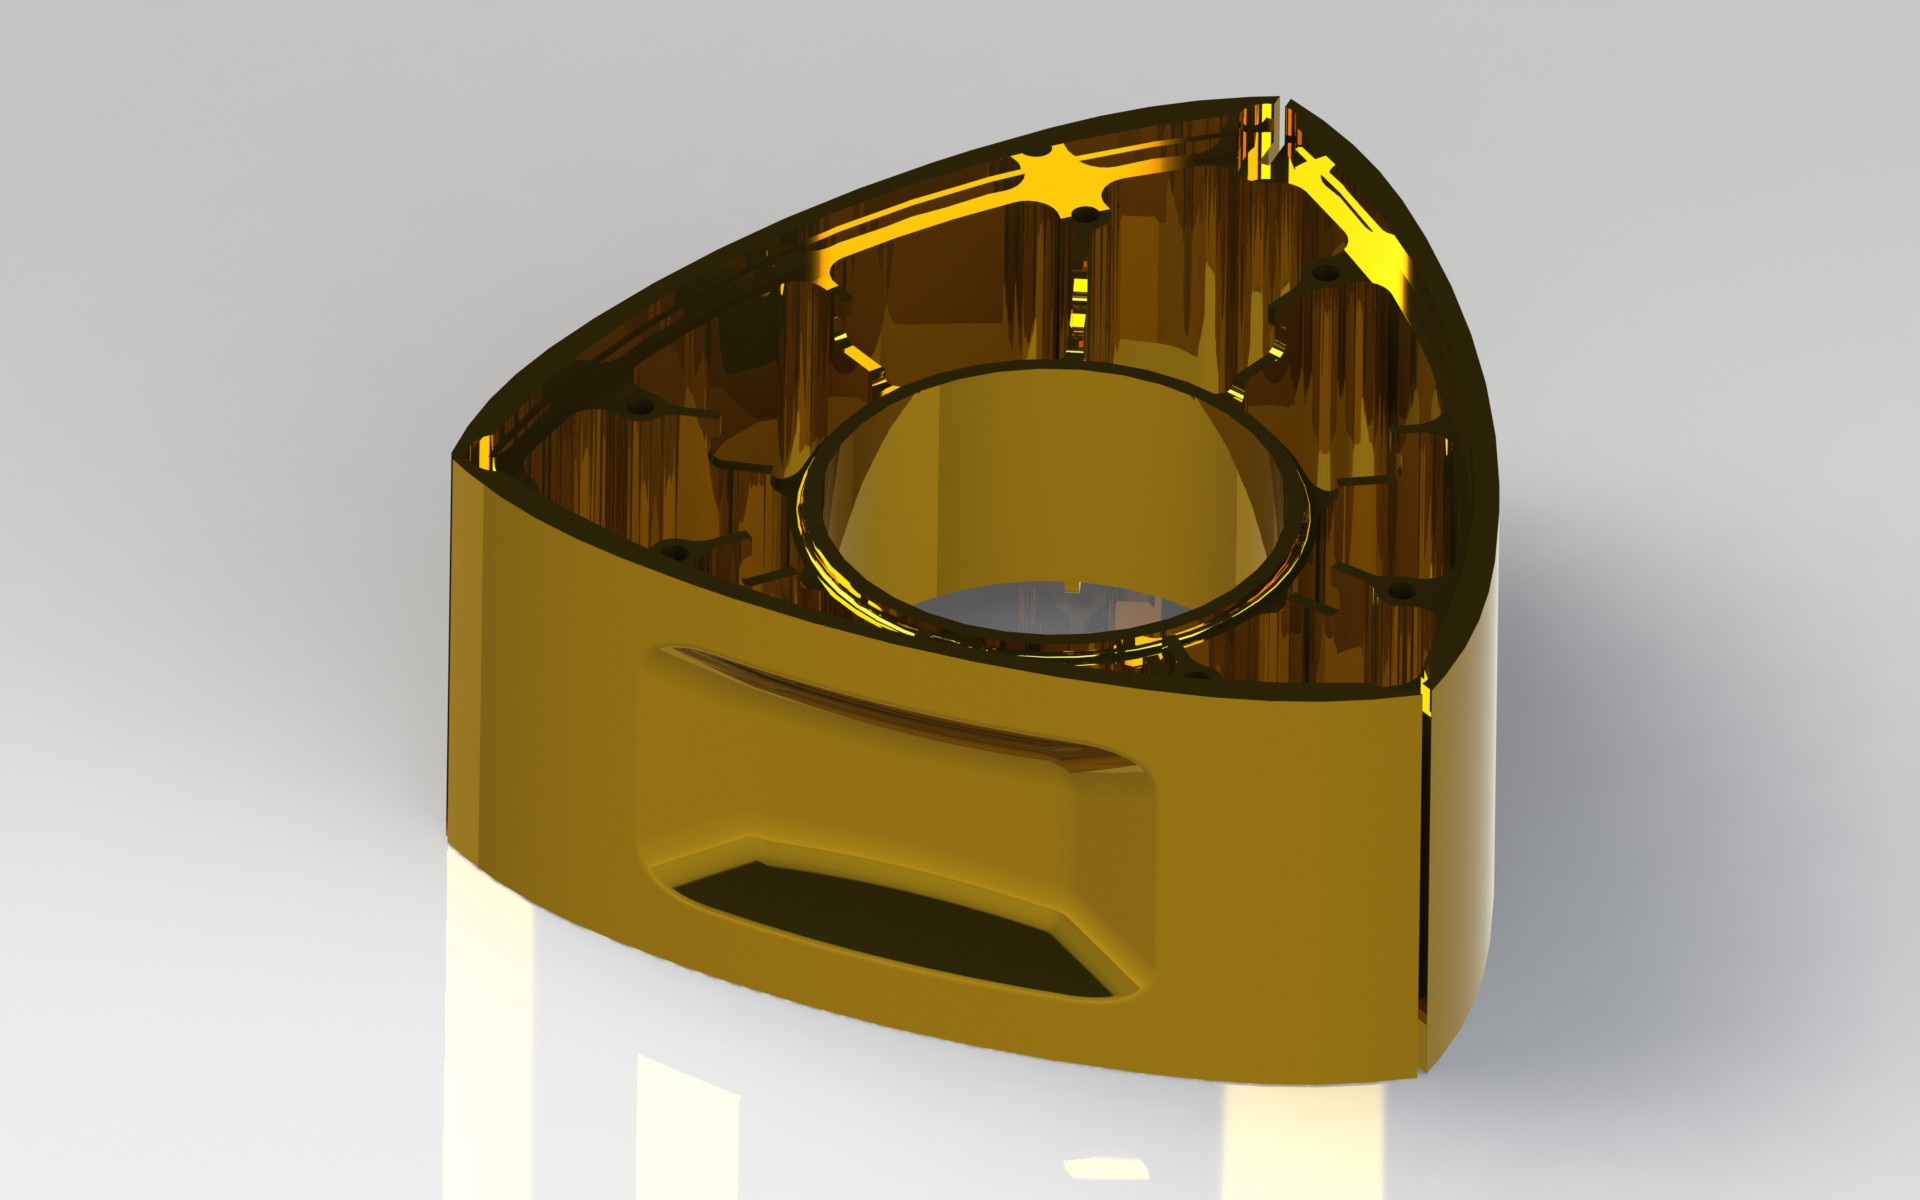
Just some food for thought though, are you sure the aluminium intermediate "iron" you've drawn in cad there is strong enough?

Remember, rotor housings want to do this, especially in high hp high boost applications:


The rotor housings need the strenght of the intermediate and frond and rear plates, or else they would seriously warp.

This is also what causes the rear iron to break on older rear iron's.

Your design doesn't look very strong in this area. The steel inserts don't add strength, and the aluminium part has a lot of cutouts, so that's not very strong either.

Ever thought about making the steel insert a bit larger?, like just a little bit smaller than the outer o-ring groove?

That way you can drill the holes for the engine bolts and dowels in the steel insert, so the steel inserts add strength to the engine.
John Huijben is offline  
Old 11-07-2011, 02:43 PM
  #122  
Senior Member
Thread Starter
 
Tegheim's Avatar
 
Join Date: Sep 2003
Posts: 229
Default

As always YOU do the insane calculations

I will think about it while I'm trying to give my billet rotors some work.


This is the start of my 4 billet-rotors

Tegheim is offline  
Old 11-09-2011, 11:32 AM
  #123  
Senior Member
Thread Starter
 
Tegheim's Avatar
 
Join Date: Sep 2003
Posts: 229
Default

Name:  gavel.jpg
Views: 543
Size:  133.3 KB
Tegheim is offline  
Old 11-09-2011, 03:03 PM
  #124  
Member
 
shainiac's Avatar
 
Join Date: Sep 2007
Location: Indianapolis
Posts: 60
Default

What oil pump style and front cover pattern do you plan on using?
shainiac is offline  
Old 11-09-2011, 03:09 PM
  #125  
Senior Member
Thread Starter
 
Tegheim's Avatar
 
Join Date: Sep 2003
Posts: 229
Default

Dry-sump-cover
Tegheim is offline  
Old 11-11-2011, 11:45 AM
  #126  
Senior Member
Thread Starter
 
Tegheim's Avatar
 
Join Date: Sep 2003
Posts: 229
Default

Name:  IMAG0875.jpg
Views: 549
Size:  94.3 KB

Name:  IMAG0880.jpg
Views: 565
Size:  413.8 KB


Rotors is on...
Tegheim is offline  
Old 11-12-2011, 07:29 AM
  #127  
Senior Member
Thread Starter
 
Tegheim's Avatar
 
Join Date: Sep 2003
Posts: 229
Default

Name:  IMAG0883.jpg
Views: 613
Size:  439.7 KB
Tegheim is offline  
Old 11-12-2011, 11:22 AM
  #128  
Senior Member
Thread Starter
 
Tegheim's Avatar
 
Join Date: Sep 2003
Posts: 229
Default

The work for the weekend is over. Everything takes more time then you think. And the fact that I don't work in the CNC-Lathe makes it worse...

Name:  IMAG0884.jpg
Views: 525
Size:  410.1 KB

Name:  IMAG0886.jpg
Views: 559
Size:  467.0 KB

Name:  IMAG0887.jpg
Views: 615
Size:  473.2 KB

Name:  IMAG0889.jpg
Views: 580
Size:  409.7 KB

Before cleaning...

Name:  IMAG0890.jpg
Views: 529
Size:  570.0 KB

Ohh, was it soo deep?

Name:  IMAG0891.jpg
Views: 498
Size:  417.3 KB
Tegheim is offline  
Old 11-14-2011, 07:45 AM
  #129  
Super Moderator
 
Baldy's Avatar
 
Join Date: Sep 2002
Location: Tallahassee, FL
Posts: 5,425
Default

Very nice! I can't wait for more updates on the rotors.
Baldy is offline  
Old 11-15-2011, 11:49 AM
  #130  
Senior Member
Thread Starter
 
Tegheim's Avatar
 
Join Date: Sep 2003
Posts: 229
Default

In all this CAD, theory-crap and so on, I have done some backgrounds for my motivation


Name:  Rotor1920x1200.jpg
Views: 608
Size:  137.3 KB

Name:  Rotor1920x1200-gold.jpg
Views: 570
Size:  150.0 KB

Just because
Tegheim is offline  


Quick Reply: 4 Rotor Build in Sweden


All times are GMT -5. The time now is 01:13 AM.