4 Rotor Build in Sweden


 01-08-2014, 02:51 PM
#273
Senior Member
Thread Starter

Join Date: Sep 2003
Posts: 229
First of all I'm very proud to annouce this link 
Top 10 builds of 2013 | Build Threads
Back on topic.
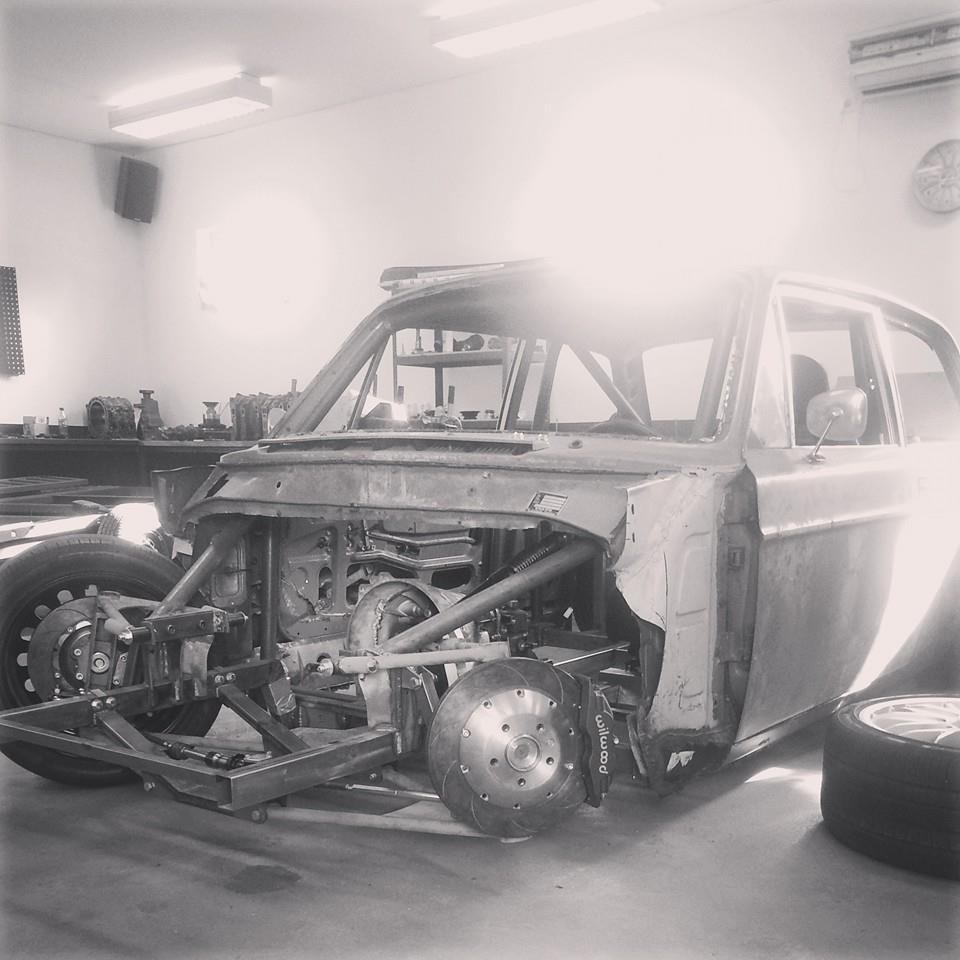
Builded some new benches to work on, and then started to assembly the dummy again to put back in the car for some measurements.
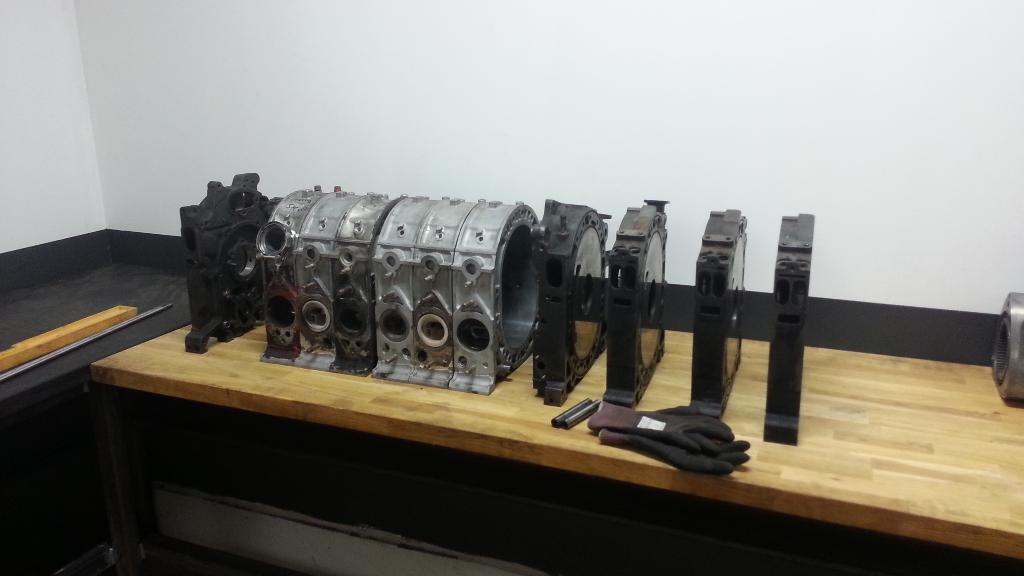
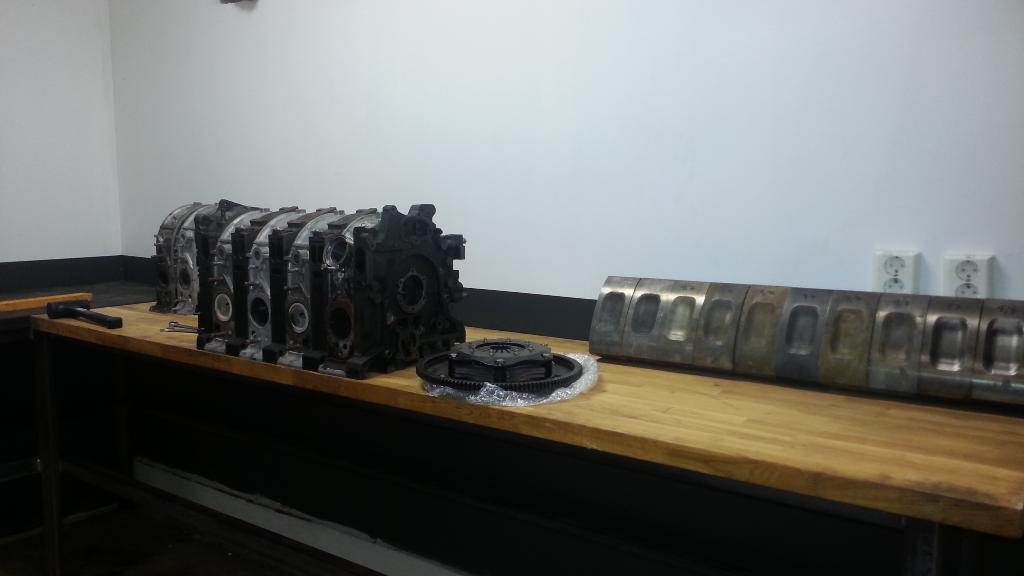
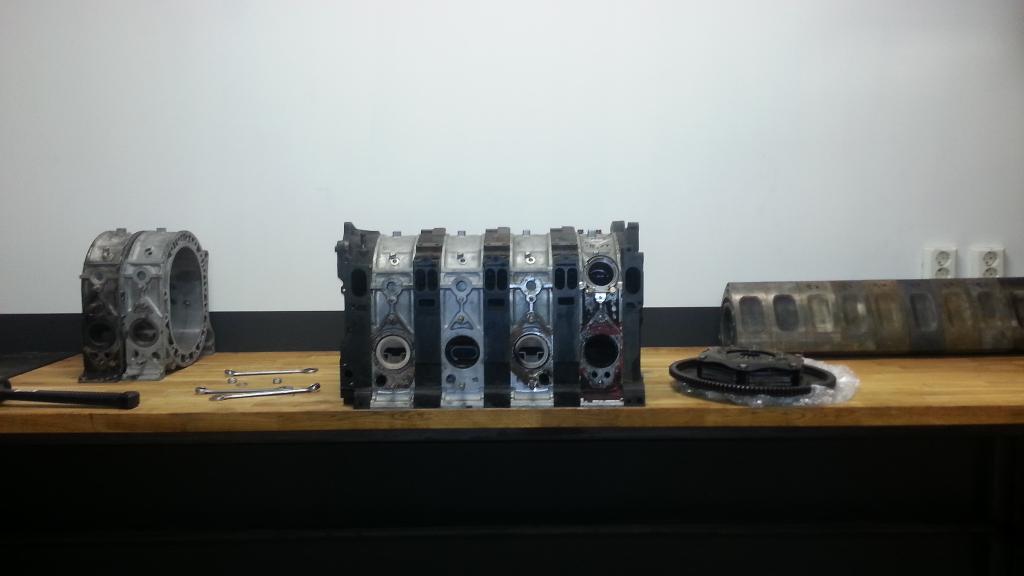
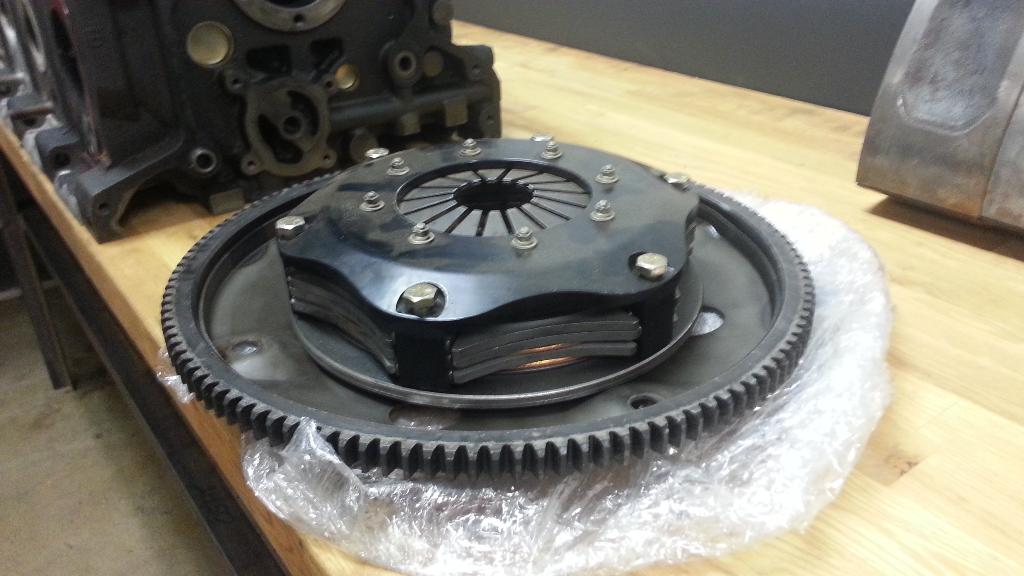
Tonight I was out on the highway and meet a friendly truckdriver from Czech Republic. He had brought a 20B flexplate from hIGGI on the Rx7Club-forum. Thanks alot for that hIGGi!
Also got some V-band-clamps today. Perfect size. Small and tight, just like we want them.
Top 10 builds of 2013 | Build Threads
Back on topic.
Builded some new benches to work on, and then started to assembly the dummy again to put back in the car for some measurements.


Tonight I was out on the highway and meet a friendly truckdriver from Czech Republic. He had brought a 20B flexplate from hIGGI on the Rx7Club-forum. Thanks alot for that hIGGi!

Also got some V-band-clamps today. Perfect size. Small and tight, just like we want them.

 03-25-2014, 11:47 AM
#274
Senior Member
Thread Starter
Join Date: Sep 2003
Posts: 229
Not much is happening at the moment.
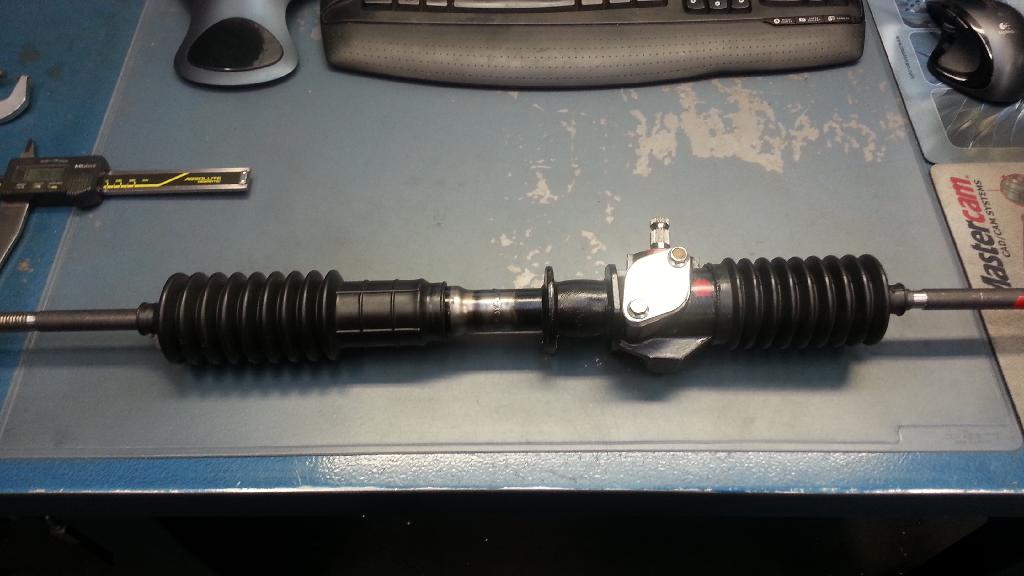
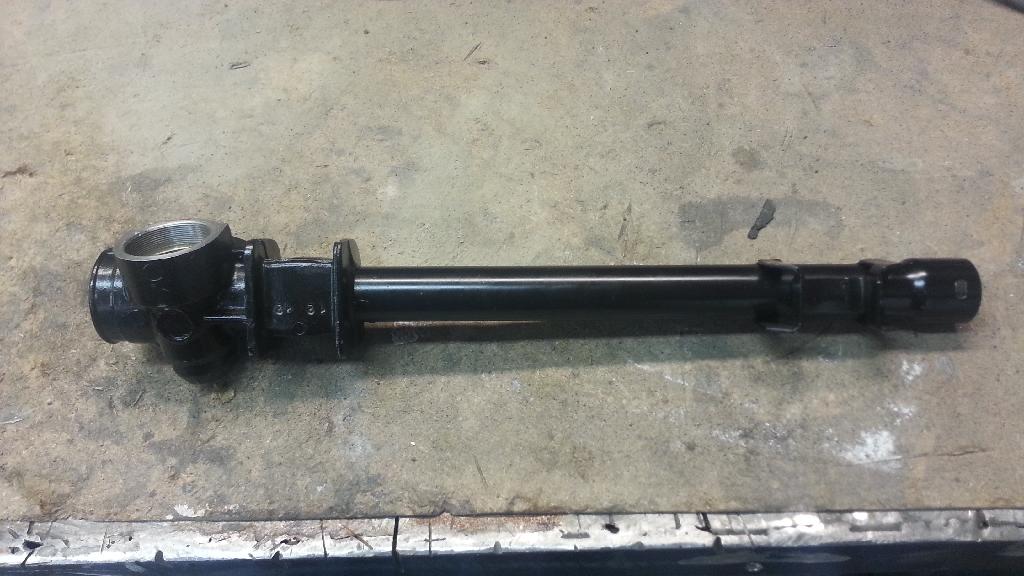
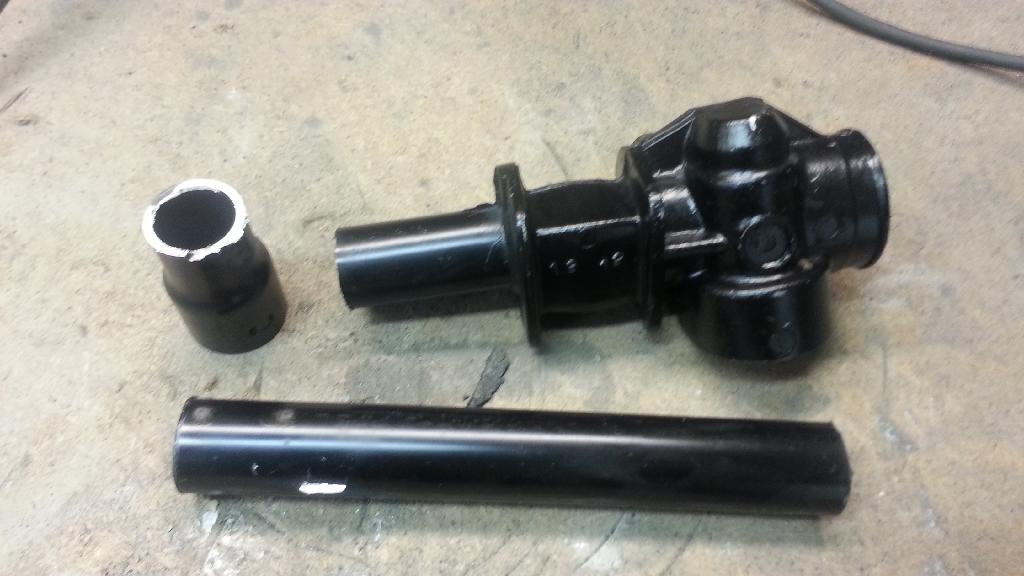
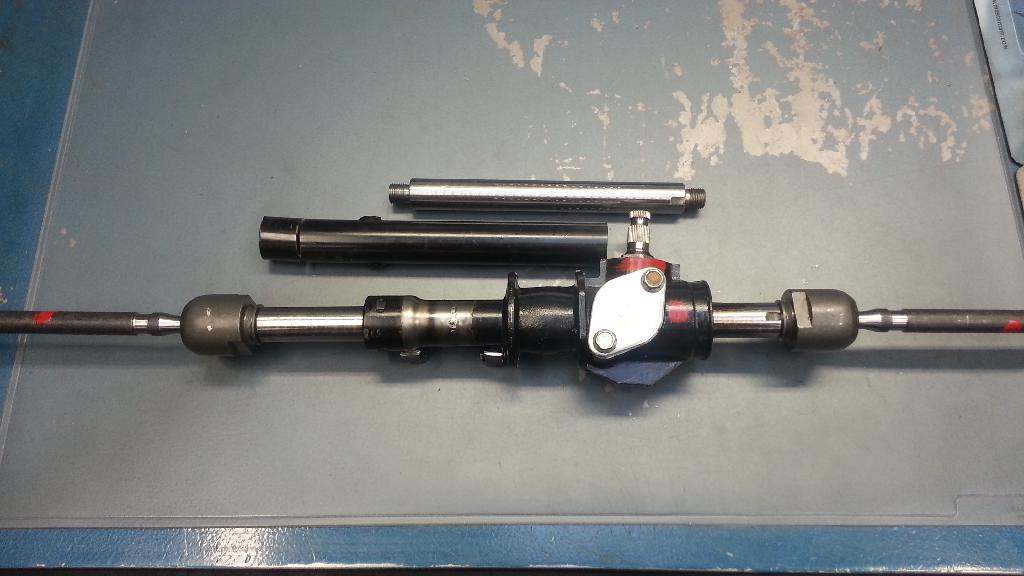
I shortened my steering rack at last. Cut 220mm of an let 200mm be left.


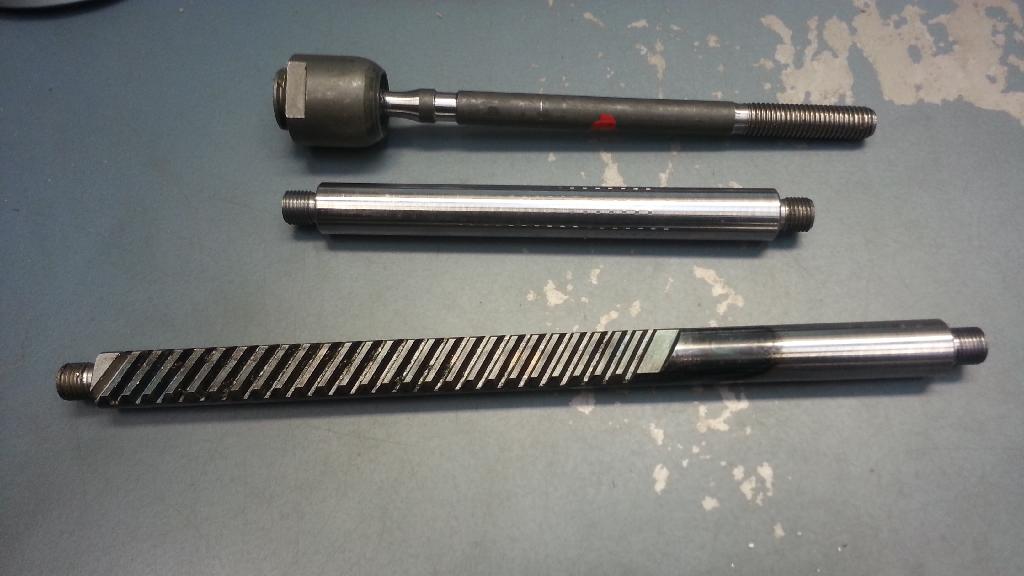

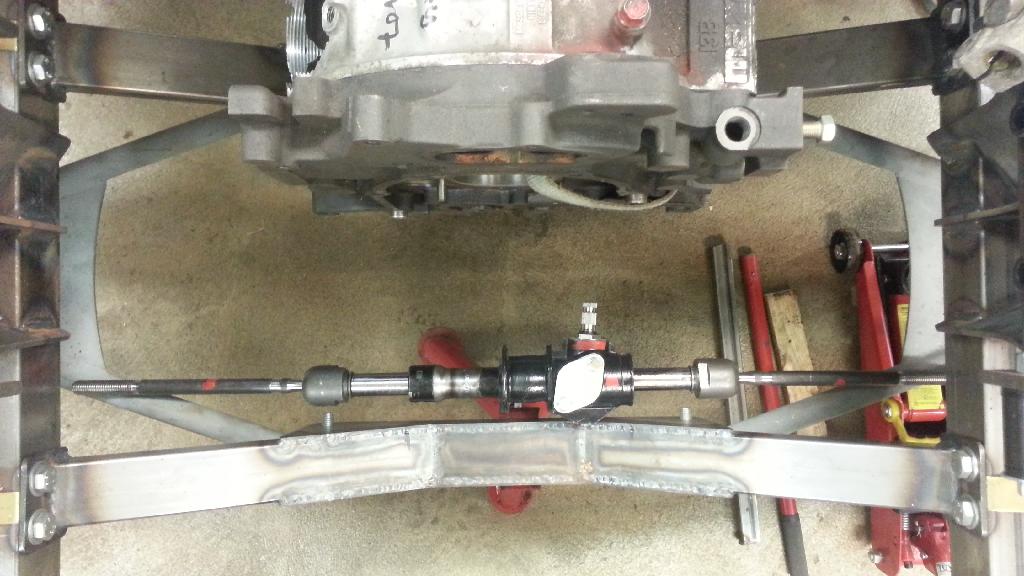
Took some M24-nuts and machined out the threads. Then put them over my 4-link rods for adjustments later on. Just a little work with the TIG, and they are ready for some paint.
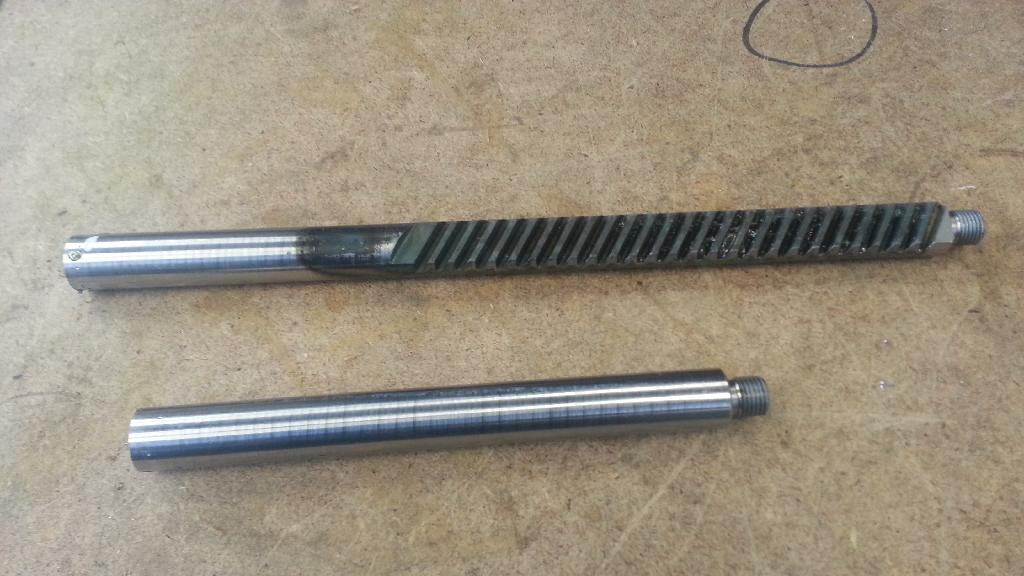
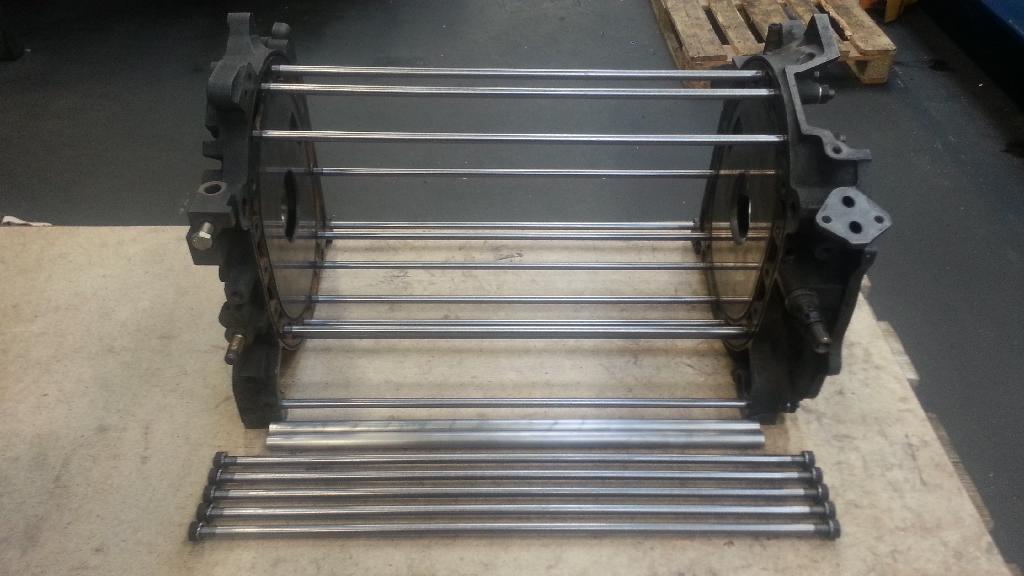
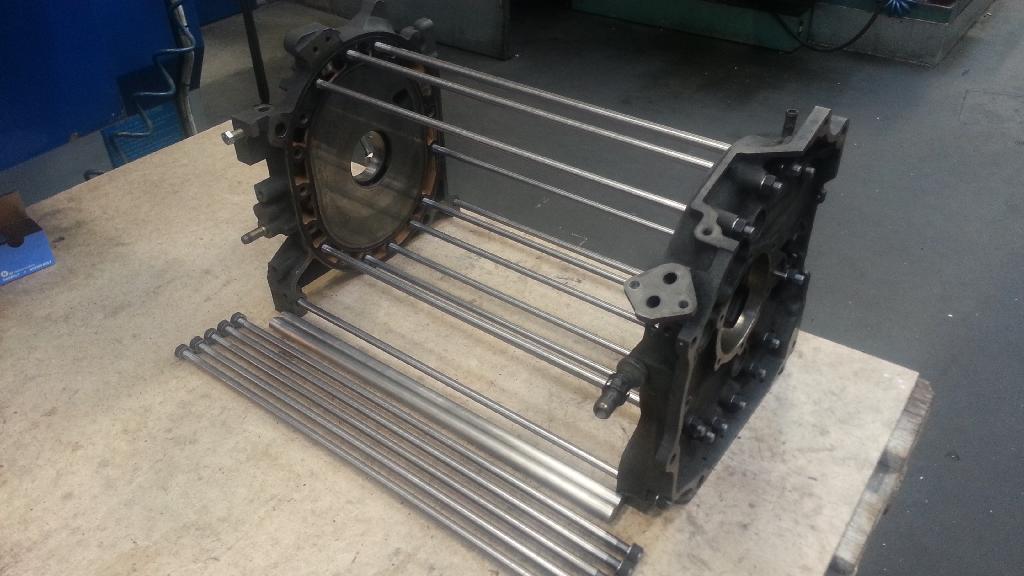
Are going with these 15.99mm solid dowels straight through the engine. Better off than the OEM.
I shortened my steering rack at last. Cut 220mm of an let 200mm be left.


Took some M24-nuts and machined out the threads. Then put them over my 4-link rods for adjustments later on. Just a little work with the TIG, and they are ready for some paint.

Are going with these 15.99mm solid dowels straight through the engine. Better off than the OEM.
 03-25-2014, 11:47 AM
#275
Senior Member
Thread Starter
Join Date: Sep 2003
Posts: 229
Not much is happening at the moment.
I shortened my steering rack at last. Cut 220mm of an let 200mm be left.


Took some M24-nuts and machined out the threads. Then put them over my 4-link rods for adjustments later on. Just a little work with the TIG, and they are ready for some paint.

Are going with these 15.99mm solid dowels straight through the engine. Better off than the OEM.

I shortened my steering rack at last. Cut 220mm of an let 200mm be left.
Took some M24-nuts and machined out the threads. Then put them over my 4-link rods for adjustments later on. Just a little work with the TIG, and they are ready for some paint.
Are going with these 15.99mm solid dowels straight through the engine. Better off than the OEM.
04-12-2014, 01:28 PM
#276
Senior Member
Thread Starter
Join Date: Sep 2003
Posts: 229
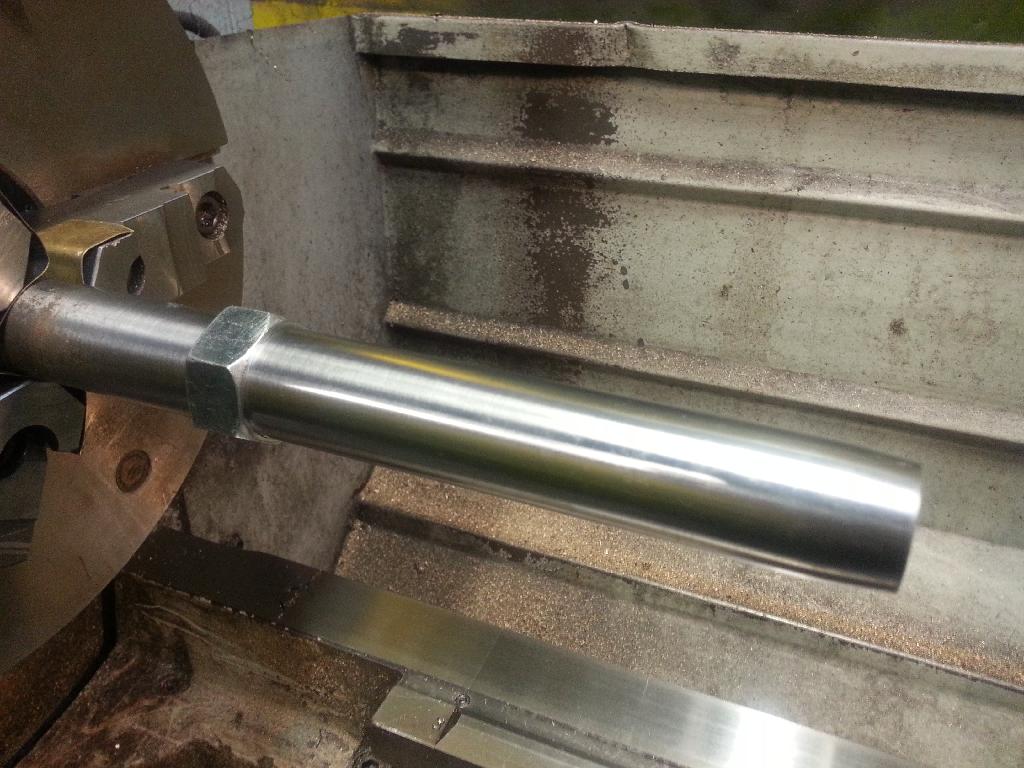
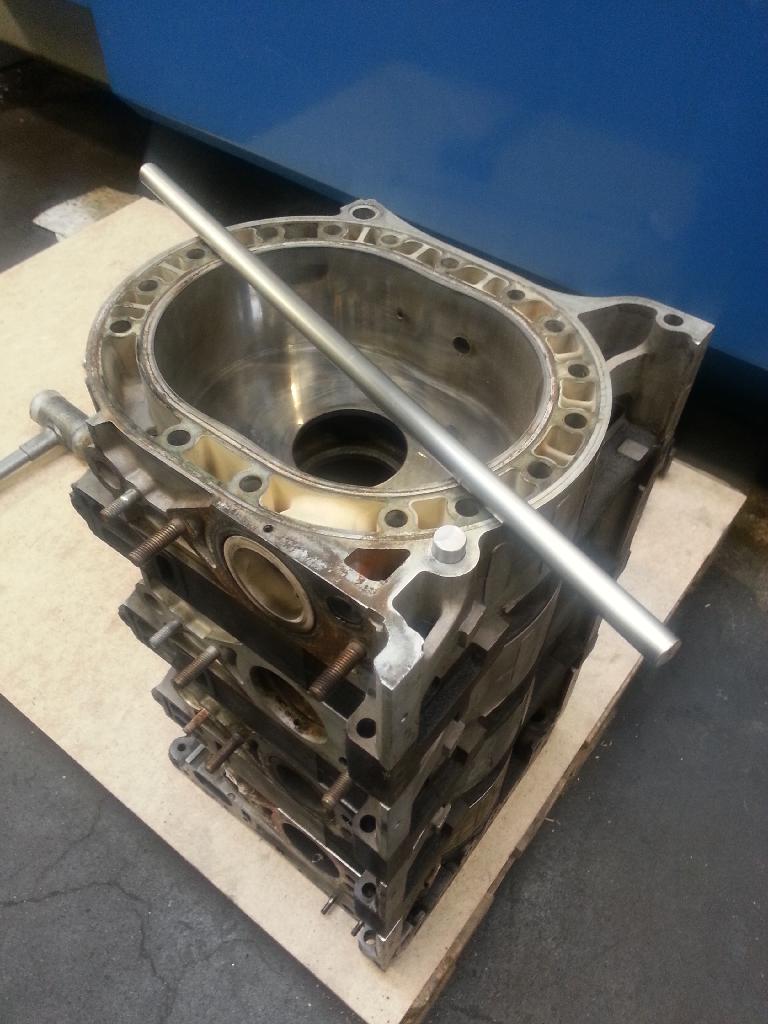
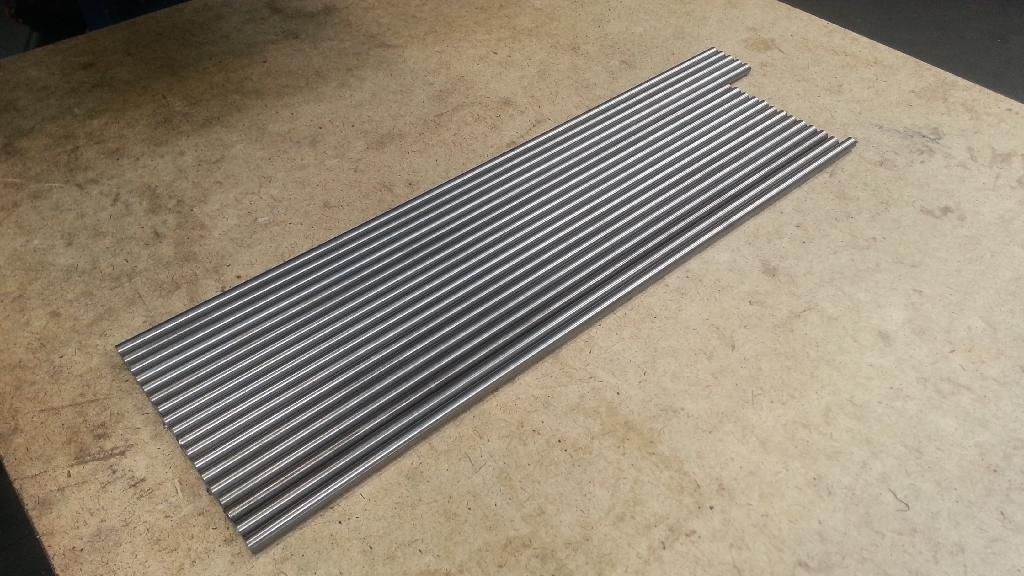
Bought some �10.0mm Chromemoly 4340-bars.
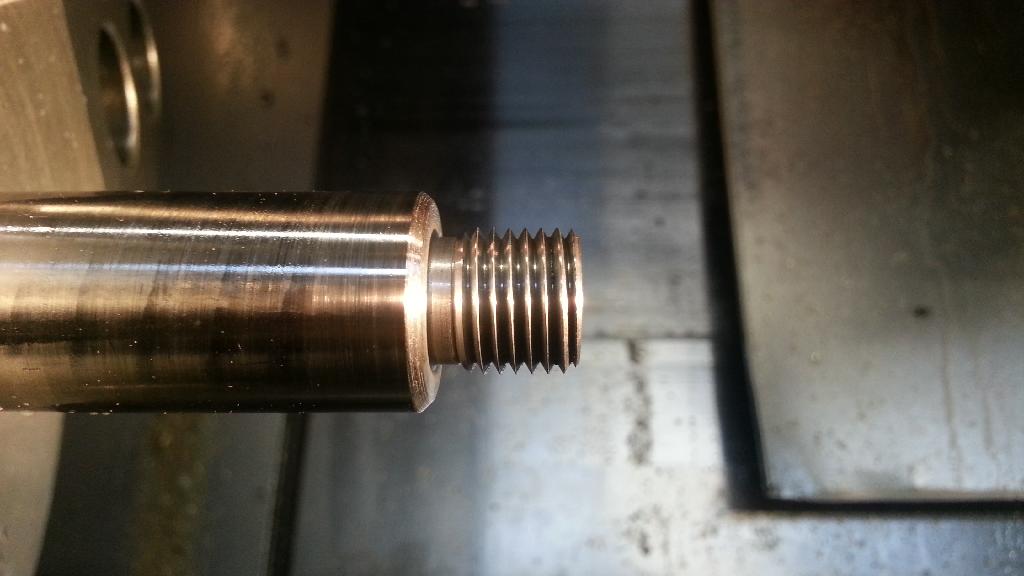
Cut them in correct lenght and cnc-turned M10x1 thread in both ends.
I use Grade 10-nuts and harderned washers to hold the engine in place.

Cut them in correct lenght and cnc-turned M10x1 thread in both ends.
I use Grade 10-nuts and harderned washers to hold the engine in place.


 04-20-2014, 12:09 PM
#278
Senior Member
Thread Starter
Join Date: Sep 2003
Posts: 229
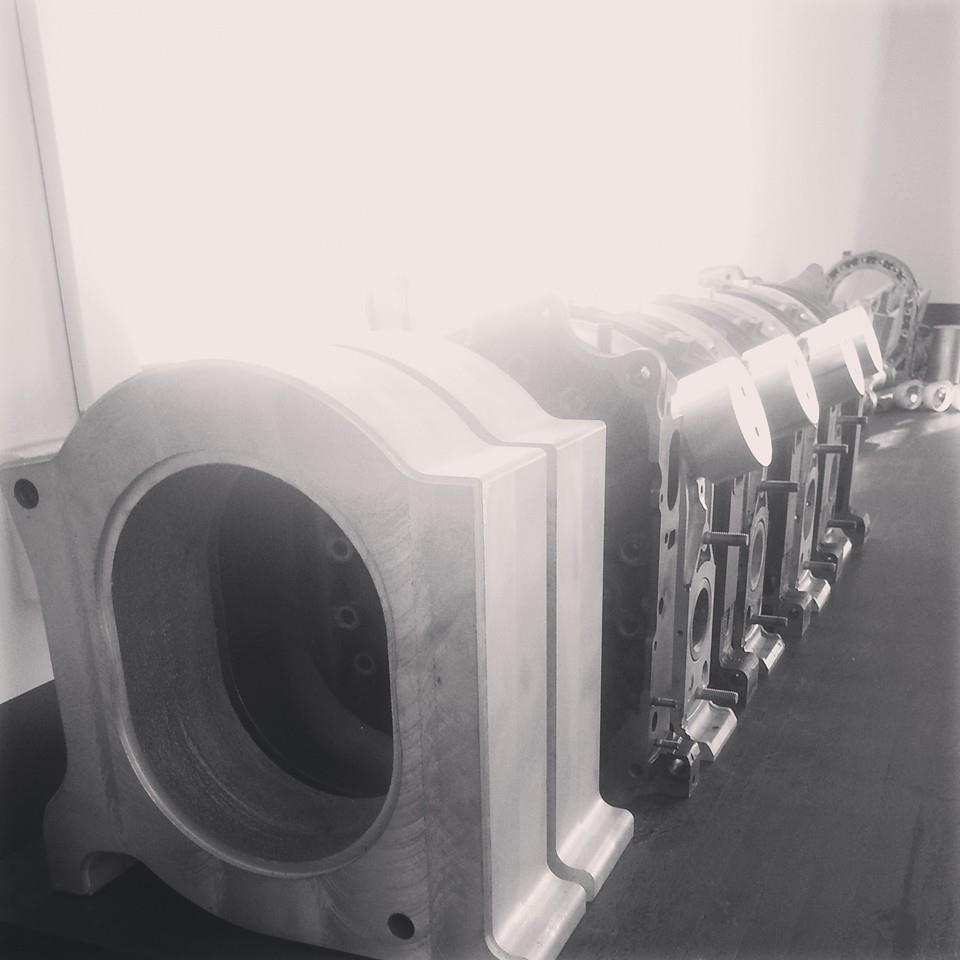
Moment of truth, or point of no return for these housings...
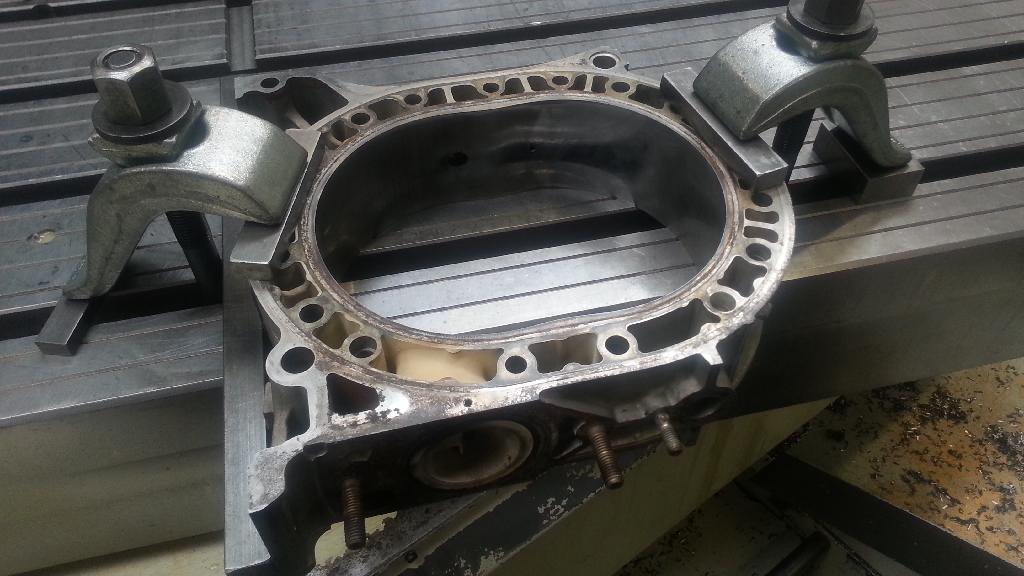
The original "oil-nozzle" must be removed before milling or else my tool, or my housing will be broken.
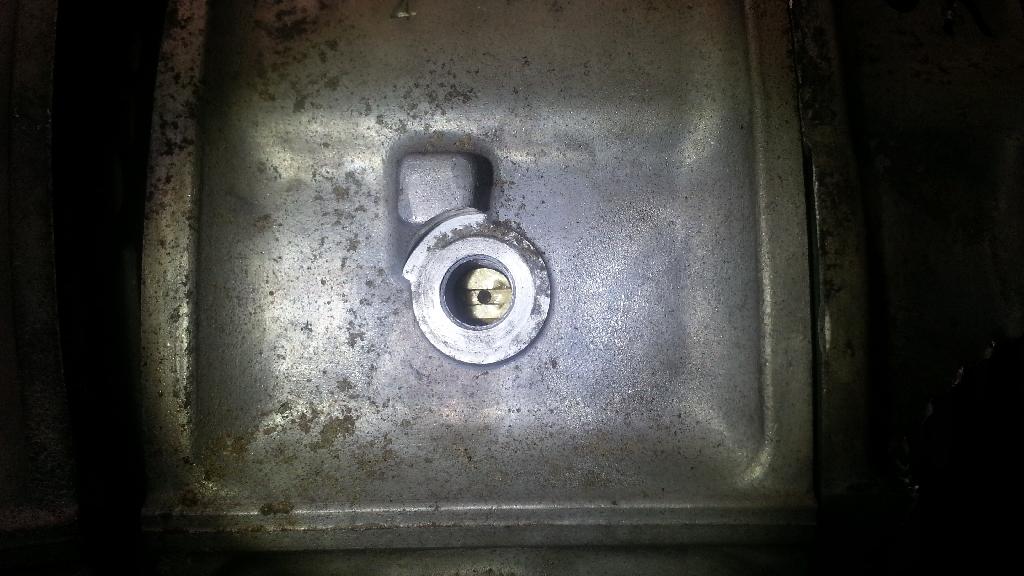
Started with a M10-bolt and drilled a �4.2mm hole to allign the drill.
Threaded M5, and pulled it out with some washers and a M5-bolt.
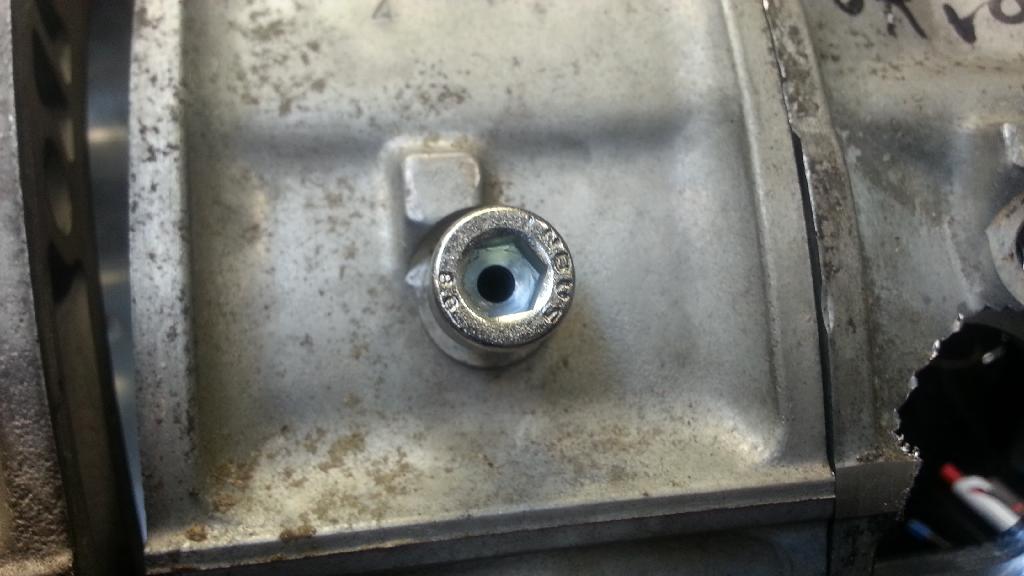
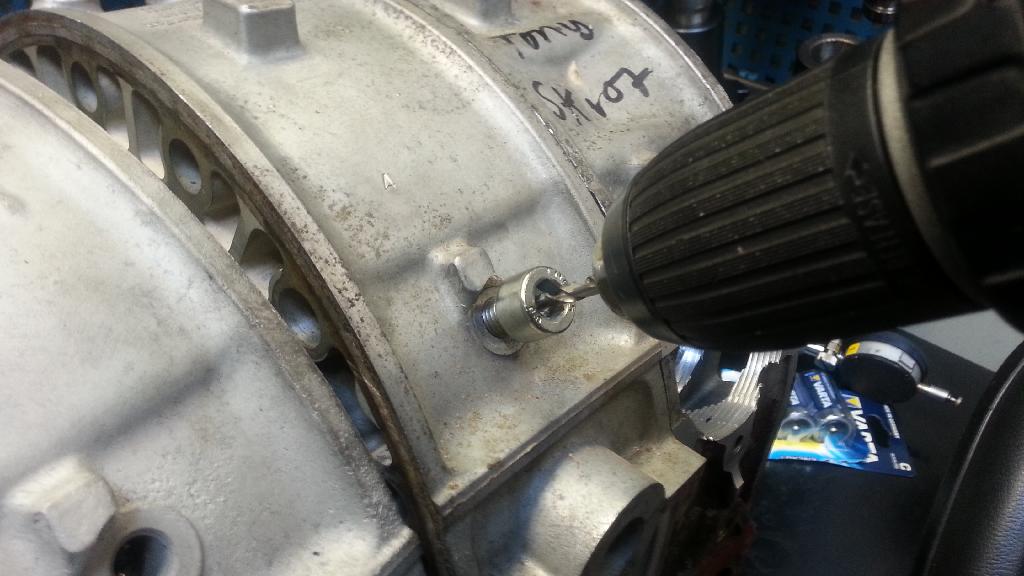
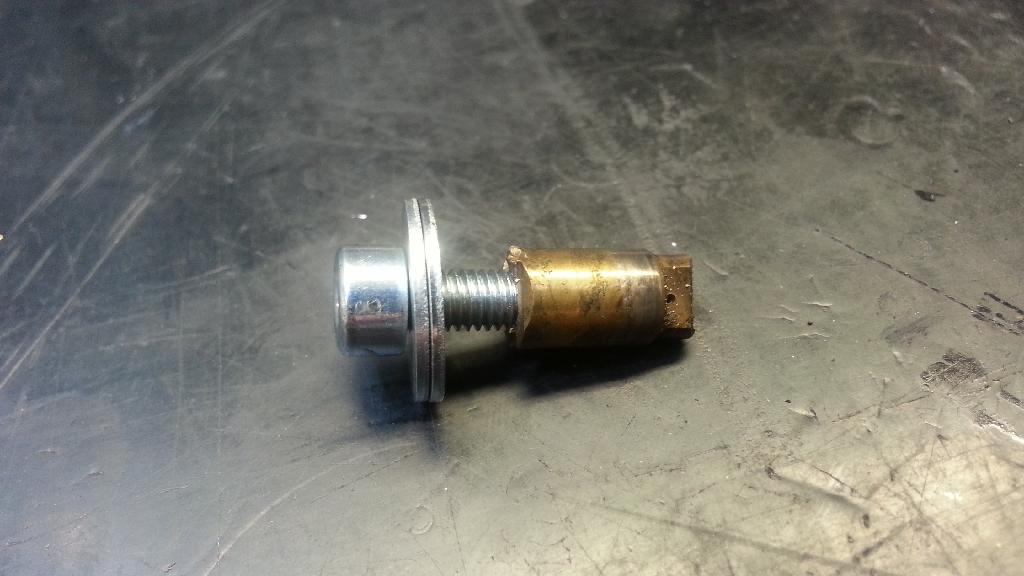
Machined a �63mm hole for the thread, and then removed all stuff the pointed out form the housing.
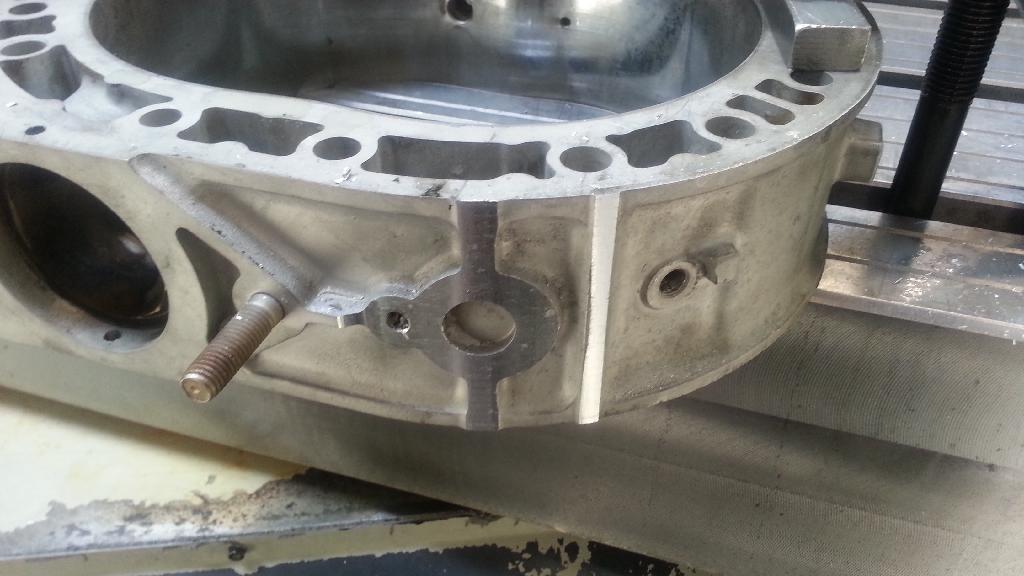
All done. Next step is the inserts!

The original "oil-nozzle" must be removed before milling or else my tool, or my housing will be broken.

Started with a M10-bolt and drilled a �4.2mm hole to allign the drill.
Threaded M5, and pulled it out with some washers and a M5-bolt.


Machined a �63mm hole for the thread, and then removed all stuff the pointed out form the housing.


All done. Next step is the inserts!
 04-27-2014, 04:17 AM
#279
Senior Member
Thread Starter
Join Date: Sep 2003
Posts: 229
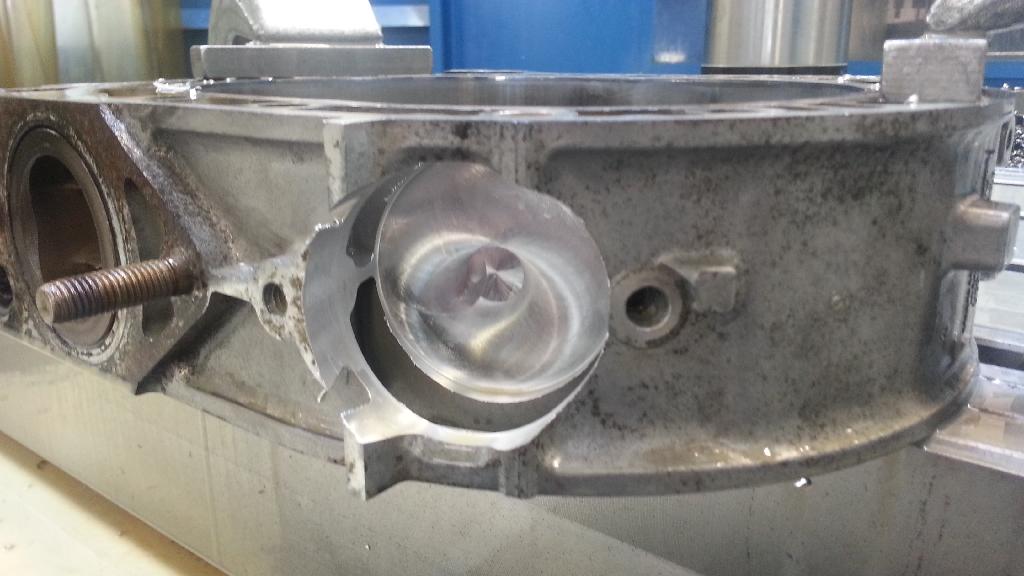
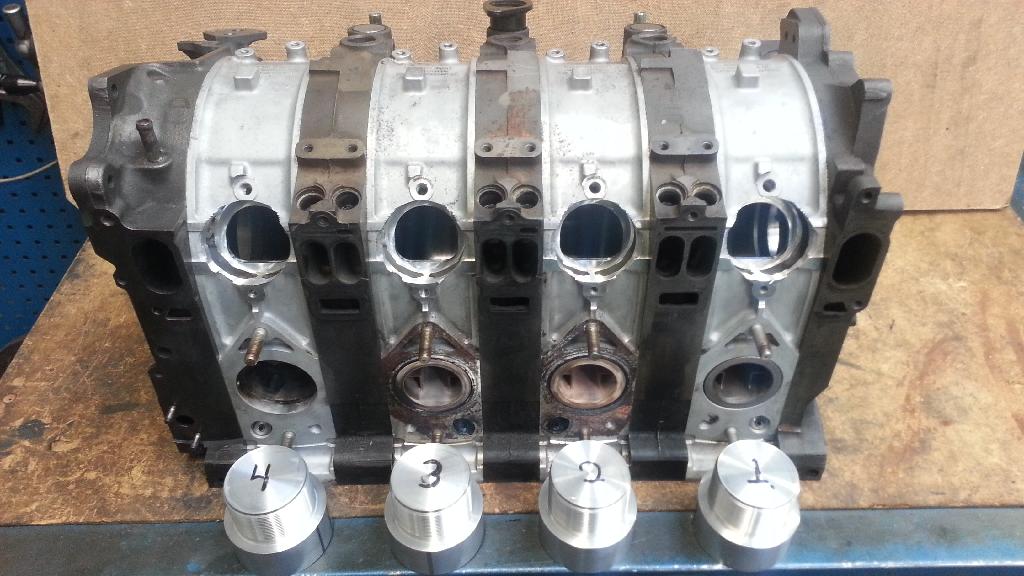
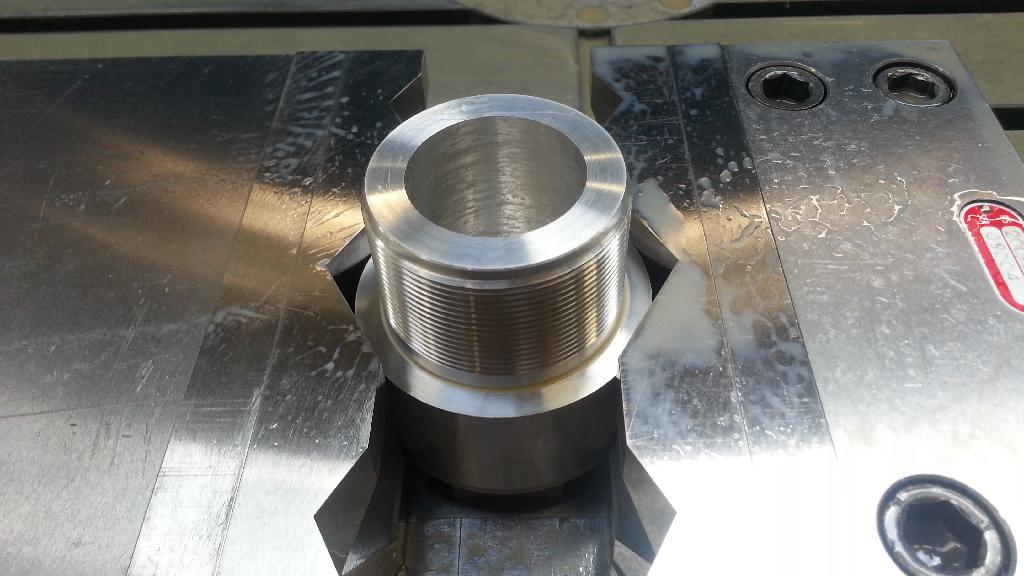
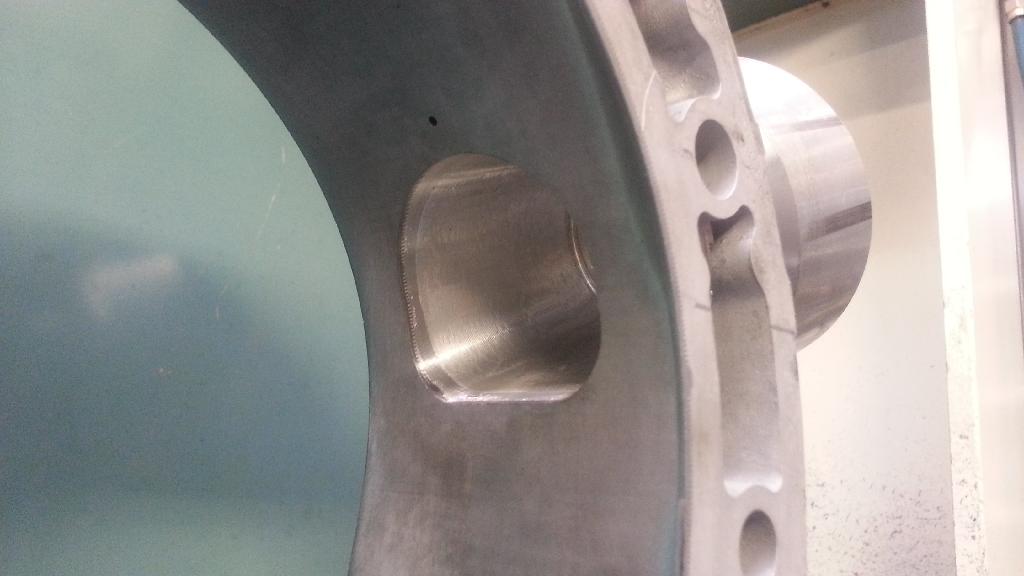
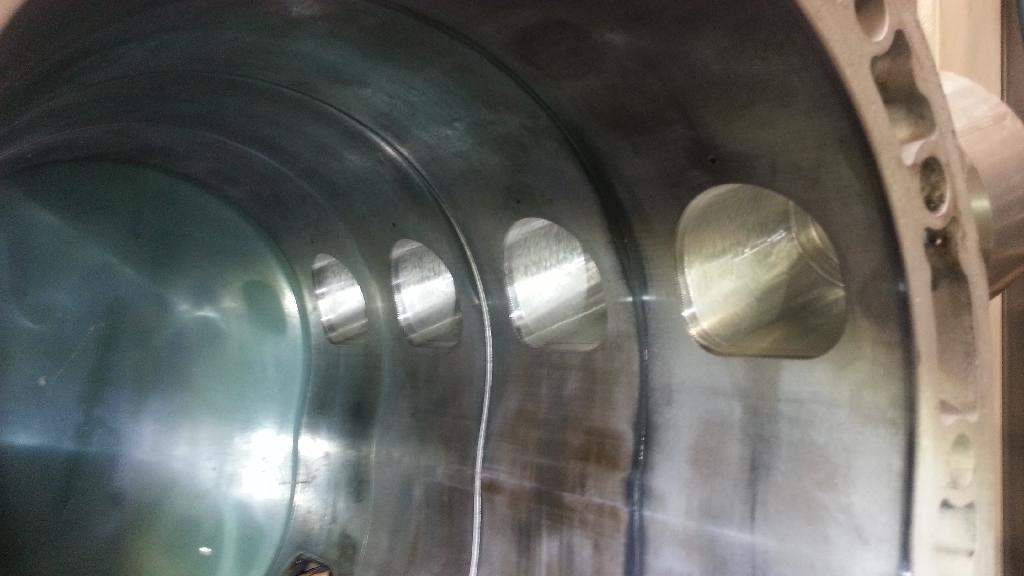
Yesterday I continued with my Peripheral-inserts.
Because they are threaded into the housings there is imported to get the D-shape in the right angle to align with the pre-machined D-shape in the housings.
The D-shape closest to the housing are bigger than the round hole and the runners, so therefore I need to machine this with the inserts on the side.
I could have done a round hole in the center, and port the sleeves by hand. But I'm really not a "handyman" And CNC-port are in my opinion the coolest.
It worked out pretty well! I was really nervous when I mounted the first insert...
I very satisfied.
Next is to deside how to couple the inserts with the runners, and also how my runners will look like, size and lenght. Butterfly-throttles or slides.
Because they are threaded into the housings there is imported to get the D-shape in the right angle to align with the pre-machined D-shape in the housings.
The D-shape closest to the housing are bigger than the round hole and the runners, so therefore I need to machine this with the inserts on the side.
I could have done a round hole in the center, and port the sleeves by hand. But I'm really not a "handyman"
And CNC-port are in my opinion the coolest.It worked out pretty well! I was really nervous when I mounted the first insert...
I very satisfied.
Next is to deside how to couple the inserts with the runners, and also how my runners will look like, size and lenght. Butterfly-throttles or slides.


 06-21-2014, 09:13 AM
#280
Senior Member
Thread Starter
Join Date: Sep 2003
Posts: 229
Just because it's quiet, doesn't mean it's dead
My old teacher called, he had found my website, and wanted to show his friends my build in person. Really fun! Cleaned up and made some coffee.
Have been thinking about the intake, and have some ideas of how it will be.
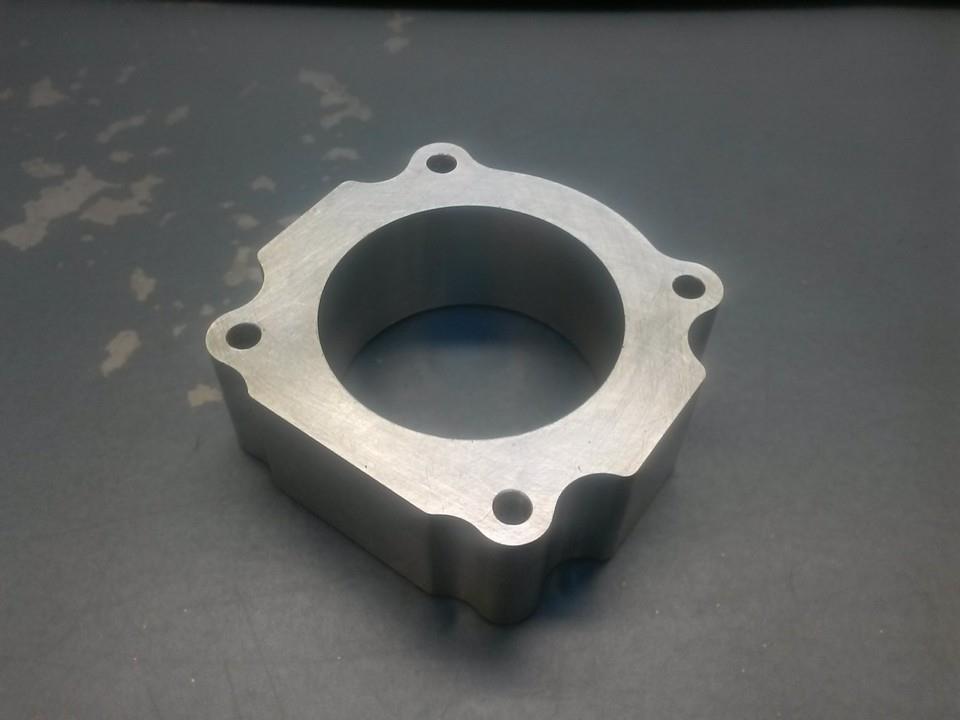
I want thin throttlebodys with no injectors, and also buttefly model.
Something like this...
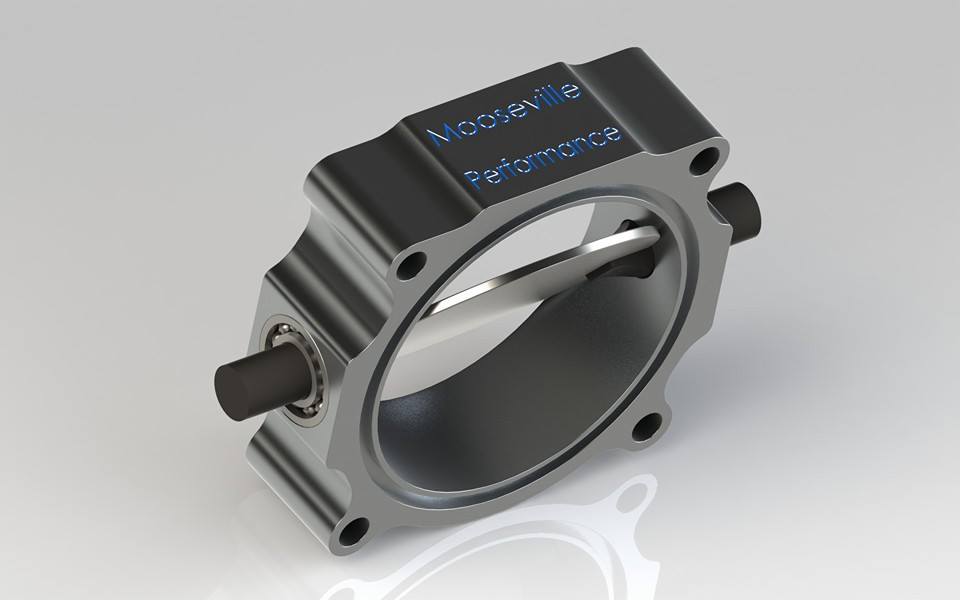
Started on a prototype of aluminium...
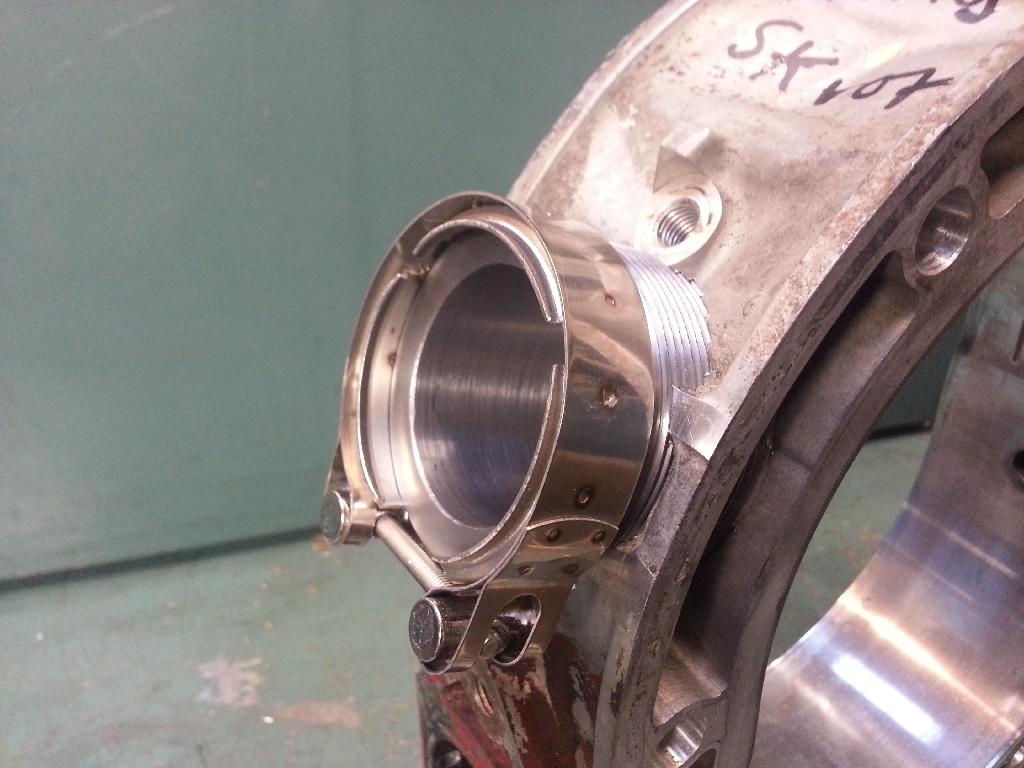
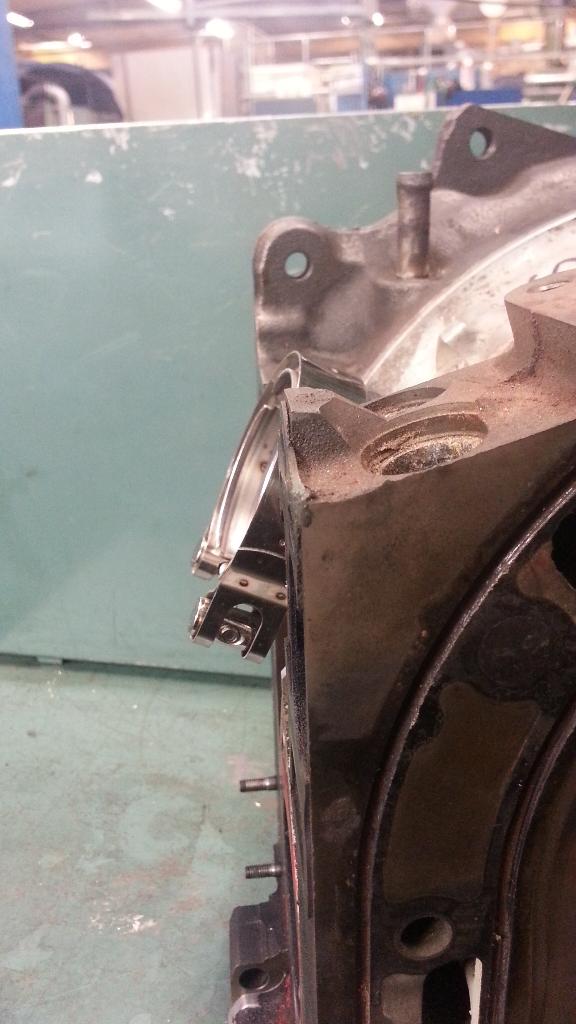
The P-Port-inserts will have V-band to connect the runners, but I wanted a personal touch also.


This is how the billet stainless v-band-clamps turned out today. Really happy with them.

My old teacher called, he had found my website, and wanted to show his friends my build in person. Really fun! Cleaned up and made some coffee.


Have been thinking about the intake, and have some ideas of how it will be.
I want thin throttlebodys with no injectors, and also buttefly model.
Something like this...

Started on a prototype of aluminium...

The P-Port-inserts will have V-band to connect the runners, but I wanted a personal touch also.


This is how the billet stainless v-band-clamps turned out today. Really happy with them.
