
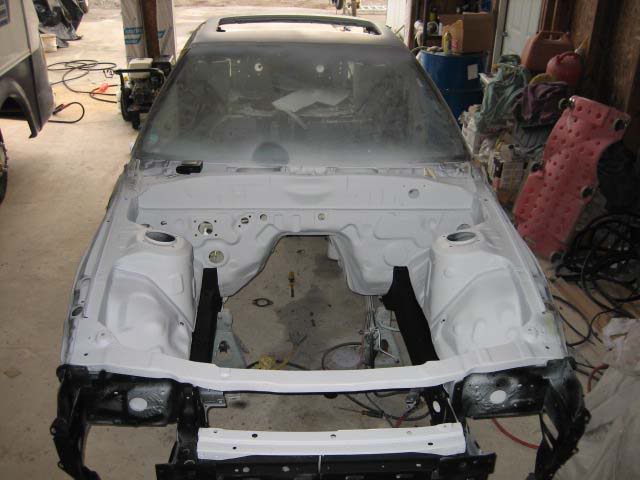
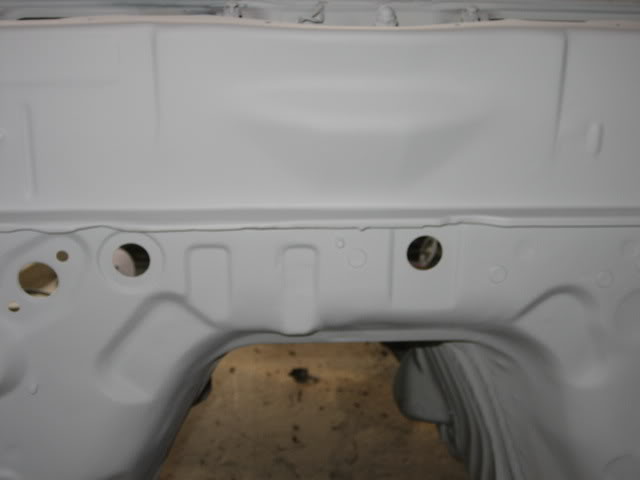
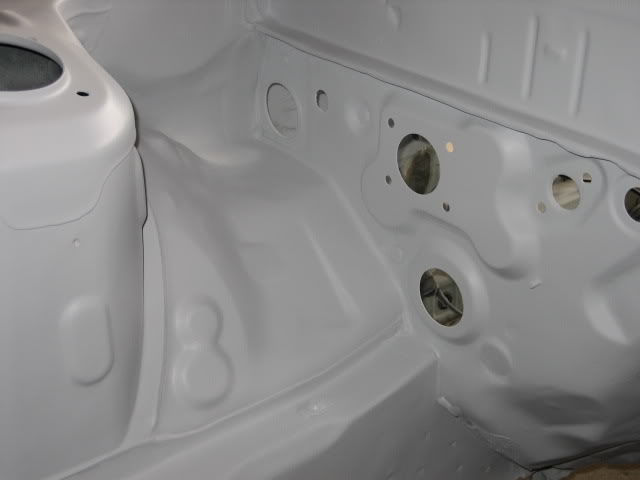
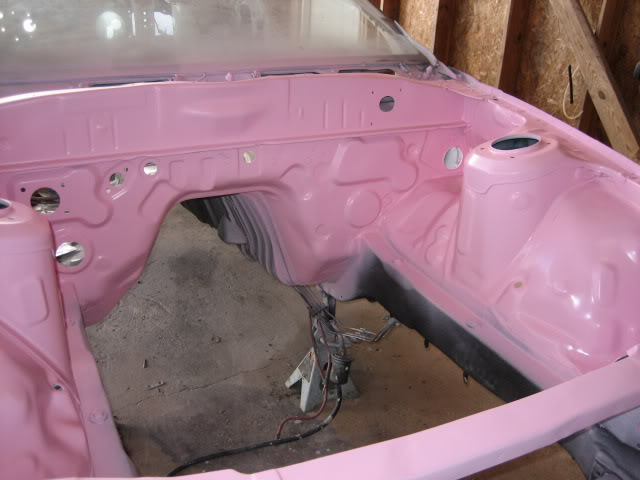
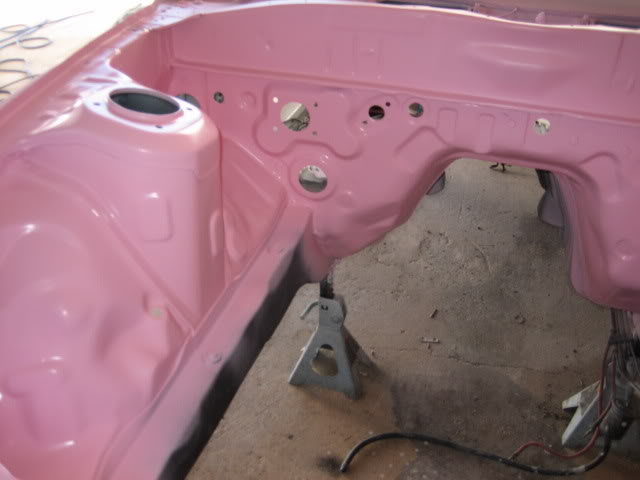
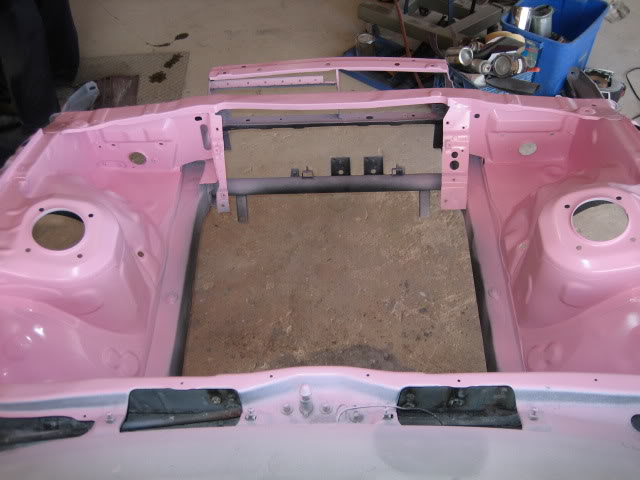
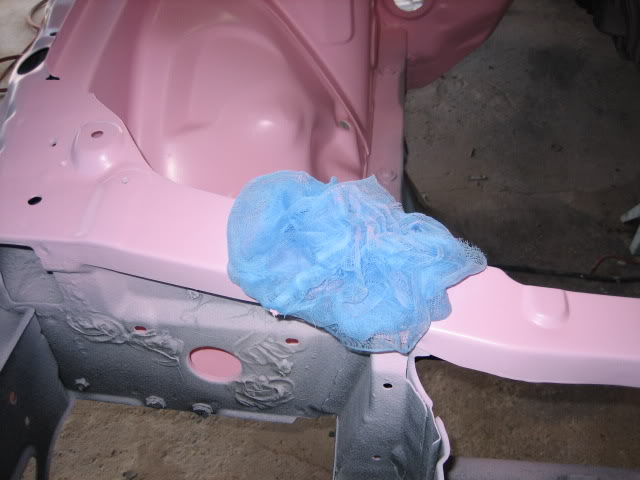
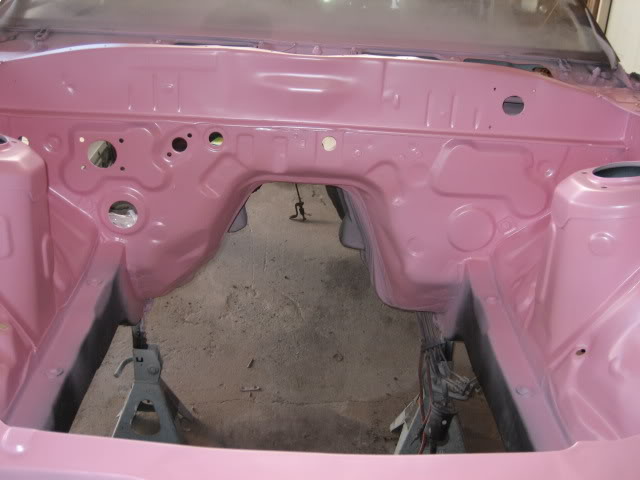
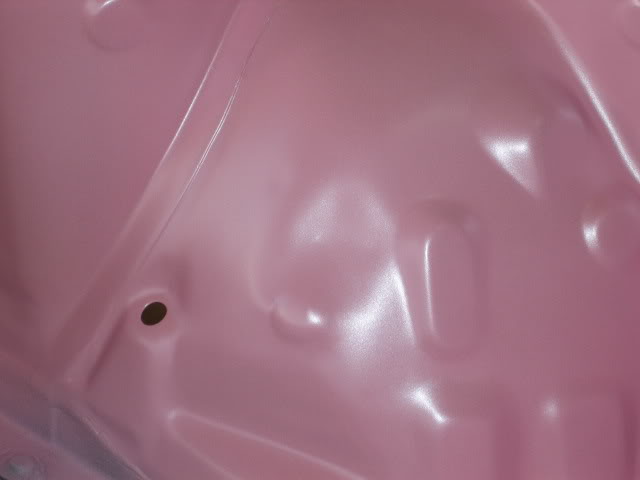
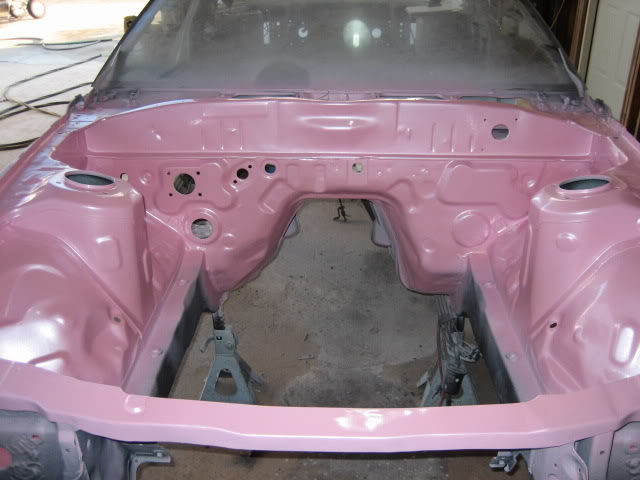
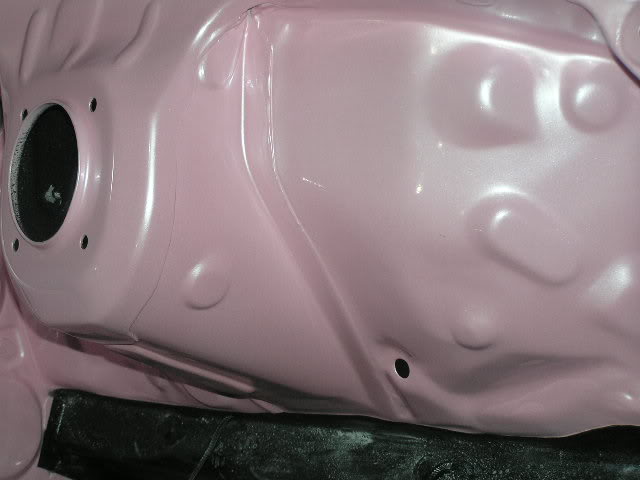
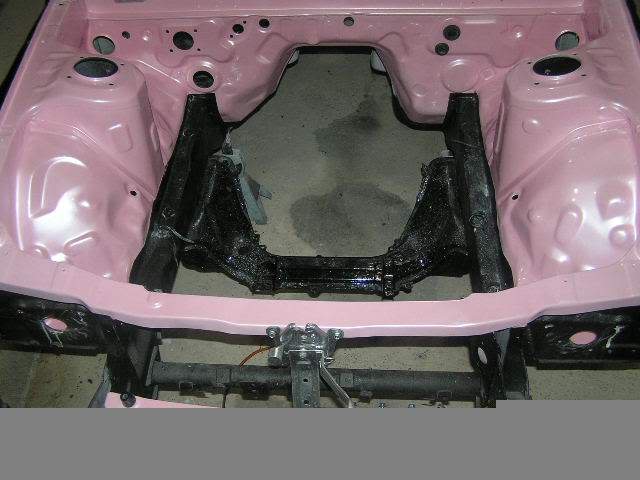
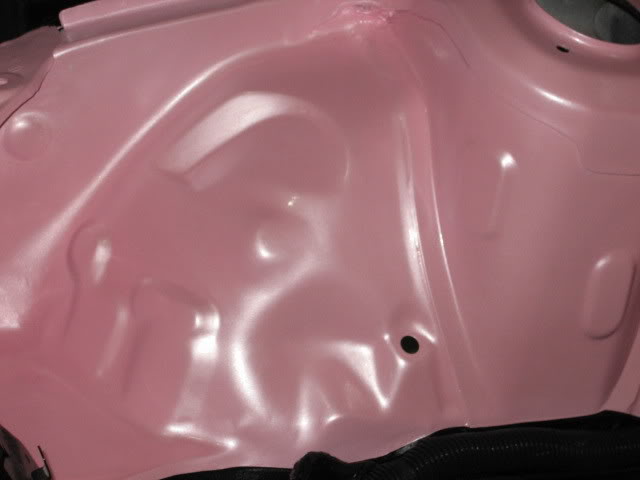
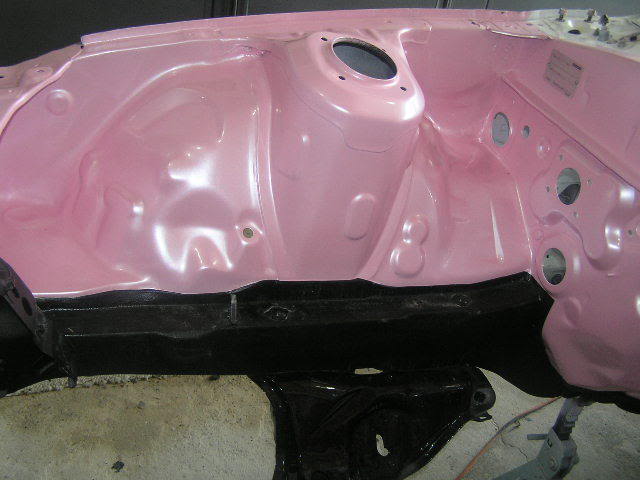
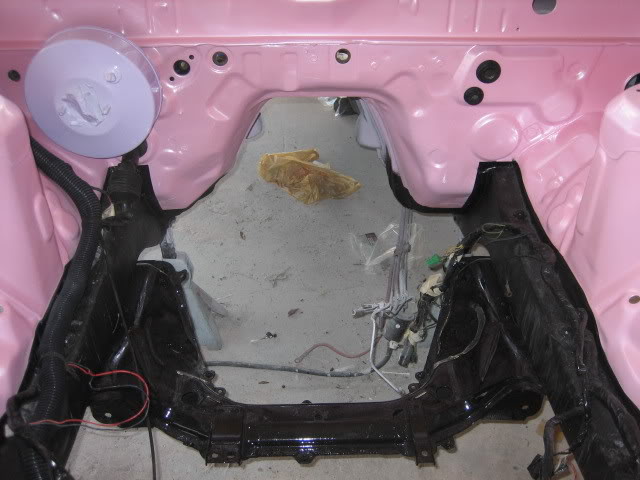
tips on painting engine bay?


Super Moderator

Joined: Feb 2002
Posts: 12,288
From: Amityville, New York
after all the years I have been on this forum, and others, I dont go on a all out blown description because most of the time its a waste of time.
You know how many emails, AIM, and PMs I have gone to all the trouble to explain things in great detail to people just to have them say in the end "oh thats more work then I wanted to, so I scraped the project"
Im saying if you use your gun upside down its alot easier, I dont want to "pull rank", but im SURE I have sprayed alot more material and odd things then you have, so I dont appreciate the tone my friend.
The way you have the engine compartment disassembled OF COURSE you dont need to spray upside down, 99.9% of people DONT take thier engine compartments apart to that extent.
YOU may know how much prep to do as far as the wax and grease remover goes, but HE may not and may not know the extent he has to go to, THATS why im telling him to put some of it in his paint.
Next time just post "how to paint an engine compartment", instead of making your shitty little half assed comments to me.

Senior Member
Joined: Aug 2005
Posts: 381
From: Freeport FL
If you didn�t want shity half assed comments from others who know what there doing then don�t give shity half assed replies.
Now on second note I understand your pain of explaining to have it thrown in your face by the posted of being to lazy and broke.
The wax and grease well you left out the part you need to use it and only stated put some in your gun.
But my level of professionalism with results is hardly within range to bash and pull a �rank�

Super Moderator
Joined: Jan 2002
Posts: 3,928
From: New Jersey
Originally Posted by Rob x-7' post='847775' date='Dec 3 2006, 06:47 PM
after all the years I have been on this forum, and others, I dont go on a all out blown description because most of the time its a waste of time.
You know how many emails, AIM, and PMs I have gone to all the trouble to explain things in great detail to people just to have them say in the end "oh thats more work then I wanted to, so I scraped the project"..
people need the detail to make a better decision.. regardless of what decision has been made..
its irrelevant... and if anything.. it provides the typical DIY person to realize that they need a pro..
which in the end indirectly benefits your line of work....
and imo.. whether a post is a waste of time or not is immeasurable... still offers up as a good reference..
post the info once to avoid the trouble you face of havin to explain it over and over as a solution perhaps... just my two pennies..
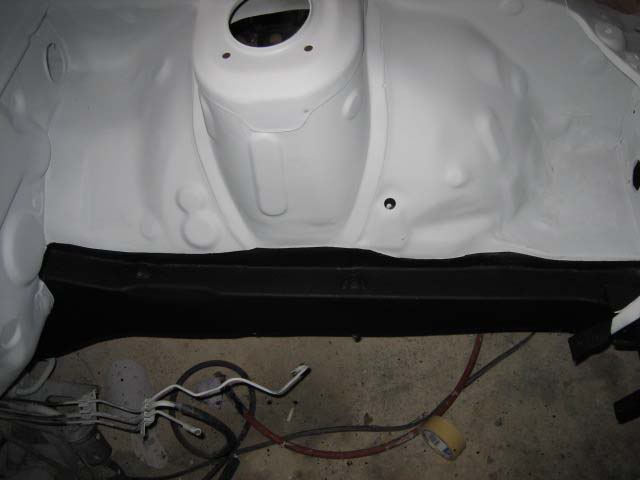
back on the topic.. how does one avoid painting threaded holes..
thinkin it may cause bolt fitment issues and possible torque values.. or is it not even a concern..
Senior Member
Joined: Aug 2005
Posts: 381
From: Freeport FL
Originally Posted by amp' post='847778' date='Dec 3 2006, 06:41 PM
back on the topic.. how does one avoid painting threaded holes..
thinkin it may cause bolt fitment issues and possible torque values.. or is it not even a concern..
Super Moderator
Joined: Feb 2002
Posts: 12,288
From: Amityville, New York
ok, next time I just wont say anything, because im tired of giving explanations just to have them fall on deaf ears.
No offense taken, but I do take cerain things personally.
My thoughts were if there was more interest more detail would be given, but it did not seem like it was going to go that far yet.
Amp- I would hope someone would not go out and start painting thier engine bay based on my 5 line explantion, there are plenty of websites that detail painting and what not that people can check and gather all thier information and make thier own decisions.
I dont really care to do cars as there are way too many people doing them and cutting thier own throats to get work. I dont give my time away.

Senior Member
Joined: Oct 2003
Posts: 1,420
From: Boston Ma.
Originally Posted by Baldy' post='847340' date='Nov 30 2006, 04:54 PM
I'll be painting the bay on the vert soon
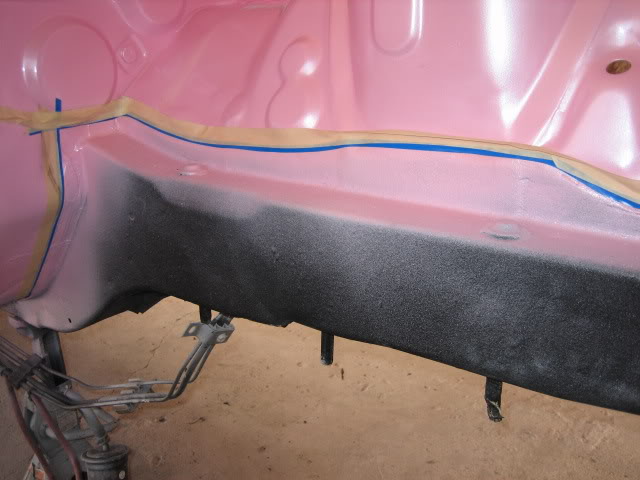
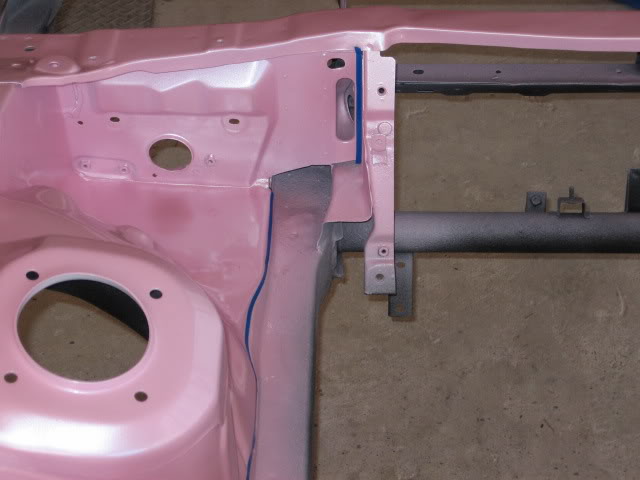
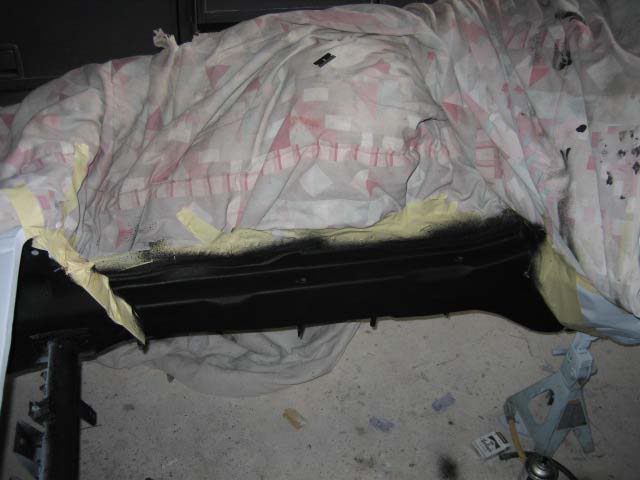
Clean and degrease well.
Address any rust spots.
Spray any hard to reach spots first.
Apply evenly in several light coats.
Thats it... It will be grrrreat.
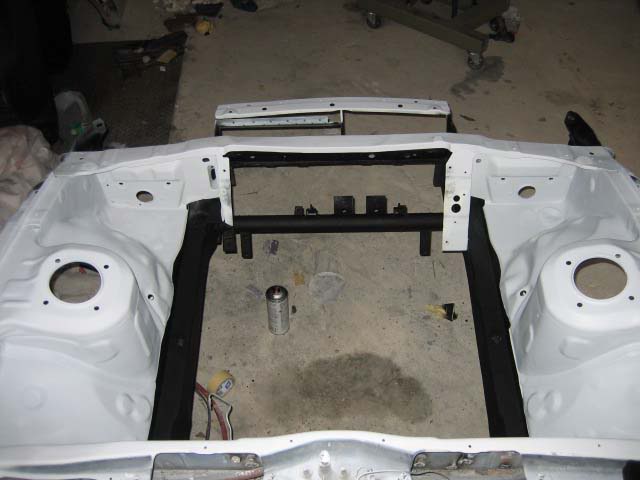
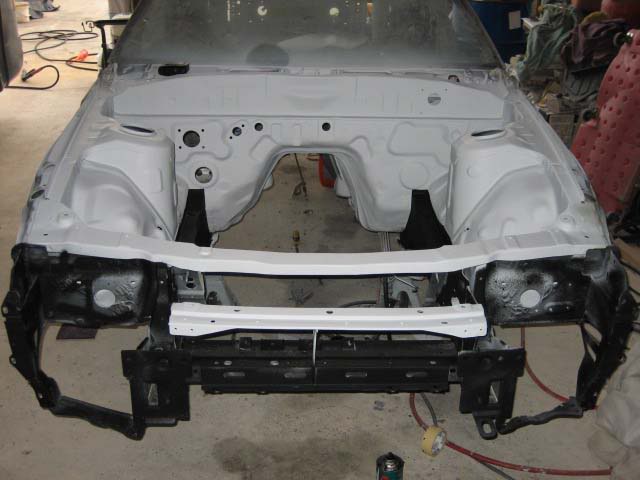
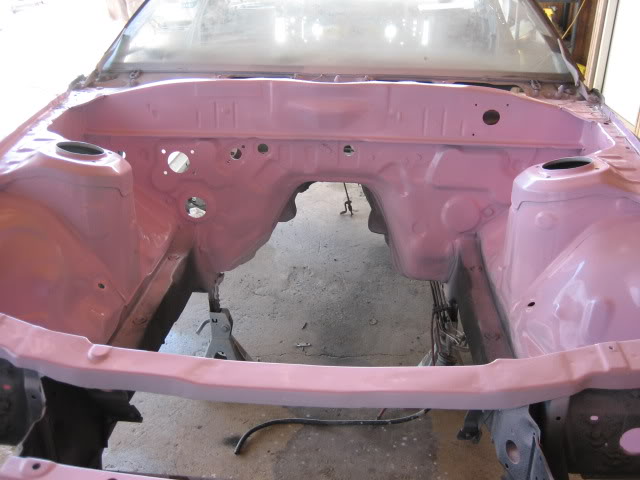
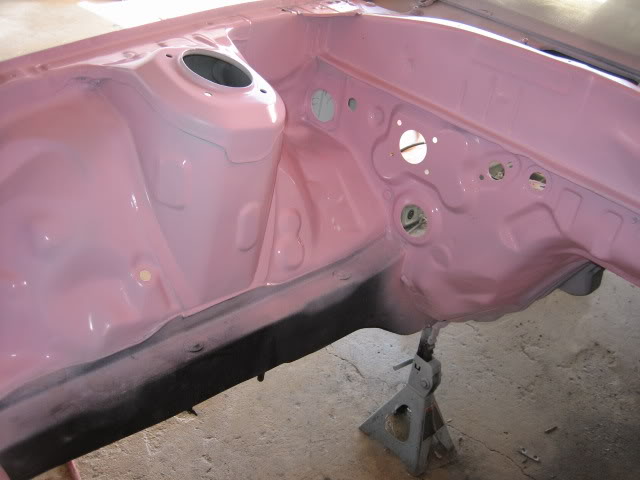
These are 1980s Mazdas, not a 1937 Bugatti.
Lol@iceblue, painted parts of the unibody black like there was an actual frame under the car..