tips on painting engine bay?


Thread Starter
Super Moderator

Joined: Sep 2002
Posts: 5,425
From: Tallahassee, FL
I'll be painting the bay on the vert soon (see other thread about wiring). The car used to be red, but the previous owner had his uncle repaint it (not the best job). he painted the bay black where it would reach, the rest is still red, so it looks really nasty. I was thinking gloss black, I saw a pic somewhere here of someone who had that (was it colin?), and it looked nice; but I would settle for anything at this point, as long as it's even, and holds up to the conditions over time.
What level of prep work is recommended? I've spent quite a bit of time sanding and buffing cabinets for painting (in my old job), so I have at least some experience with prep work. Could I get a somewhat decent look out of spray paint cans, as opposed to a cheap gun? I'm not sure if my compressor could handle it.
Any advice is appreciated.
If this turns out well, I might attempt doing more painting.

Senior Member
Joined: May 2002
Posts: 22,465
From: California
on my t2 i cleaned it really well, then scuffed or sanded it. wiped it all down and painted it with this epoxy refridgerator spray paint. which turned out to be really solid and burly. it was even a decent match for the stock white....

Super Moderator
Joined: Feb 2002
Posts: 12,288
From: Amityville, New York
scuff the hell out of it with scuff pads and degreaser, where you can reach sand it.
Degrease it again, and again.
Wipe it many times with a prep-sol like solvent.
Use a pressure pot gun or a gun that allows you to spray upside down with a bag or a paint cup.
Put fish eye eliminator additive in the paint, no matter how good you think you got it cleaned, it will probably still fish eye in some places.
If you cant spray upside down forget it, you will never get all the spots.
There are a few other tricks, like set the gun on stream and lower the pressure and the material, mist in the real hard to get areas first until they are covered, then open the fan and material and spray the rest.
Make sure its well lit where you spray, otherwise you might still see red in places when the car is outside, for inside the hood and rails, just brush that **** the best you can.
used to be red, I have some more pictures somewhere in my computer at home
Thread Starter
Super Moderator
Joined: Sep 2002
Posts: 5,425
From: Tallahassee, FL
scuff the hell out of it with scuff pads and degreaser, where you can reach sand it.
Degrease it again, and again.
Wipe it many times with a prep-sol like solvent.
Use a pressure pot gun or a gun that allows you to spray upside down with a bag or a paint cup.
Put fish eye eliminator additive in the paint, no matter how good you think you got it cleaned, it will probably still fish eye in some places.
If you cant spray upside down forget it, you will never get all the spots.
There are a few other tricks, like set the gun on stream and lower the pressure and the material, mist in the real hard to get areas first until they are covered, then open the fan and material and spray the rest.
Make sure its well lit where you spray, otherwise you might still see red in places when the car is outside, for inside the hood and rails, just brush that **** the best you can.
used to be red, I have some more pictures somewhere in my computer at home
Super Moderator
Joined: Feb 2002
Posts: 12,288
From: Amityville, New York
locall, good paints you CANNOT buy online, you have to get from your local distributor.
use a single stage like Imron or Concept
you dont have to buy a expensive gun, you can get a cheap gun and use the 3M or other brand of disposable paint cups that allow you to spray upside down.
I have a few pressure pots, but for small upside down jobs I either put a bag in my GFG-670 or GTI gun oand for my other guns I use the 3m PPS system.

Senior Member
Joined: Aug 2005
Posts: 381
From: Freeport FL
It would be allot more helpful to the dude if proper advice was giving. I have painted many bays and never had to put my gun upside down and I have done it with full size guns. On show gloss paints I used my $450 Sata. On a chasi black one I used a 75$ gun that I sprayed POR15 out of before the POR15 CB for a perfect never rust bond. Fish eye eliminator? That�s why you rub the whole prepped surface down with wax and grease remover that�s why the paint fisheyes because there is grease on the product. The addition to this into the paint is not going to work very well because the grease is still on the body causing a pore bonding surface and prone to flaking and rusting beneath latter on.
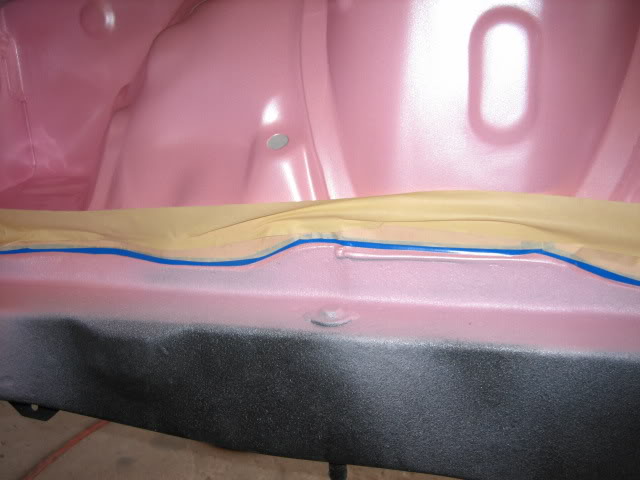
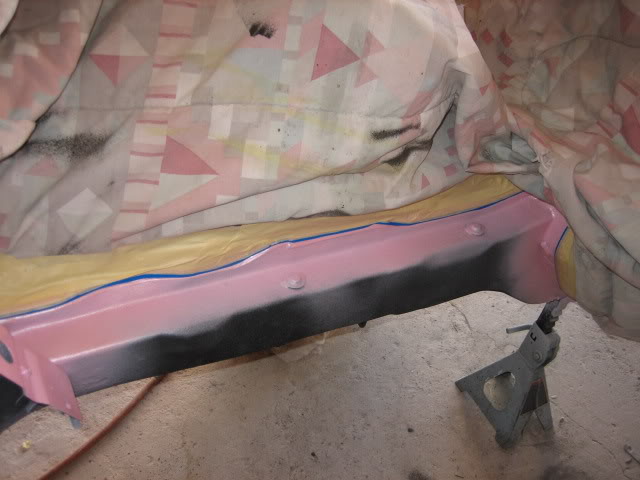
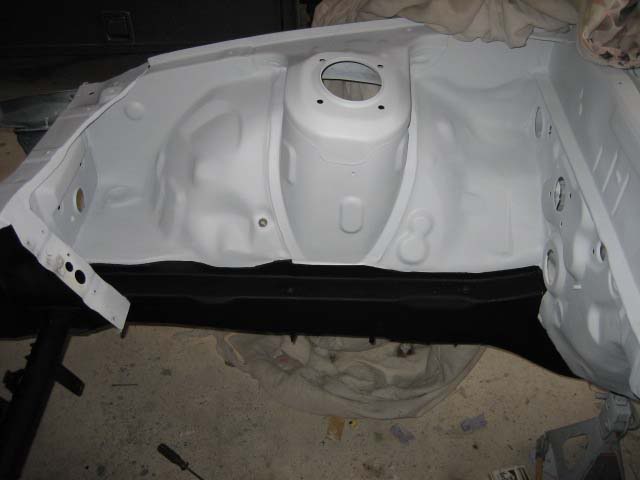
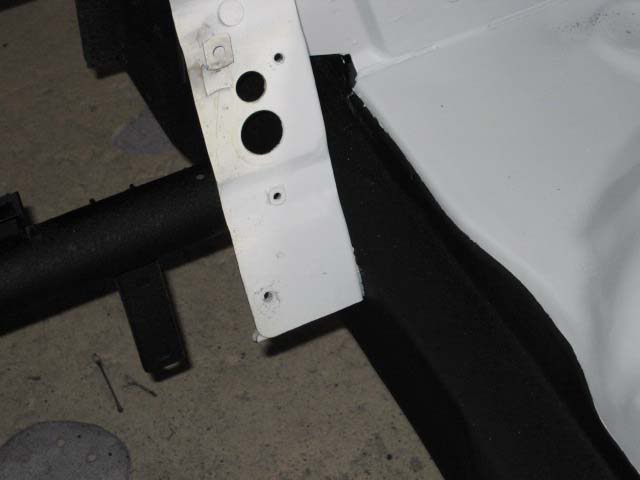
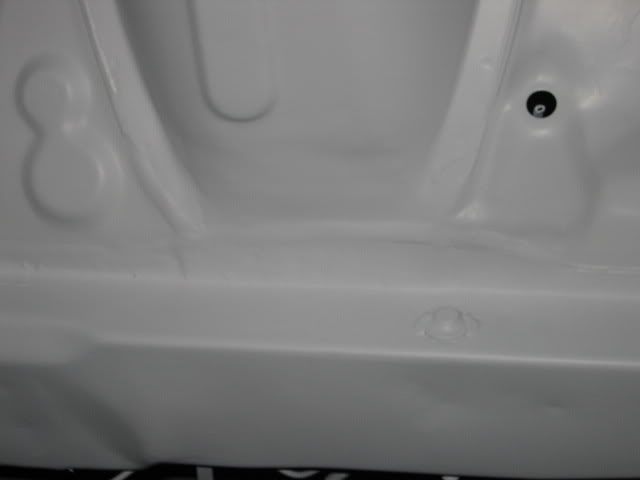
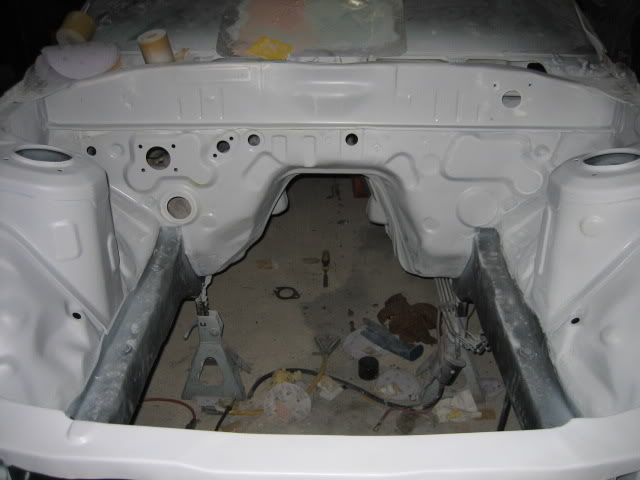
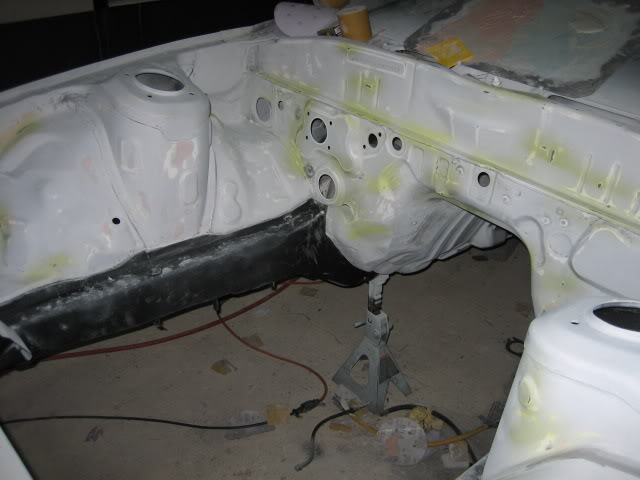
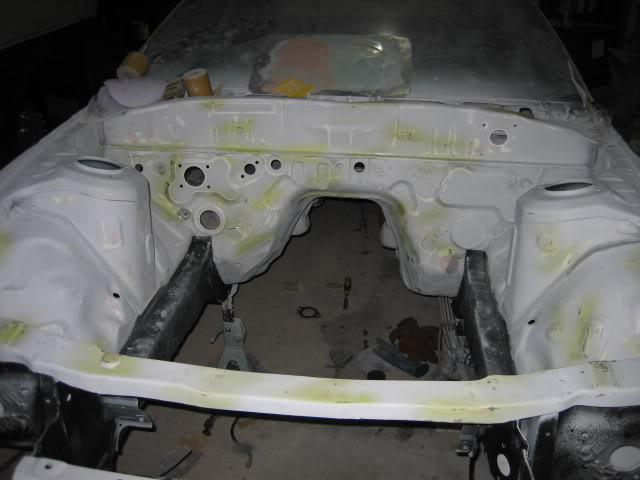
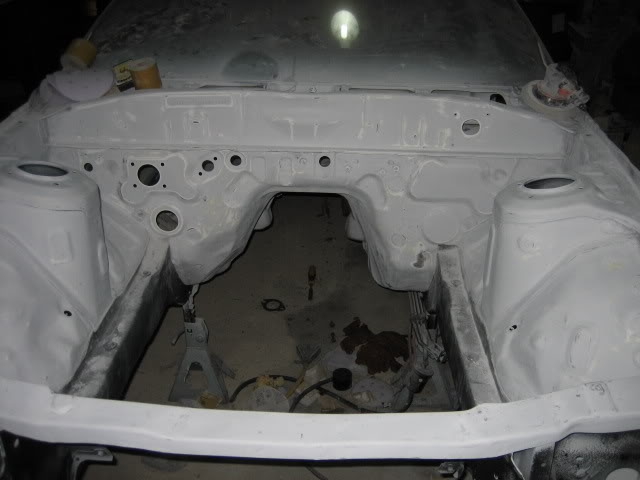
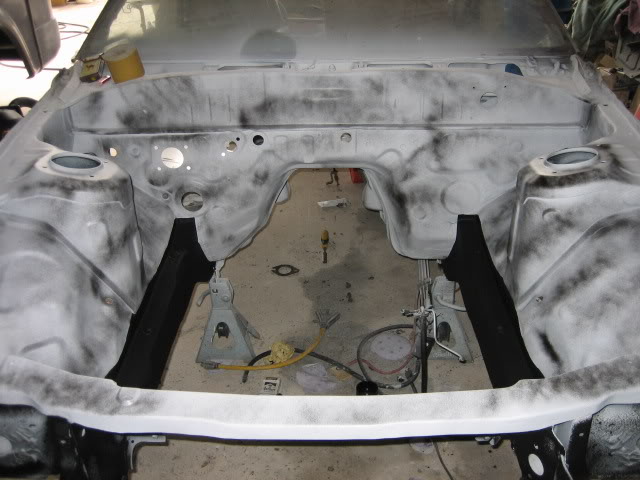
The prep is going to largely depend on the condition of the product you are working with. In most cases there is rust and grimy surfaces. You will need to bring this down to bare metal and take care of this properly buy grinding and using rust agents. After this is done you can continue onto all surfaces areas with a angel grinder to get large partials off. Wipe the entire thing down with a lacquer thinner soaked rag. Asses again sand as needed and add new seam sealer where needed because it will need some more. After it is all removed and clean finish scuffing with purple scotch bright or 180grit sand paper. After this go over everything again with wax and grease remover. Spray all bare metal showing with etch primer then spray your primer from a gun rattle will never give you the same results and is just half assed if you are desiring quality results. Spray several coats of primer. If the body condition is not in your spec sand down and asses after that continue with the primer a few more times. Spray it with guide coat from a rattle now sand it with 320grit till surface is even per the guide coat. Now use a tak rag over the primer and then follow with wax and grease remover. Now spray your base 3 coats will be good. Clean the gun again and spray the clear.
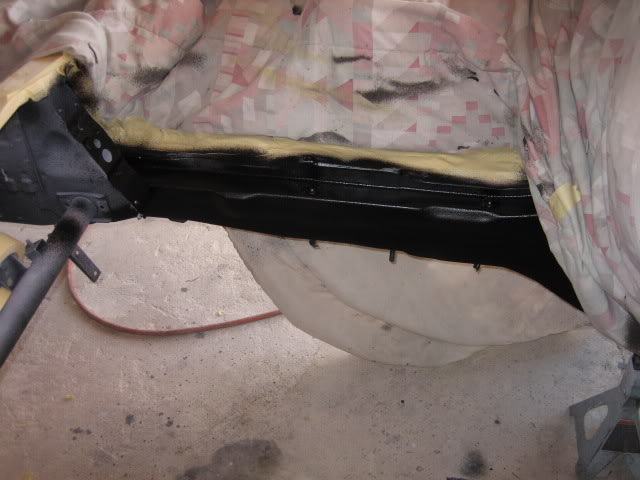
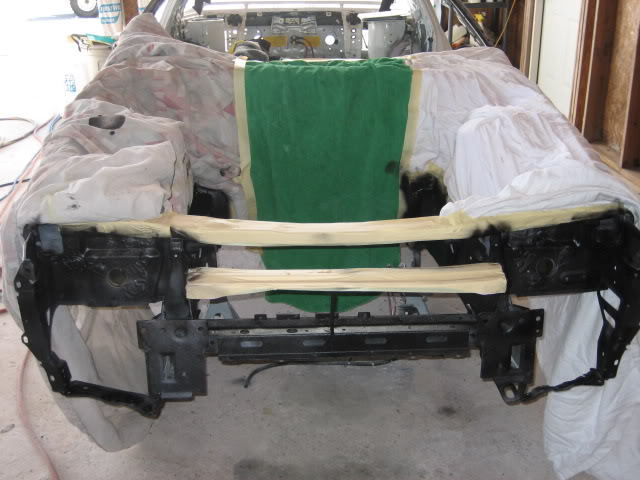
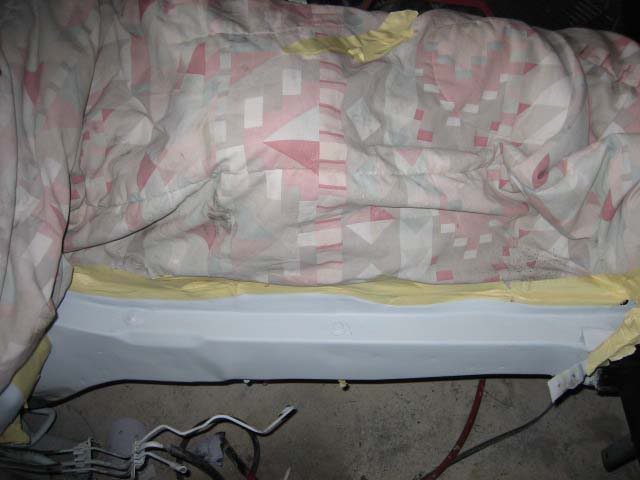
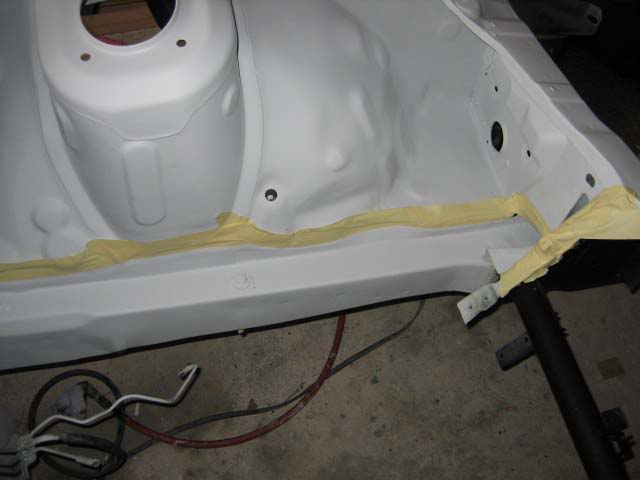
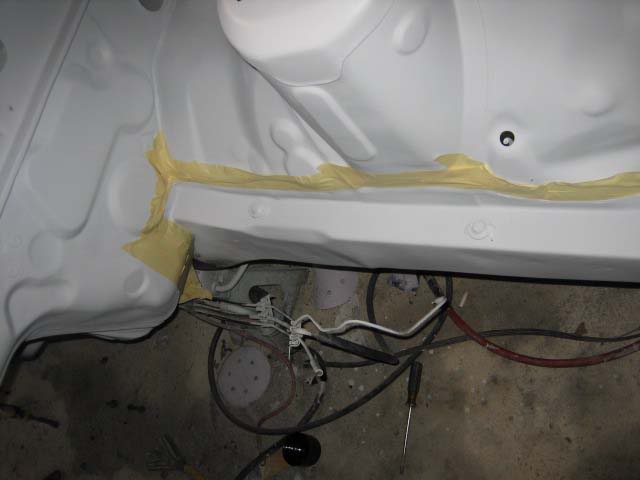
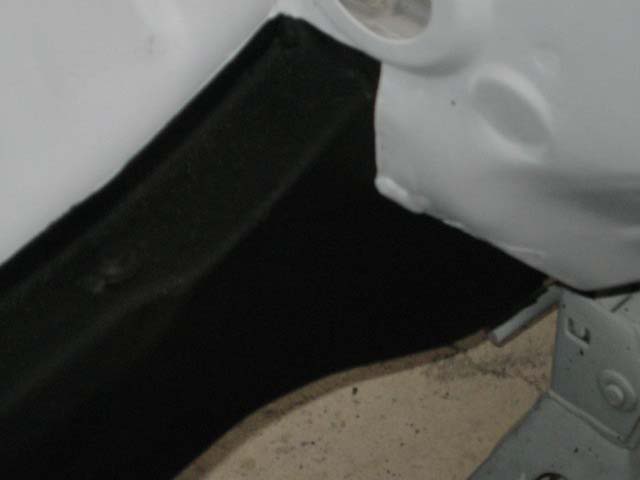
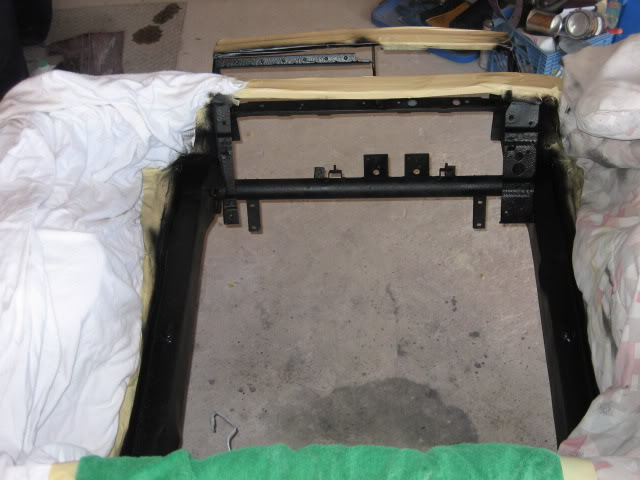
Now for pics. The black bay I am waiting on the finished pics tonight sorry. This is also a great show of what types of issues you can occur that need addressed first.


This was not a normal staged paint job as most would be expecting. Because of the materials I used you do not clear or primer or etch but it is not classified as a single stage base clear.
The prep is going to largely depend on the condition of the product you are working with. In most cases there is rust and grimy surfaces. You will need to bring this down to bare metal and take care of this properly buy grinding and using rust agents. After this is done you can continue onto all surfaces areas with a angel grinder to get large partials off. Wipe the entire thing down with a lacquer thinner soaked rag. Asses again sand as needed and add new seam sealer where needed because it will need some more. After it is all removed and clean finish scuffing with purple scotch bright or 180grit sand paper. After this go over everything again with wax and grease remover. Spray all bare metal showing with etch primer then spray your primer from a gun rattle will never give you the same results and is just half assed if you are desiring quality results. Spray several coats of primer. If the body condition is not in your spec sand down and asses after that continue with the primer a few more times. Spray it with guide coat from a rattle now sand it with 320grit till surface is even per the guide coat. Now use a tak rag over the primer and then follow with wax and grease remover. Now spray your base 3 coats will be good. Clean the gun again and spray the clear.
Now for pics. The black bay I am waiting on the finished pics tonight sorry. This is also a great show of what types of issues you can occur that need addressed first.
This was not a normal staged paint job as most would be expecting. Because of the materials I used you do not clear or primer or etch but it is not classified as a single stage base clear.
Senior Member
Joined: Aug 2005
Posts: 381
From: Freeport FL
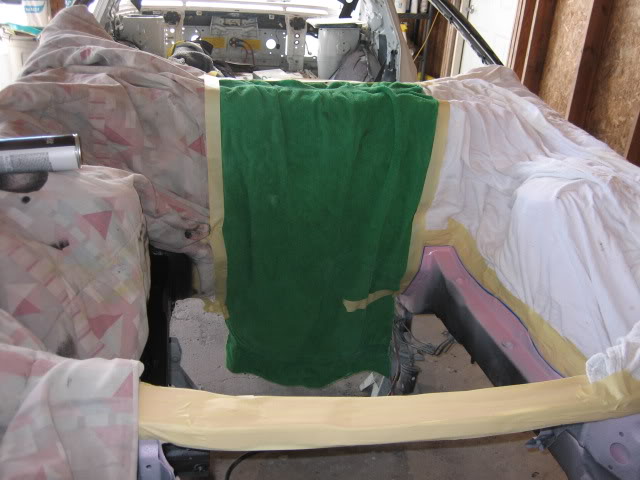
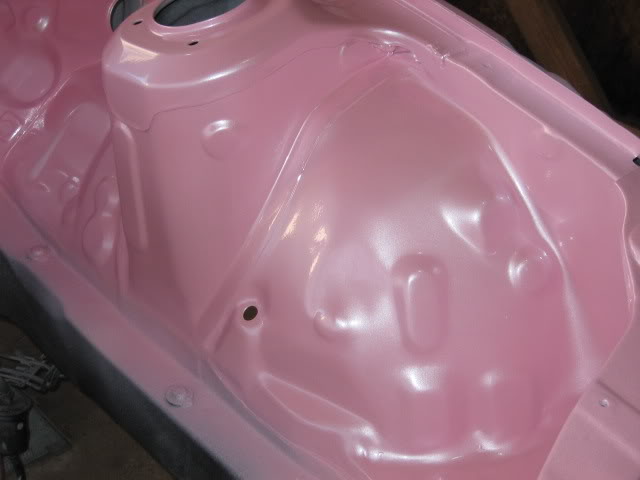
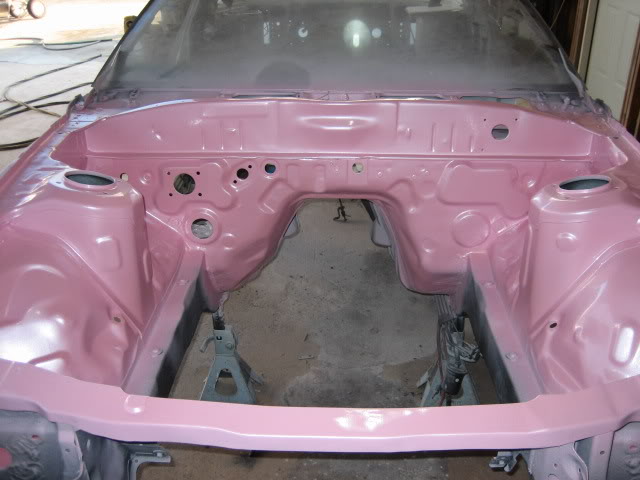
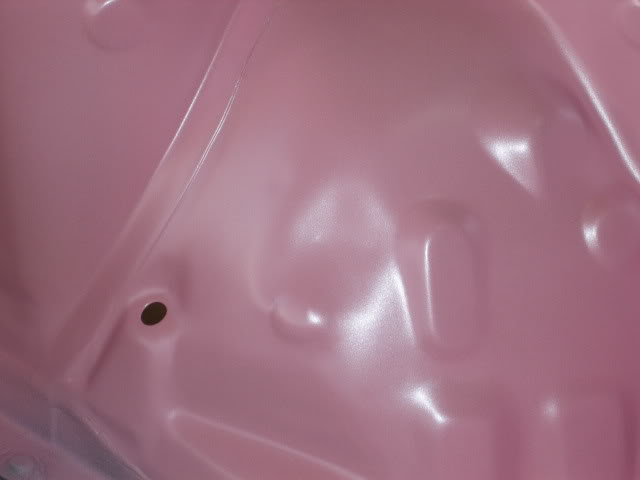
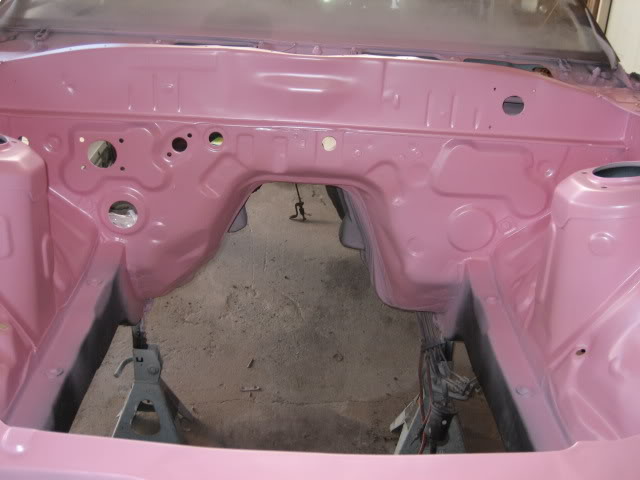
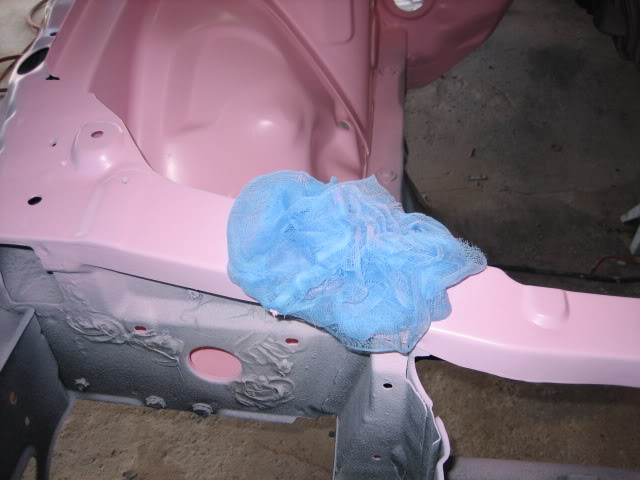
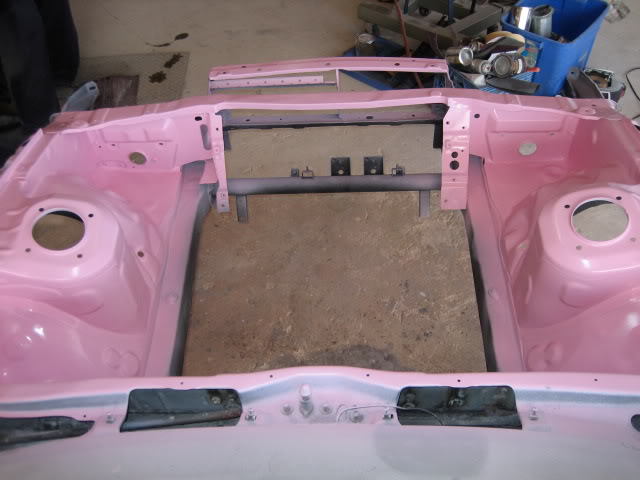
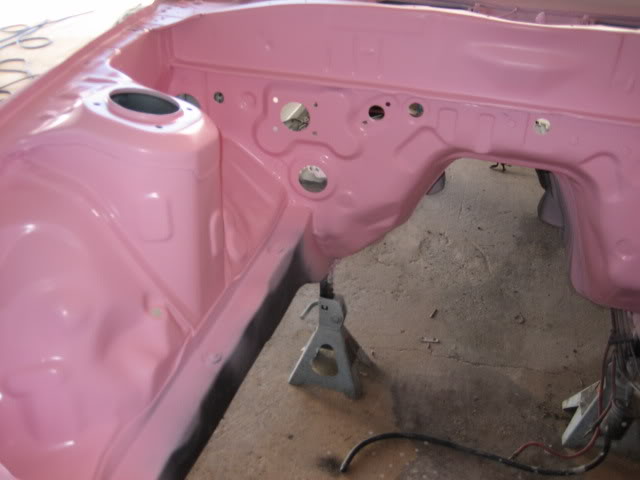
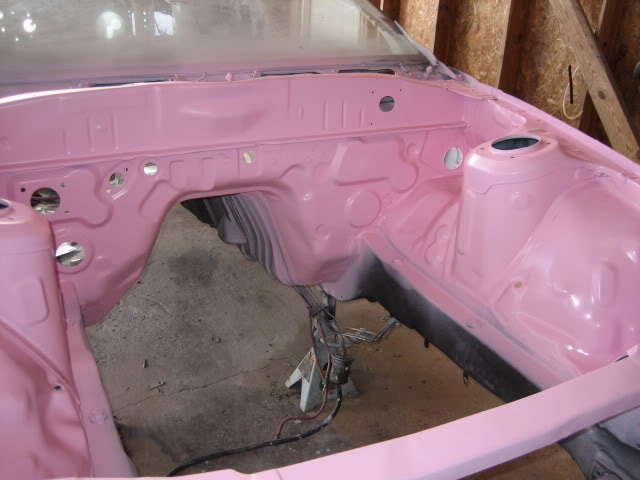
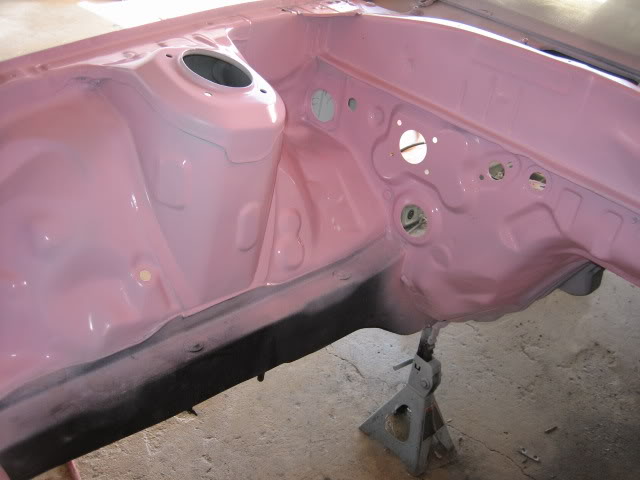
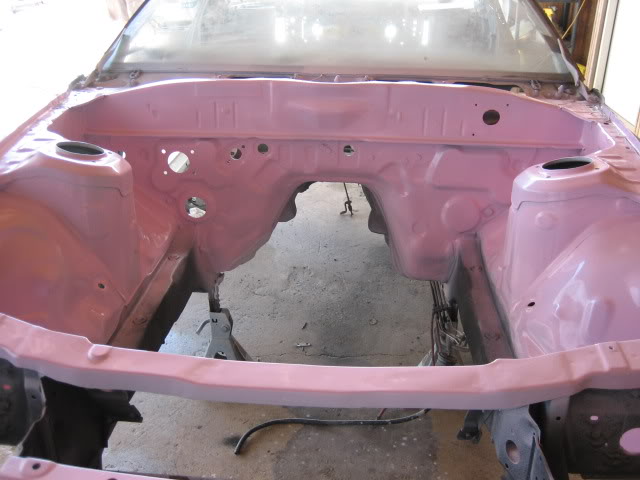
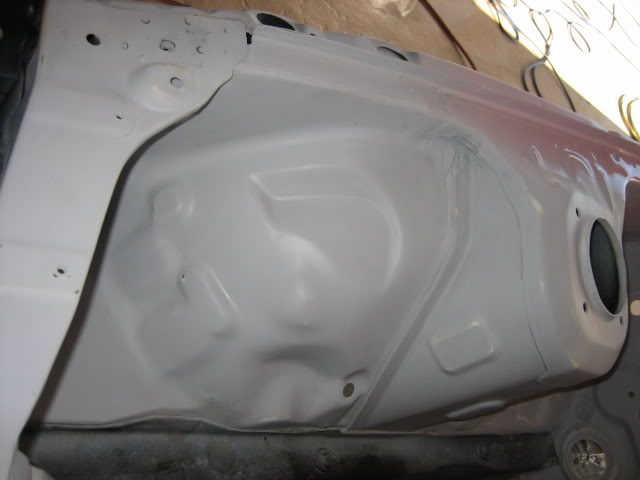
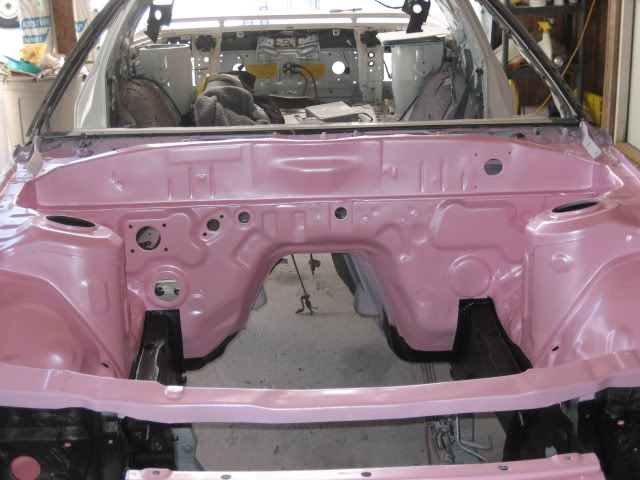
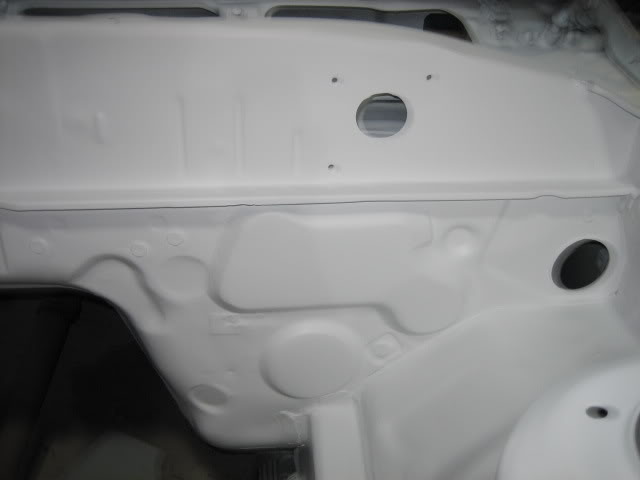
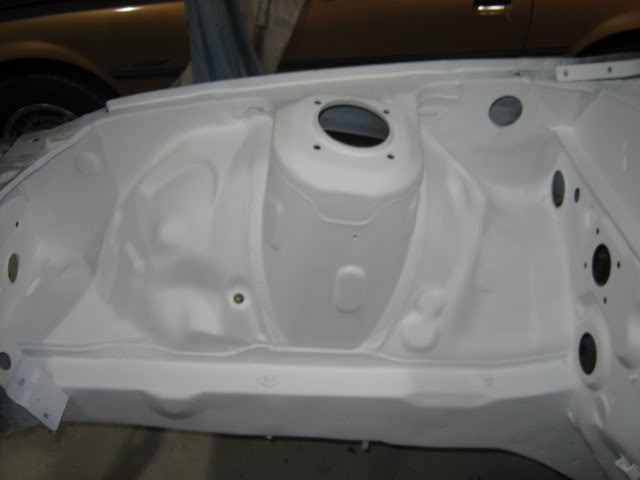
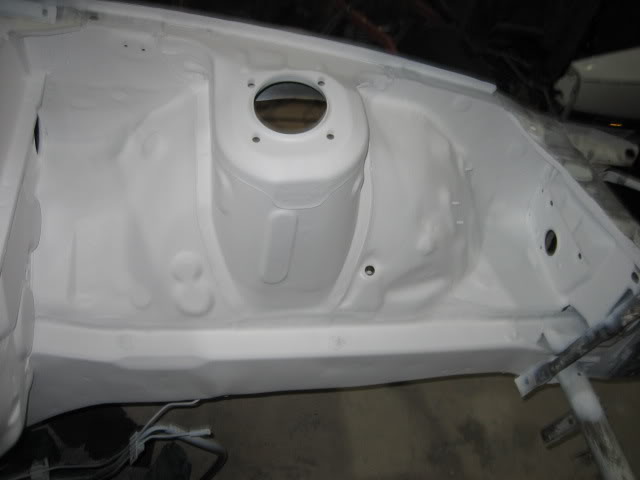
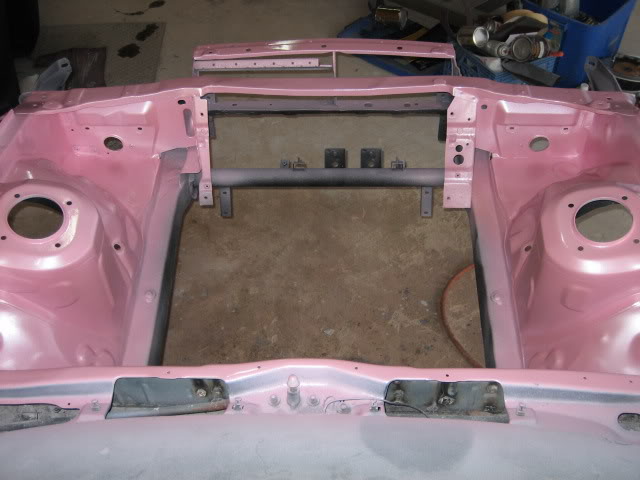
Now here is a full 3 stage paint job as you are trying to accomplish. Sorry these are not in order. You might think some are duplicates but pay attention to pick up each coat color change and when the pearl is added. Photos were taken after every stage.