
My new project


Senior Member
Joined: Jan 2006
Posts: 180
that car is awesome!! What i do not get is the fact that i have been told time and time again that i should NOT turbo a united states 12a. Something about it blowing up really easy.... But that has a arkay on it so i am not sure what to think anymore...


Thread Starter
Senior Member
Joined: Dec 2002
Posts: 300
From: Rocklin, CA
that car is awesome!! What i do not get is the fact that i have been told time and time again that i should NOT turbo a united states 12a. Something about it blowing up really easy.... But that has a arkay on it so i am not sure what to think anymore...
You can turbo any motor. It's all in the quality of parts used and most importantly it's IN THE TUNING!!!! Plus, you have to be realistic about your goals. I wouldn't expect a US spec 12A to be able to hold 15 pounds of boost on pump gas or anything. But you can surely turbo a 12A and have it be reliable.
Originally Posted by f1ernie' post='847579' date='Dec 2 2006, 12:28 AM
Very, very nice.It's wonderful to see something that rare fall into good hands & will begin a new life with someone who cares about it. Enjoy...
Thanks for the compliments Ernie. I did more work on the car today and will be doing more tomorrow as well. I'll update this thread again soon with more info and pictures.
Zach
Thread Starter
Senior Member
Joined: Dec 2002
Posts: 300
From: Rocklin, CA
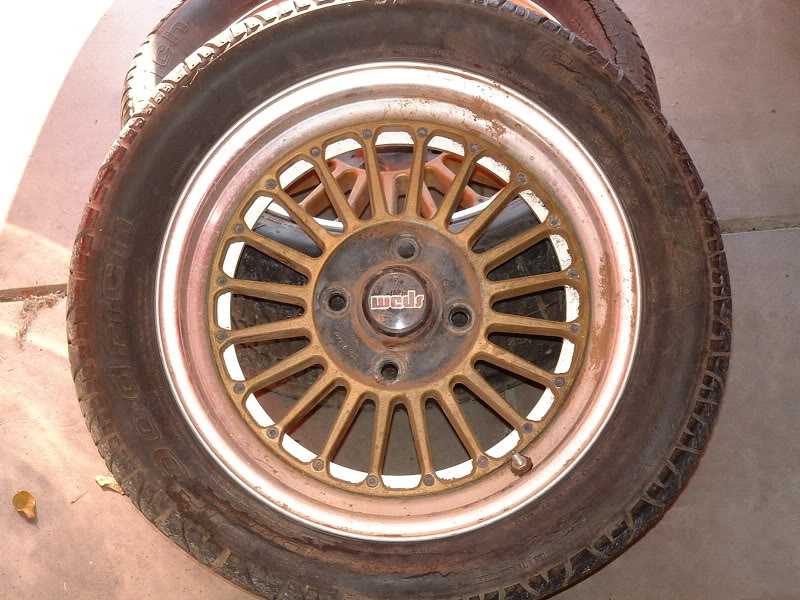
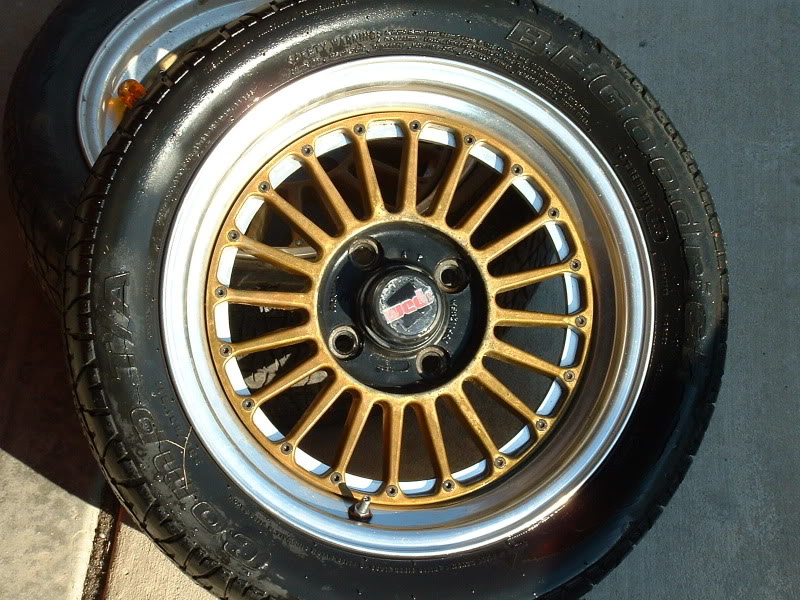
Ok, I only had a couple of hours to work on the PA this morning but here's what I got done. I pulled the Weds off so I can get the rotted tires removed. Then they are going to get taken apart so I can get the dishes re-polished and get the center section re-powder coated. I'm also going to see if I can find a shop that can re-work the center caps. They are starting to show their age.
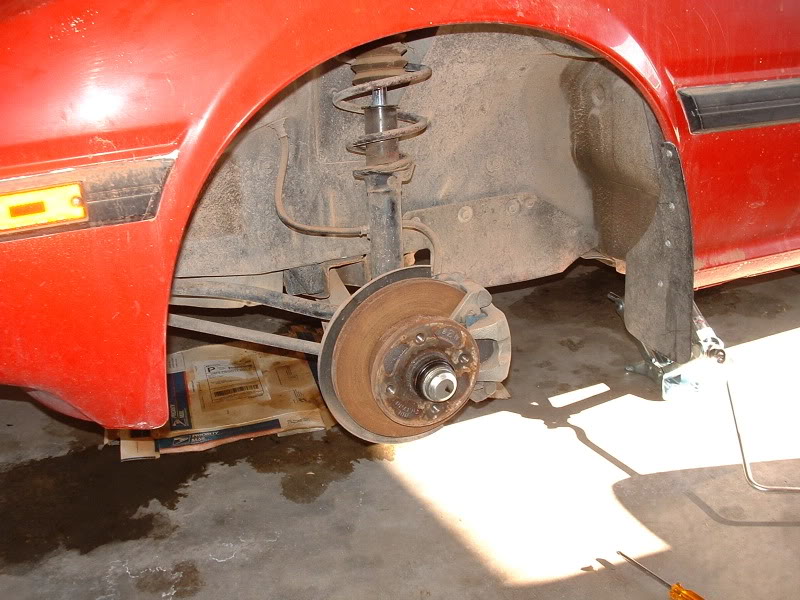
Front wheel well:
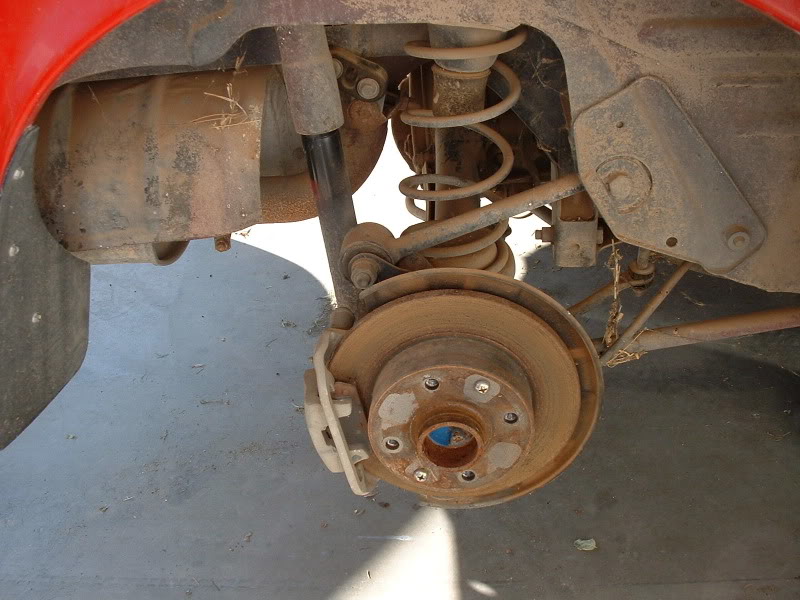
Rear wheel well:
Dirty wheels off the car:
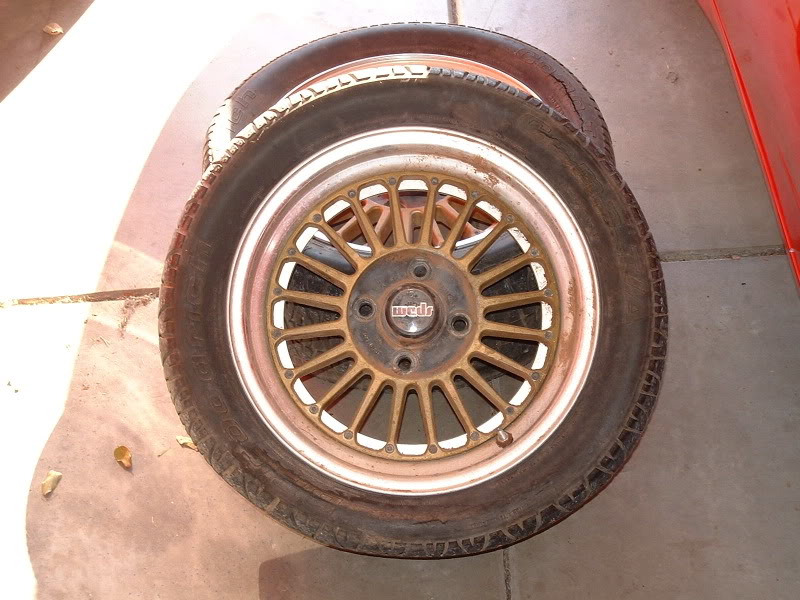
One clean wheel after simply rinsing it off for a couple of minutes:
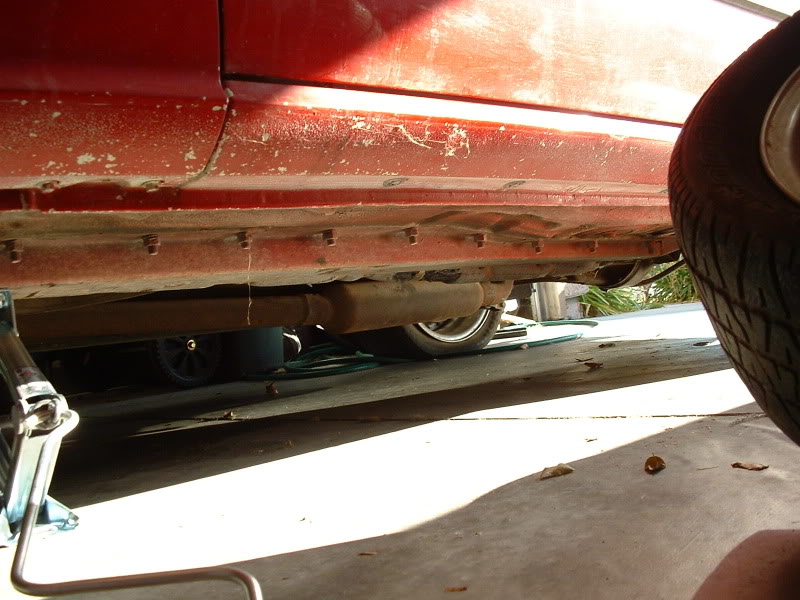
Check out the added bracing they bolted onto the bottom of the car:
Front wheel well:
Rear wheel well:
Dirty wheels off the car:
One clean wheel after simply rinsing it off for a couple of minutes:
Check out the added bracing they bolted onto the bottom of the car:
Thread Starter
Senior Member
Joined: Dec 2002
Posts: 300
From: Rocklin, CA
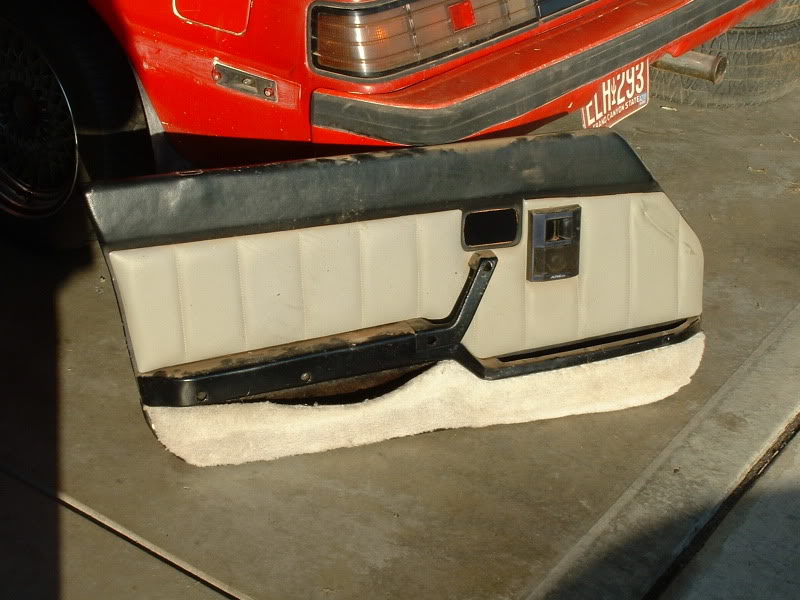
Then I went ahead and pulled the driver's door panel off and took it apart. This way I can get the original cardboard panel replaced with new cardboard. I'm also going to get the carpet and grey vinyl replaced with new material. Everything else should be perfect again once I get a chance to clean it really well.
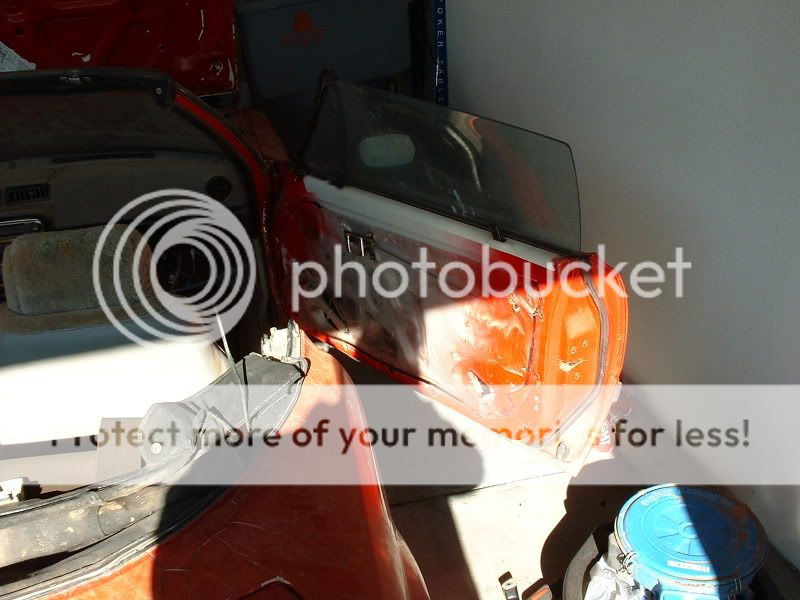
Driver's door panel installed:
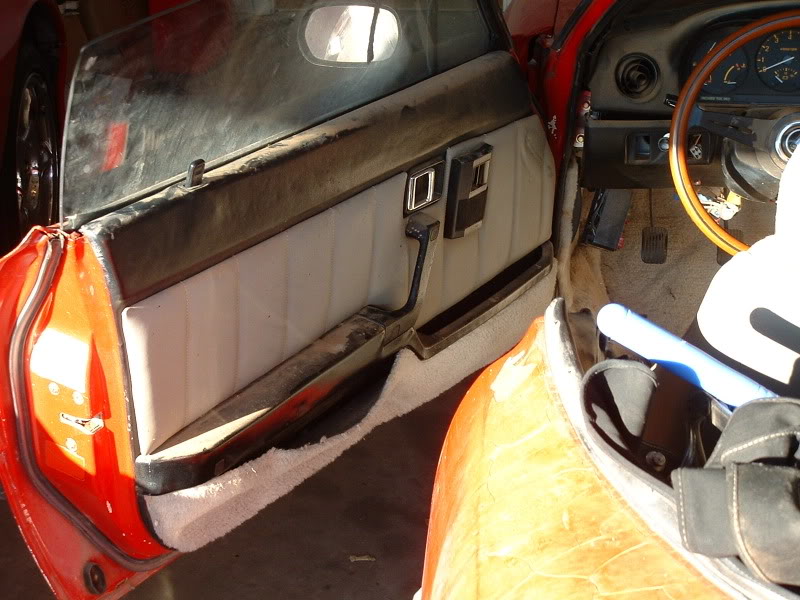
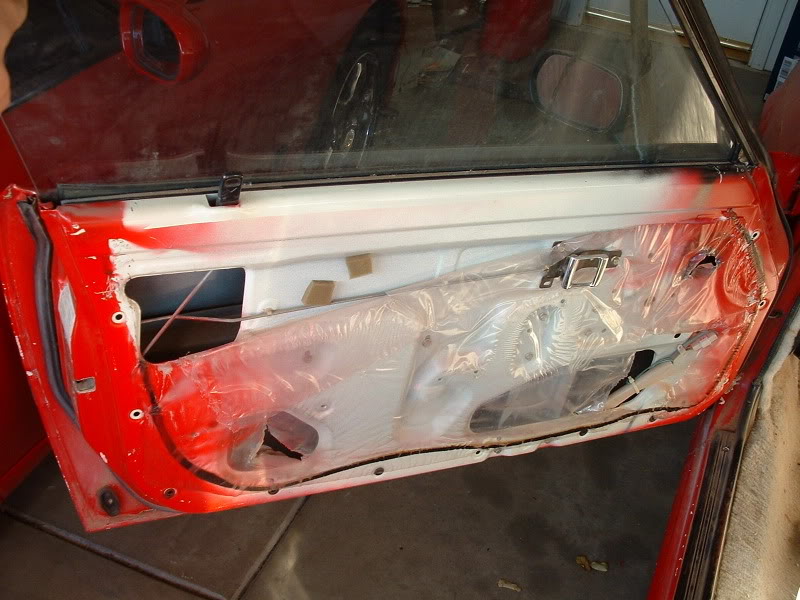
Driver's door without the panel. I guess this makes it official that the car was white when it left Mazda:
Door panel in one piece:
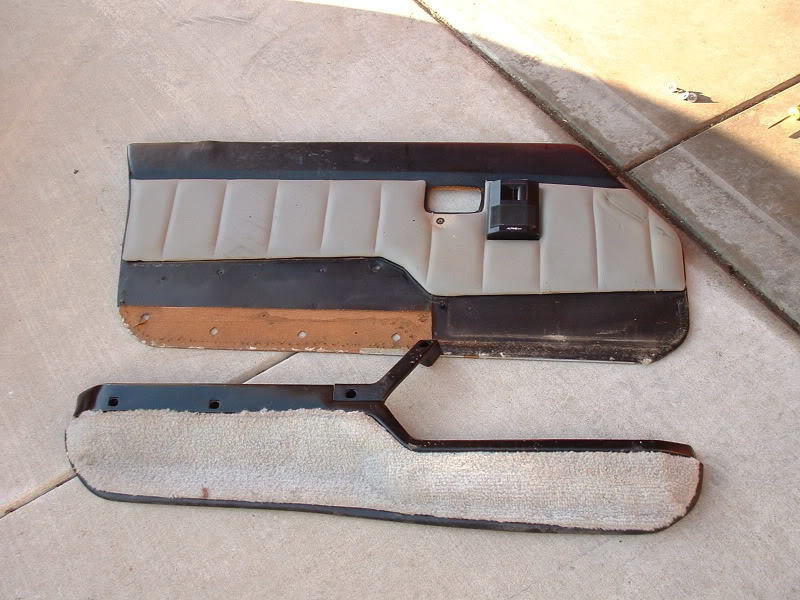
Door panel in two pieces:
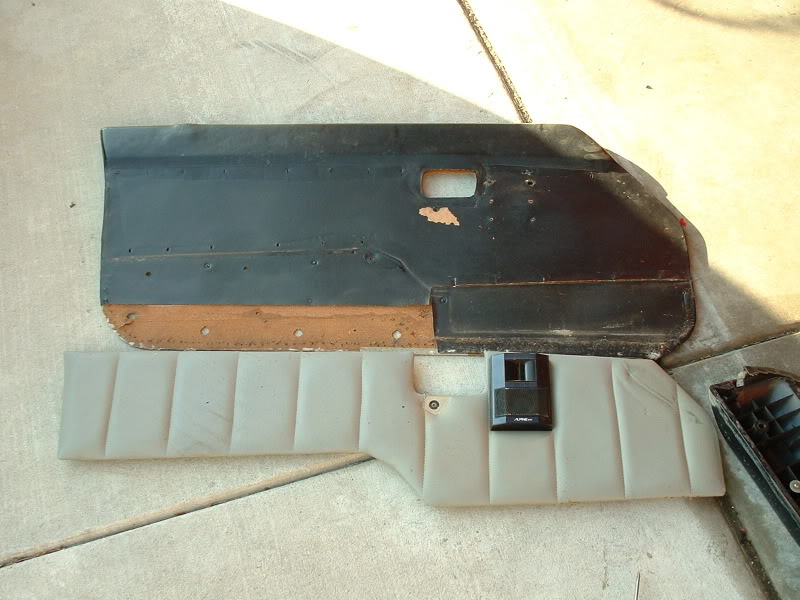
Door panel in three pieces:
And door panel fully torn down:
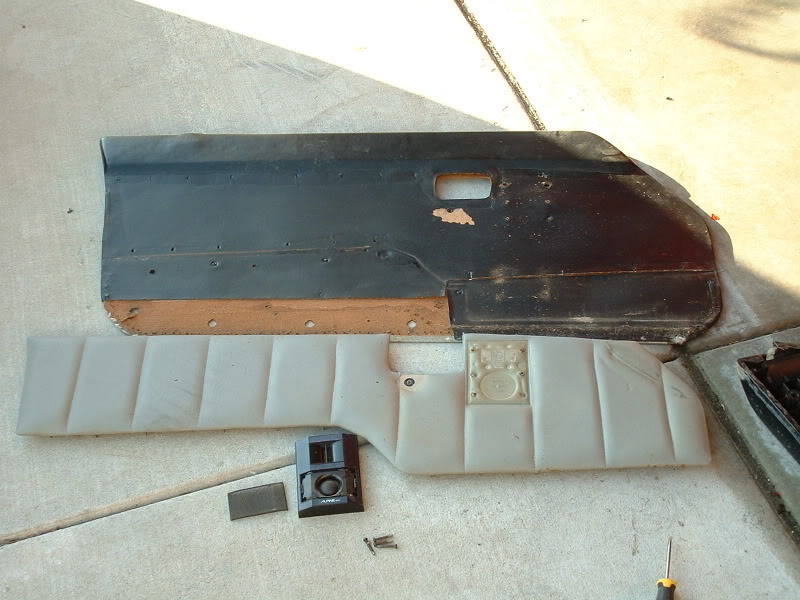
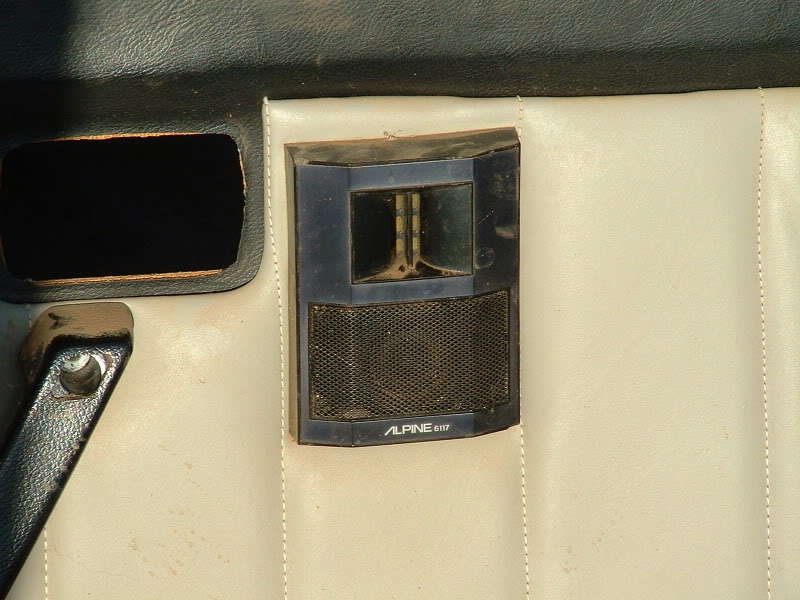
Here's the Alpine speaker pod that was on the door. It holds an electrostatic tweeter as well as a soft dome. Seems to be some really nice gear, especially when you consider how old it is:
This is the only work I got accomplished today. I'm sure that I'll have more progress to speak of after tomorrow. I'm not sure what I'm going to do but other than take off the passenger door panel and remove the speaker pods from where the storage bins would've been in a normal FB. I might remove the speaker pods on the front kick panels too. I'm going to talk to Elemental Designs about new speakers that will fit behind the original Alpine grills.
Zach
Driver's door panel installed:
Driver's door without the panel. I guess this makes it official that the car was white when it left Mazda:
Door panel in one piece:
Door panel in two pieces:
Door panel in three pieces:
And door panel fully torn down:
Here's the Alpine speaker pod that was on the door. It holds an electrostatic tweeter as well as a soft dome. Seems to be some really nice gear, especially when you consider how old it is:
This is the only work I got accomplished today. I'm sure that I'll have more progress to speak of after tomorrow. I'm not sure what I'm going to do but other than take off the passenger door panel and remove the speaker pods from where the storage bins would've been in a normal FB. I might remove the speaker pods on the front kick panels too. I'm going to talk to Elemental Designs about new speakers that will fit behind the original Alpine grills.
Zach

Member
Joined: Jun 2005
Posts: 69
wow. some quick work! nice! But, just a point of interest for me... could you snap pistures of ALL the reinforcements they made??? When I've got money and time to blow on my car sometime in teh future, I love the look of the targa roof... and really wanted to know what these guys did to strengthen the frame enough to make it a convertible so I'll know when the time comes. If not, no biggy but thanks! The pics are awesome so far, and I'm sure you'll never regret taking this many of a buildup!
Thread Starter
Senior Member
Joined: Dec 2002
Posts: 300
From: Rocklin, CA
Next time I have the car up on jack stands or on a lift I'll get underneath it and take pictures of the bracing. It will probably be easiest when I pull the motor and tranny though. I was actually planning on posting up pictures of the bracing so people could see just how much work went into making this car back when it was new.
Yeah, I have only posted about 20% of the pictures I've taken so far. I typically take 40+ pics everytime I do anything to the car. I want to make sure that every detail is documented for two reasons. 1. So I have a good record of what I did. 2. So if I ever need to remake anything I know exactly what it is supposed to look like and where it goes. It pays to be **** retentive sometimes.
Zach
Yeah, I have only posted about 20% of the pictures I've taken so far.
Zach
Thread Starter
Senior Member
Joined: Dec 2002
Posts: 300
From: Rocklin, CA
UPDATE TIME!!
I started off by removing the passenger door panel just like I did the driver's door panel yesterday. Nothing new to speak of there. I did notice that I counted wrong the first time I did a count on the Alpine audio system. It's a 10 speaker system instead of 8 like I originally thought. This car was WAY ahead of it's time! Here's a pic of the passenger door just for posterities sake though.
Then I started work on removing the speaker pods where the stock storage bins would normally be. And did I ever find one hell of a surprise once I got that stuff out!! Here are the pods before I got them out.
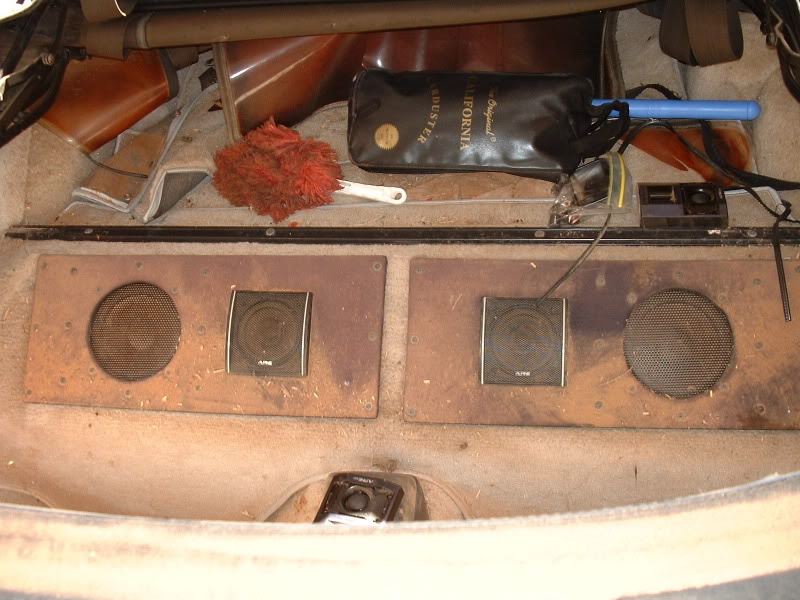
After I got them out. Here's the passenger's side pod.

And the rear shot
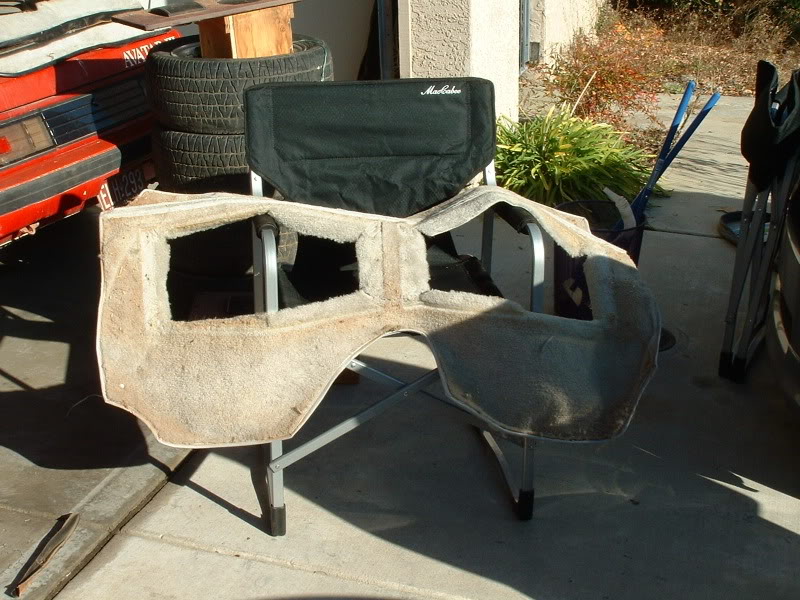
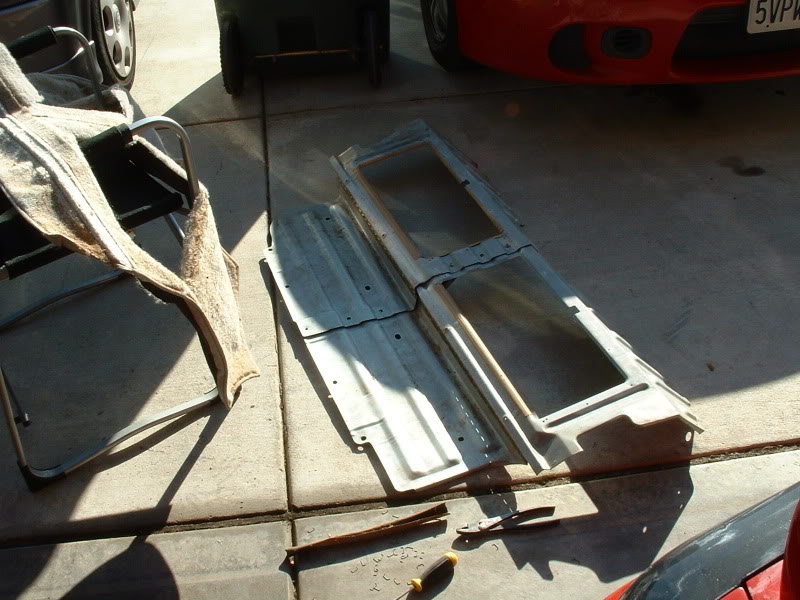
Here's the carpet that covered the whole area. And the second picture is the metal frame work that was under the carpet.
To be continued in my next post.
I started off by removing the passenger door panel just like I did the driver's door panel yesterday. Nothing new to speak of there.
Then I started work on removing the speaker pods where the stock storage bins would normally be. And did I ever find one hell of a surprise once I got that stuff out!! Here are the pods before I got them out.
After I got them out. Here's the passenger's side pod.
And the rear shot
Here's the carpet that covered the whole area. And the second picture is the metal frame work that was under the carpet.
To be continued in my next post.
Thread Starter
Senior Member
Joined: Dec 2002
Posts: 300
From: Rocklin, CA
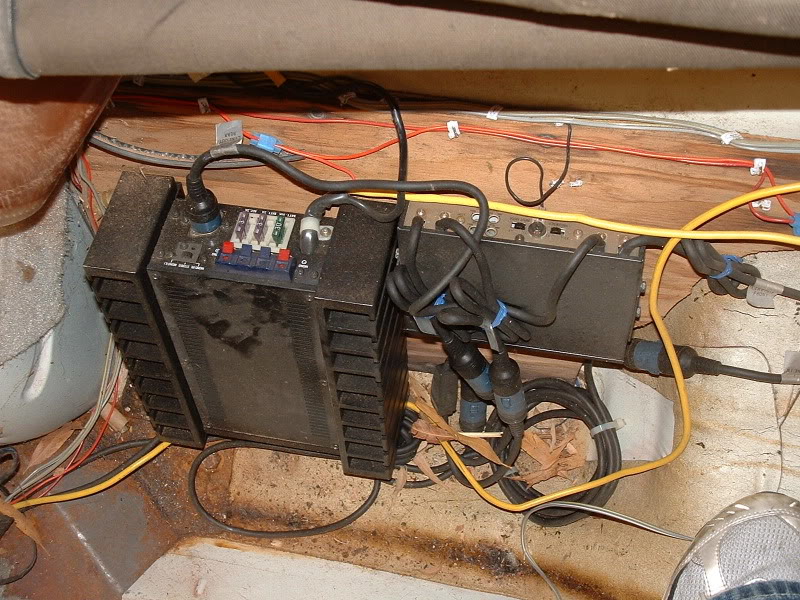
Here's what was hiding behind those rear speaker pods. This really blew me away. I bet this was one of the best audio systems in any car in 1983!! 3 amps and a pre-amp to split the signal up. PA really went all out with this system. I think I am actually going to email Alpine and show them what I have here. Then ask them if I could send them all of the speakers and amps and have them refurb the amps and replace all the drivers with new ones.
The amplifier setup:
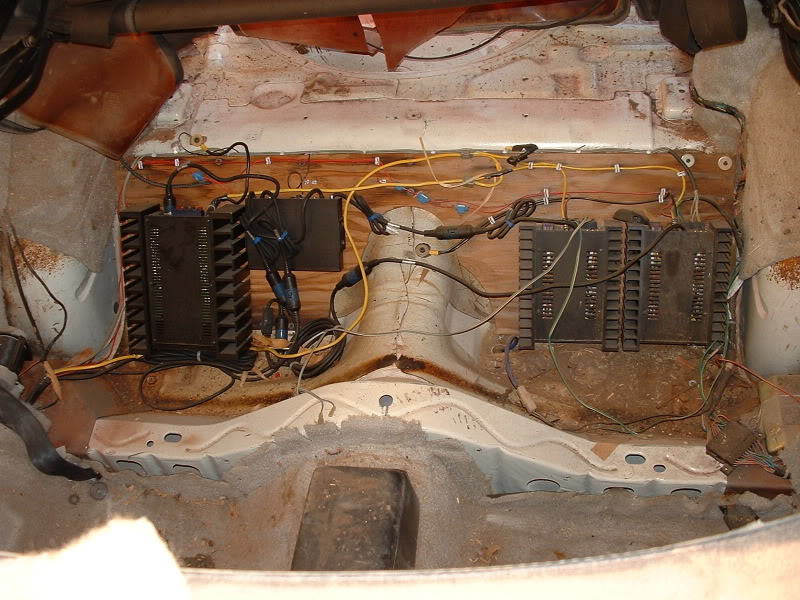
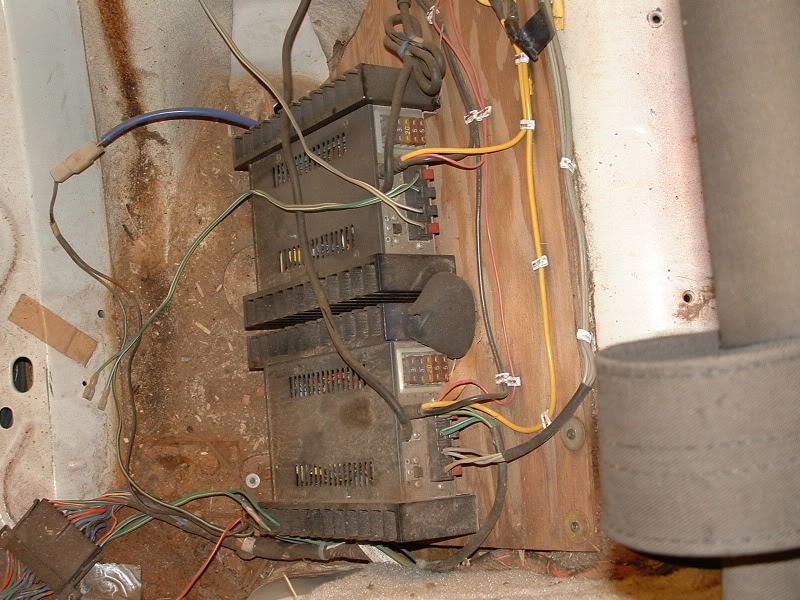
And the top of the amps and pre-amp:
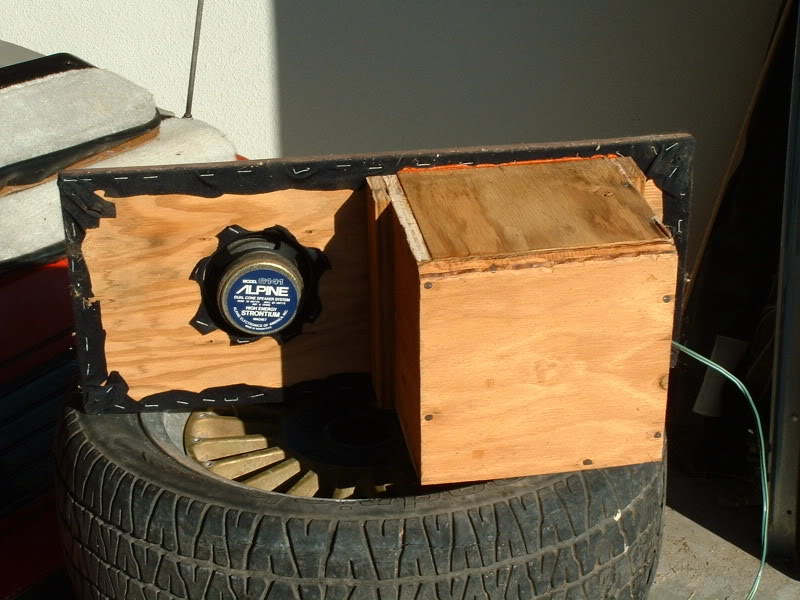
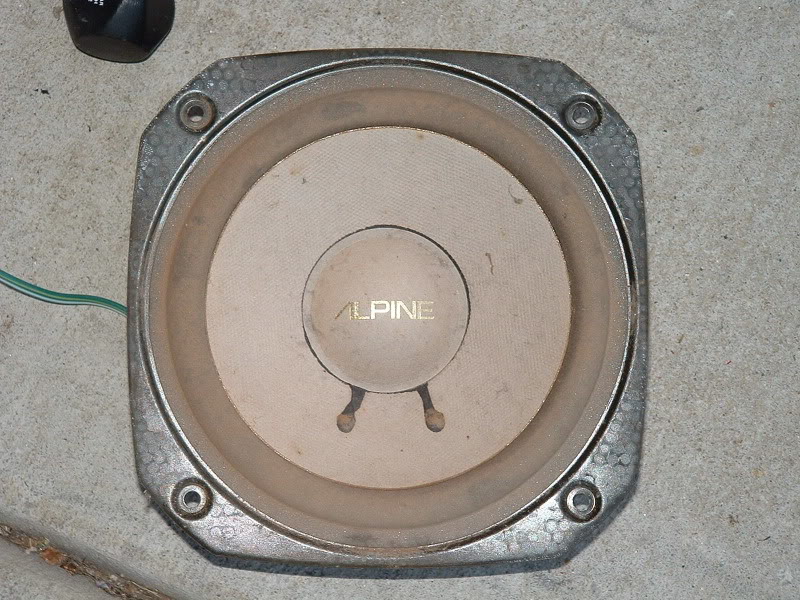
Here's the 6.5" subwoofer that was in the rear pod:
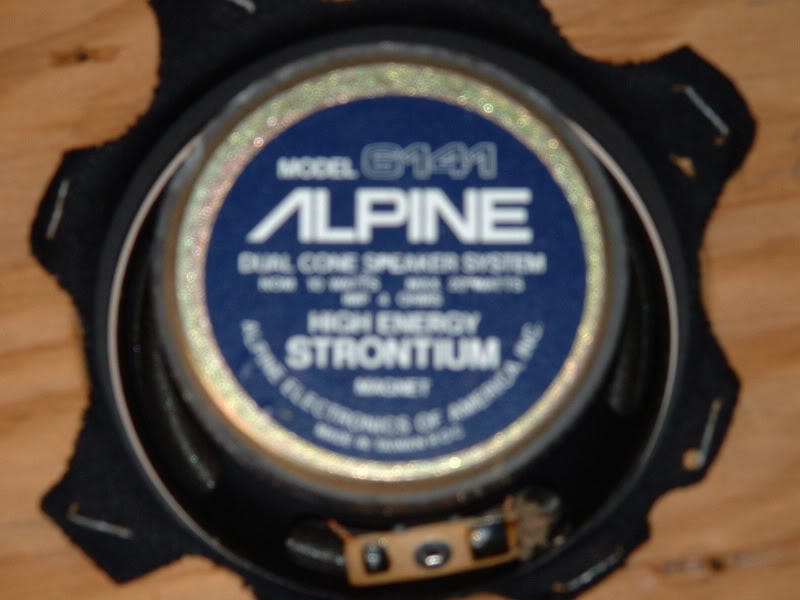
And the 4" full range that was in the same pod:
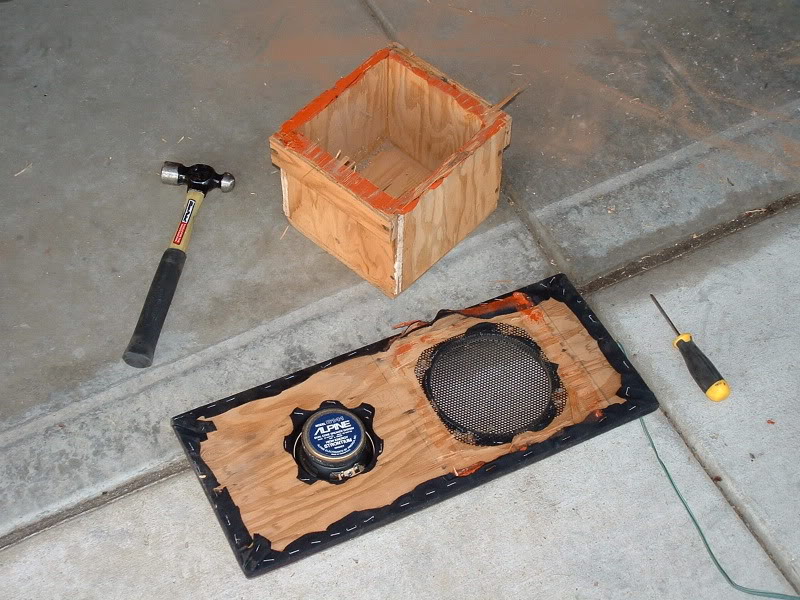
And here's the pod once I got it apart:
The trunk is next!!
The amplifier setup:
And the top of the amps and pre-amp:
Here's the 6.5" subwoofer that was in the rear pod:
And the 4" full range that was in the same pod:
And here's the pod once I got it apart:
The trunk is next!!
Thread Starter
Senior Member
Joined: Dec 2002
Posts: 300
From: Rocklin, CA
Here's the trunk:
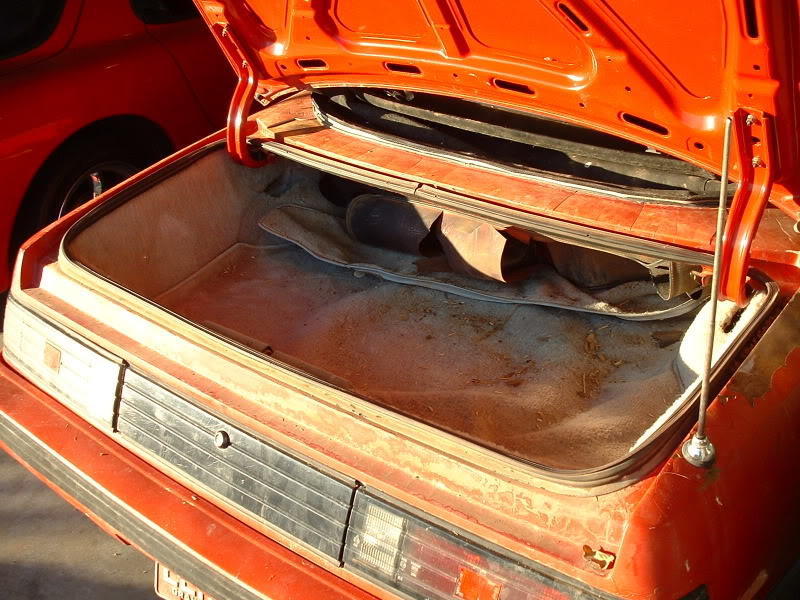
Without the carpet or insulation mat installed:

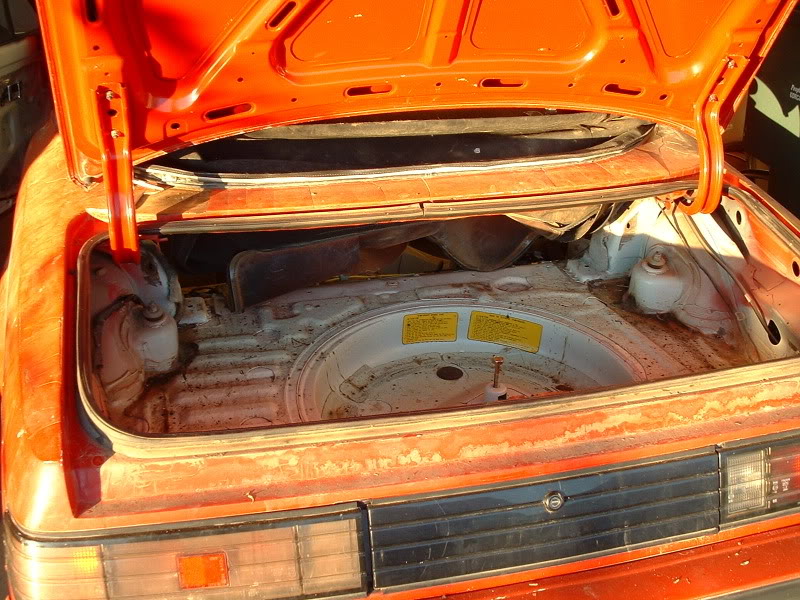
And now for yet another part that really impressed me. When I went to remove the carpet from the sides of the trunk I found that they made custom panels for most of it. In total there are 7 carpeted panels that make up the side and rear walls of the trunk. PA had incredible attention to detail!!
Here's the empty trunk now that all of the carpeting has been removed:
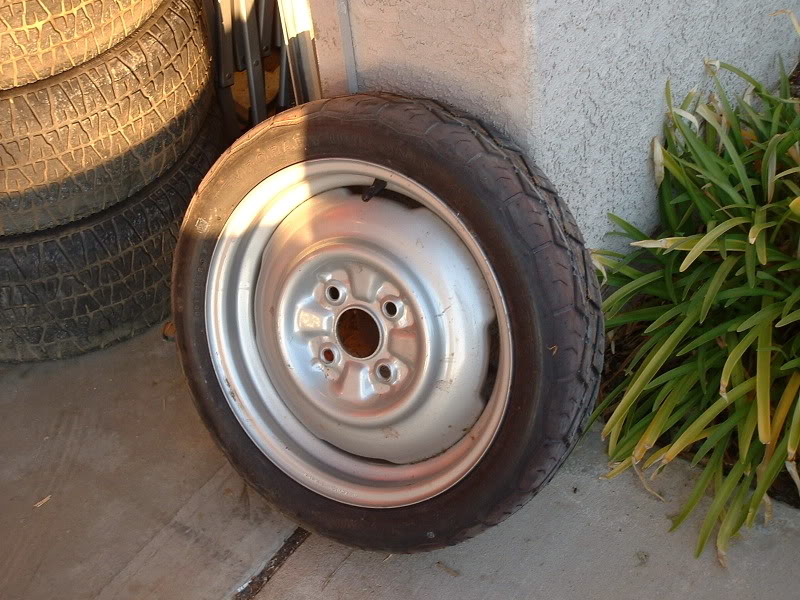
And finally my spare tire. The tread pattern on this tire looks odd. Like it isn't the original tire.
I made some pretty decent progress today. I still only had about 4 hours to work on the car though. But it should go back together as quick as it came apart. I have a seperate labeled zip lock bag for the hardware from each seperate area that I work on. This will really be helpful when it comes time to re-assemble the car! Thanks for reading through my most recent batch of updates. I'll be working 12 hour shifts and I'll be training still all this week so I won't be working on the car until next weekend. But if you have any questions ask them and I'll answer as best I can.
Zach
Without the carpet or insulation mat installed:
And now for yet another part that really impressed me. When I went to remove the carpet from the sides of the trunk I found that they made custom panels for most of it. In total there are 7 carpeted panels that make up the side and rear walls of the trunk. PA had incredible attention to detail!!
Here's the empty trunk now that all of the carpeting has been removed:
And finally my spare tire. The tread pattern on this tire looks odd. Like it isn't the original tire.
I made some pretty decent progress today. I still only had about 4 hours to work on the car though. But it should go back together as quick as it came apart. I have a seperate labeled zip lock bag for the hardware from each seperate area that I work on. This will really be helpful when it comes time to re-assemble the car! Thanks for reading through my most recent batch of updates. I'll be working 12 hour shifts and I'll be training still all this week so I won't be working on the car until next weekend. But if you have any questions ask them and I'll answer as best I can.
Zach