S4 6pt motor build large Sp and some more build tips
 05-01-2007, 09:56 PM
#1
Senior Member
Thread Starter

Join Date: Aug 2005
Location: Freeport FL
Posts: 381
Last time we covered all the pre build inspections and cleaning but did not get to the assembly. I will touch in that a tad bi this time maybe you can pick up a few more things.
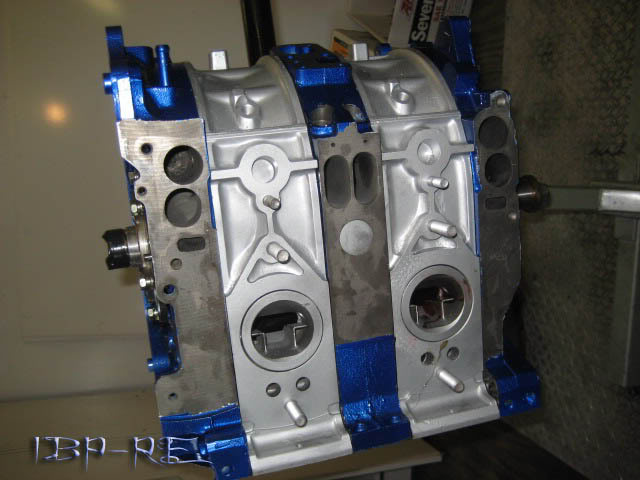
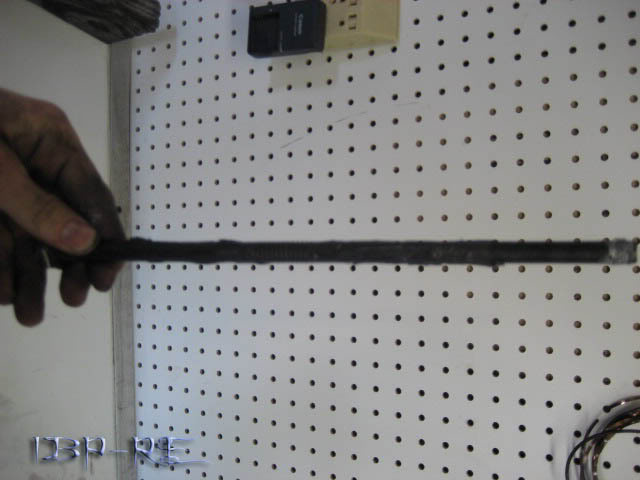
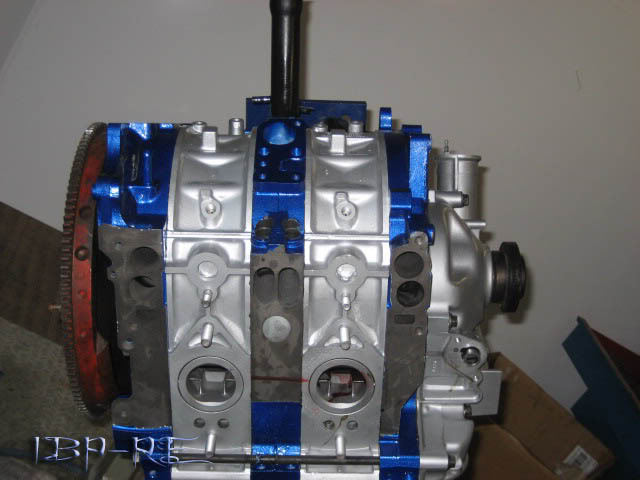
Here is our motor parts ready to be assembled and the rotors have been built. We covered this last time on checking side seals corner seals and clearance between them. Please see the Archives for this information.
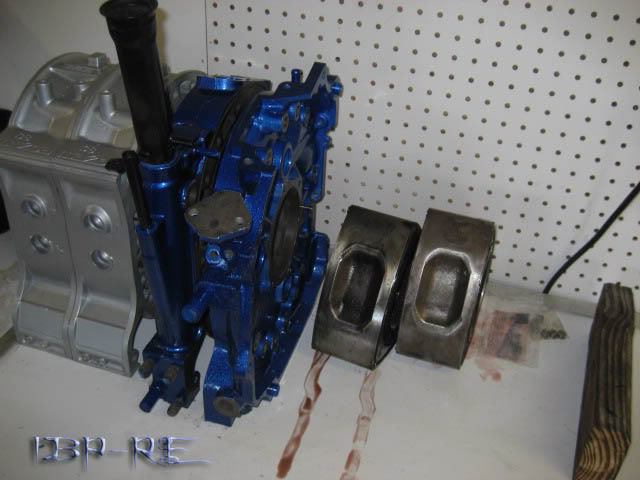
I took pics but they loaded on another computer that is down right now on assembling the oil control orings. I will try and talk this one out. I take the control ring and pore 20x50 royal purple in a cap poring it down the grove to coat the ring. Add a few dabs of patrolium to help stick the oring and coat the oring in the oil to coat it. Place the oring into or around the control ring rub fingers around lube it really well. See the FSM or Haynes on what way to place the oil control orings into the rotors then spread a light coat of assembly lube in the groves and around the edges. We are trying to avoid any hot spots of metal when the motor heats up without lube and burn the oring up. If you add to much lube into the grove you will hydro lock the ring and you will not be bale to push the control ring into place. When you have seated it use a 2x4 and gently push the ring down into place, be sure to use the square notch in the ring to line up with the spring tab.
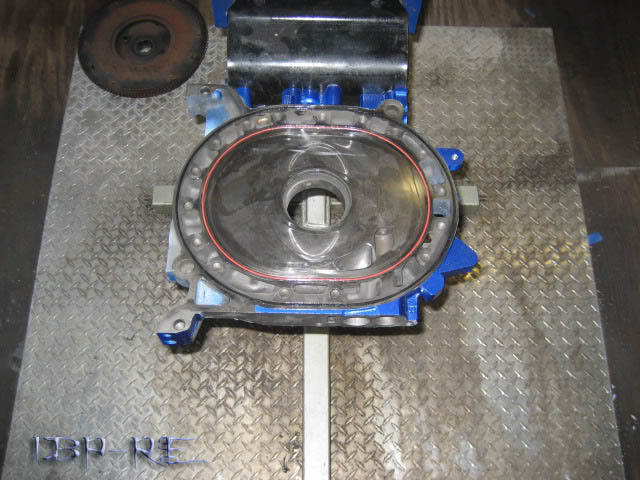
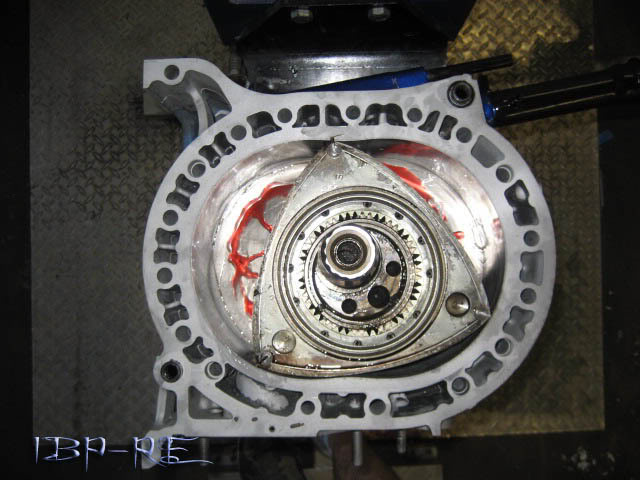
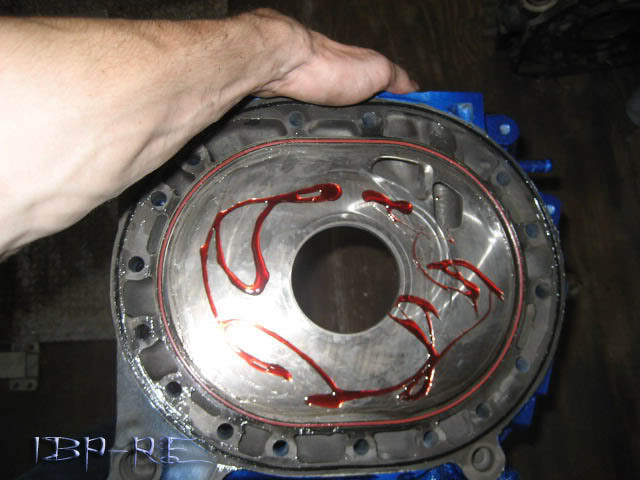
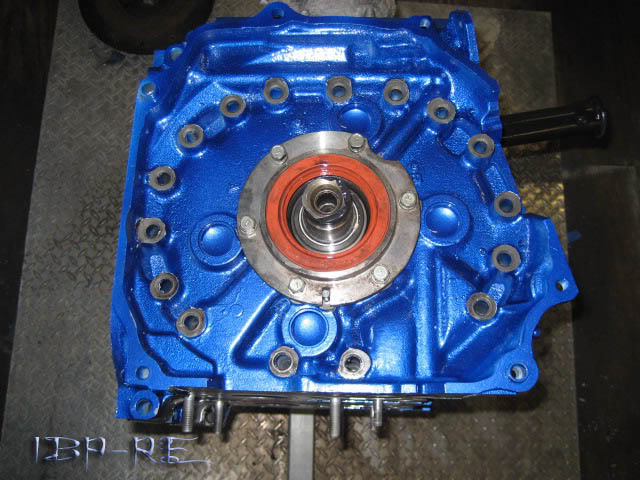
Now place our front Iron on the stand I use patrolium jelly or naval jelly to help hold the coolant seals in place. I do not use hylomar I do not like it and I think it could have some adverse affects on sealing or life potential.
The side seals pack in a few spots patrolium and place the seal in with the ends facing up then do this again for the seal to help hold them in place. Add some patrolium into the corner grove add the spring some more to hold the corner seal in next. Add some more into the apex groves and slide the apex seal in and install the springs after you place the rotor in the motor.
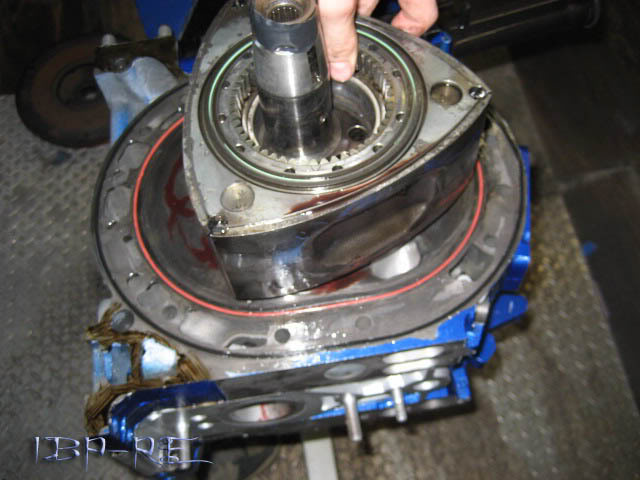
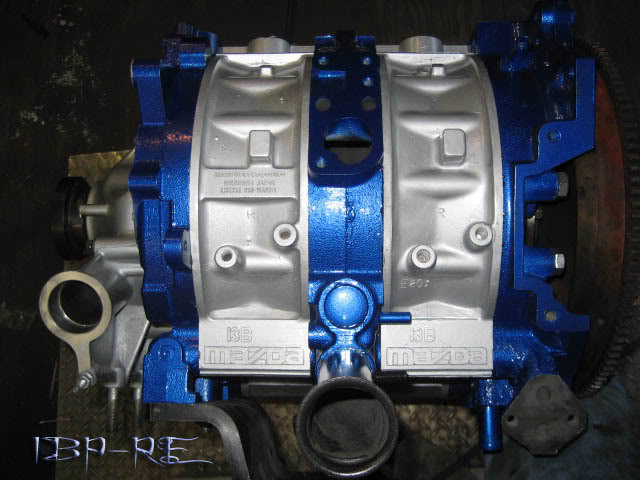
screw your stationary gear in place the rotor in and then work the shaft down. I lube all the bearings and shaft with patrolium. Now is the time to place the springs into the grove little one first then push the big one in.
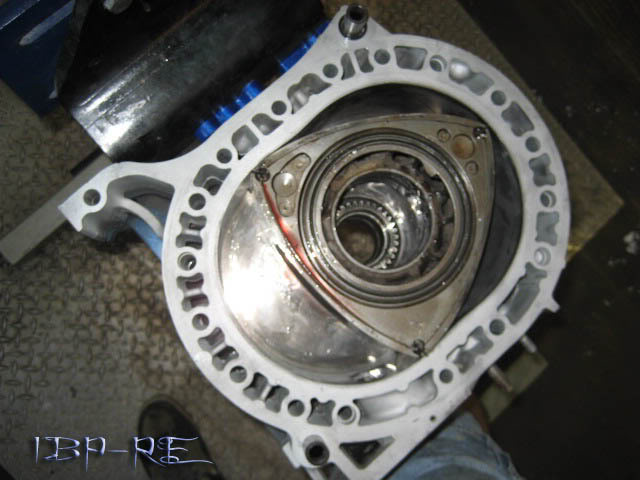
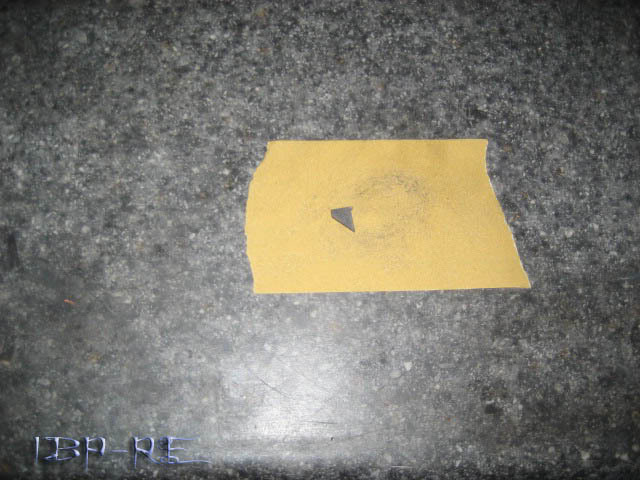
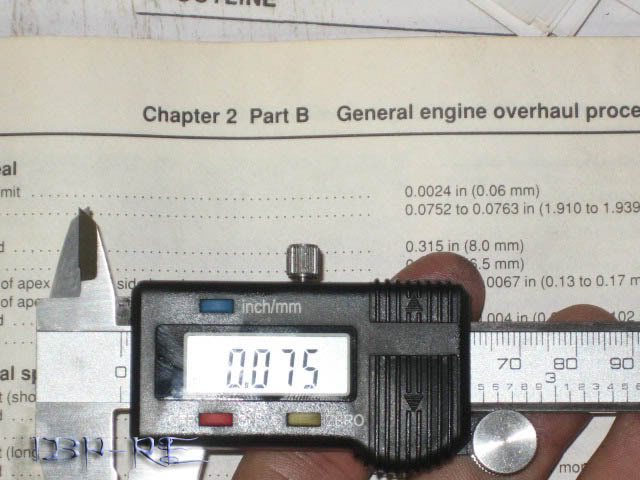
This motor was Atkins seals and they were to large so I needed to sand them and lap the side assist piece.
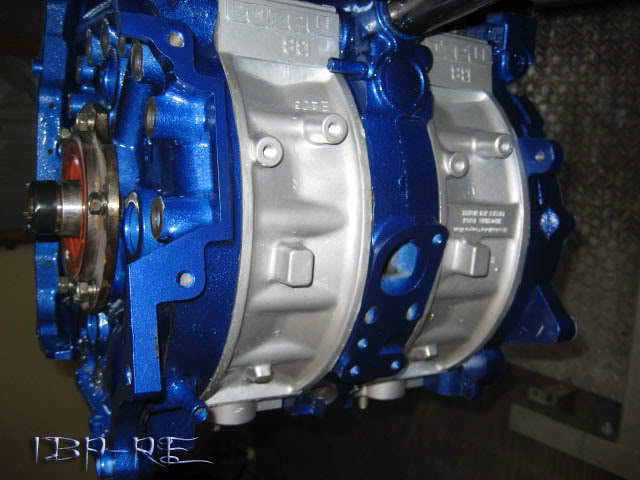
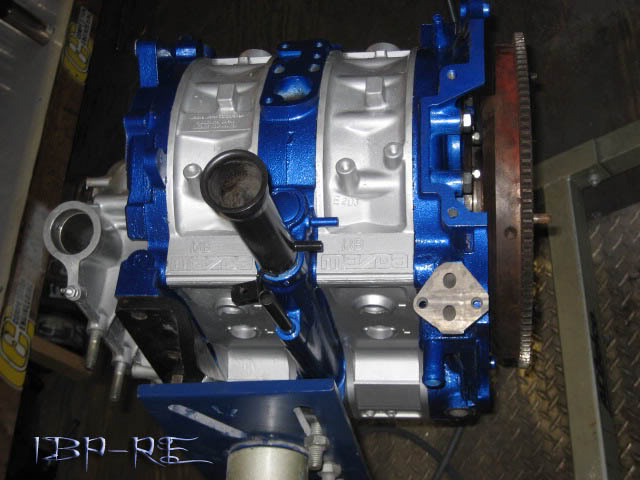
Now push the shaft up with your leg and have the lobe facing the intake port, gently rock on the int iron and lower them in a unit using the dowel pins as the seat guide. Don't forget the brush able RTV or Permatex 300 on the legs.
Slide the rotor down onto the shaft and place the rotor 180o off from the other one then slide the housing on.
Here is our motor parts ready to be assembled and the rotors have been built. We covered this last time on checking side seals corner seals and clearance between them. Please see the Archives for this information.
I took pics but they loaded on another computer that is down right now on assembling the oil control orings. I will try and talk this one out. I take the control ring and pore 20x50 royal purple in a cap poring it down the grove to coat the ring. Add a few dabs of patrolium to help stick the oring and coat the oring in the oil to coat it. Place the oring into or around the control ring rub fingers around lube it really well. See the FSM or Haynes on what way to place the oil control orings into the rotors then spread a light coat of assembly lube in the groves and around the edges. We are trying to avoid any hot spots of metal when the motor heats up without lube and burn the oring up. If you add to much lube into the grove you will hydro lock the ring and you will not be bale to push the control ring into place. When you have seated it use a 2x4 and gently push the ring down into place, be sure to use the square notch in the ring to line up with the spring tab.
Now place our front Iron on the stand I use patrolium jelly or naval jelly to help hold the coolant seals in place. I do not use hylomar I do not like it and I think it could have some adverse affects on sealing or life potential.
The side seals pack in a few spots patrolium and place the seal in with the ends facing up then do this again for the seal to help hold them in place. Add some patrolium into the corner grove add the spring some more to hold the corner seal in next. Add some more into the apex groves and slide the apex seal in and install the springs after you place the rotor in the motor.
screw your stationary gear in place the rotor in and then work the shaft down. I lube all the bearings and shaft with patrolium. Now is the time to place the springs into the grove little one first then push the big one in.
This motor was Atkins seals and they were to large so I needed to sand them and lap the side assist piece.
Now push the shaft up with your leg and have the lobe facing the intake port, gently rock on the int iron and lower them in a unit using the dowel pins as the seat guide. Don't forget the brush able RTV or Permatex 300 on the legs.
Slide the rotor down onto the shaft and place the rotor 180o off from the other one then slide the housing on.
 05-01-2007, 09:58 PM
#2
Senior Member
Thread Starter
Join Date: Aug 2005
Location: Freeport FL
Posts: 381
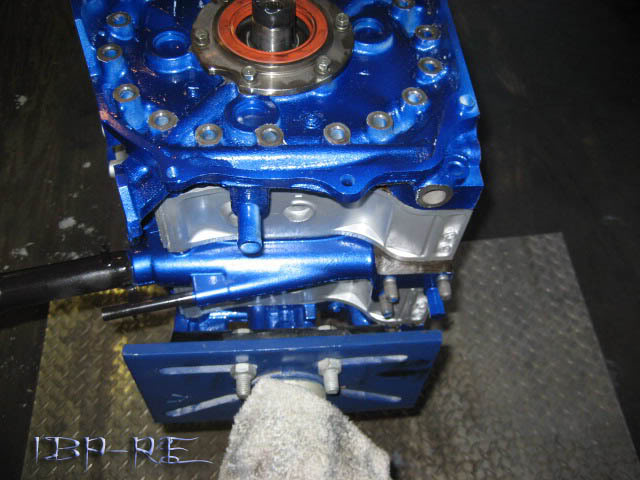
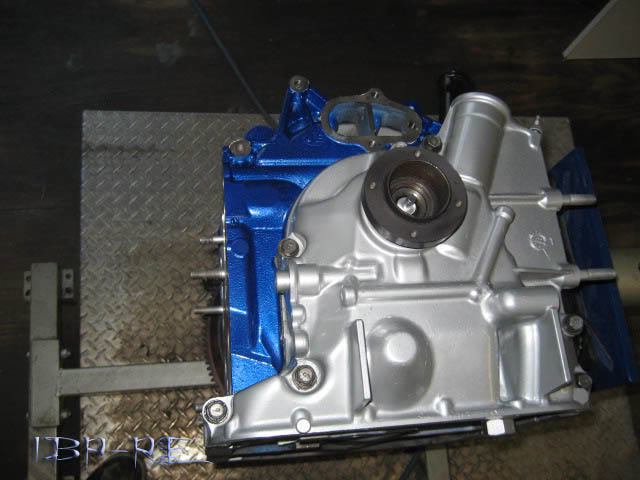
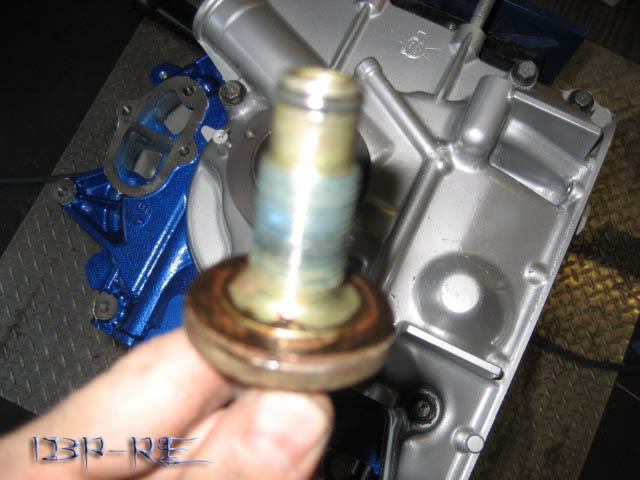
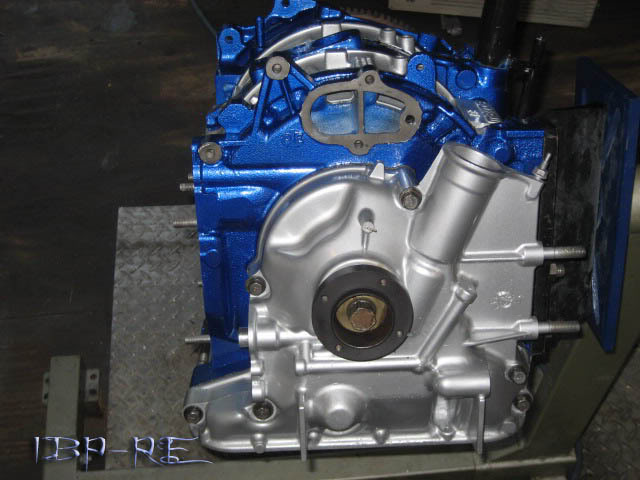
Coat the tension bolts with RTV and anti seize on the threads. Check the archived thread for proper dies to use.
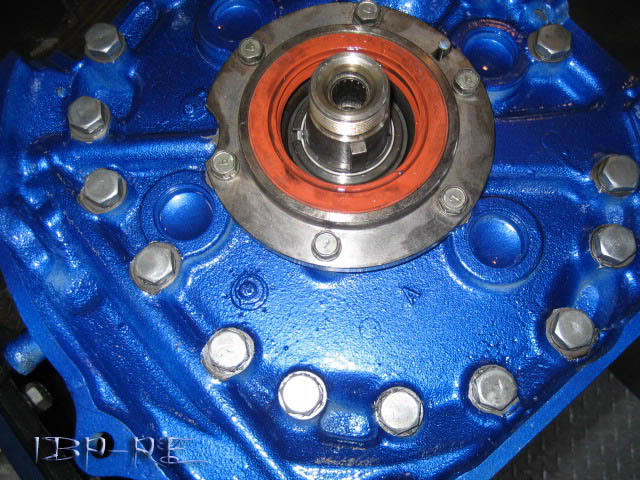
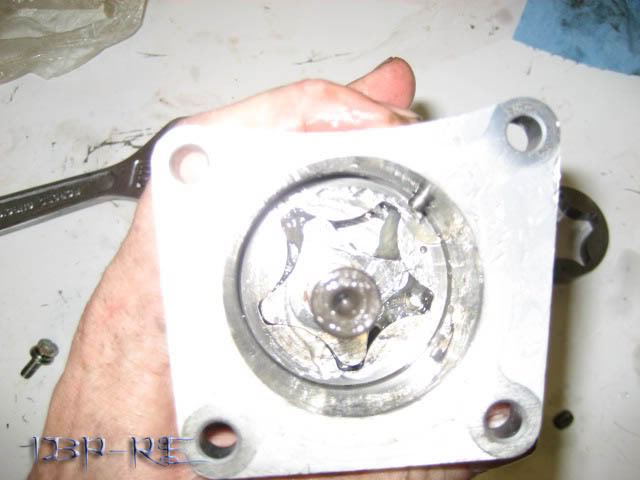
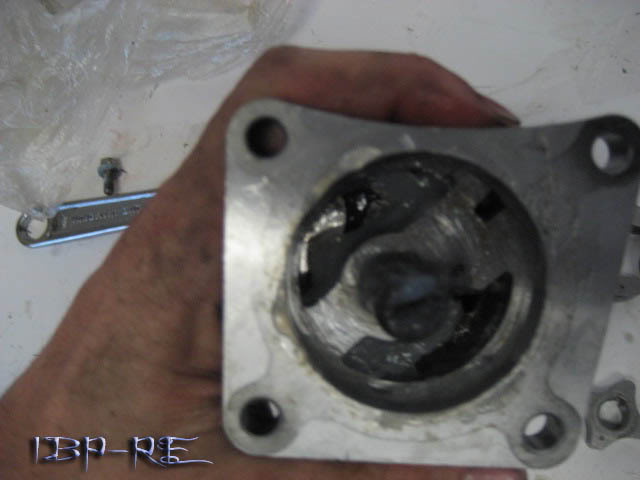
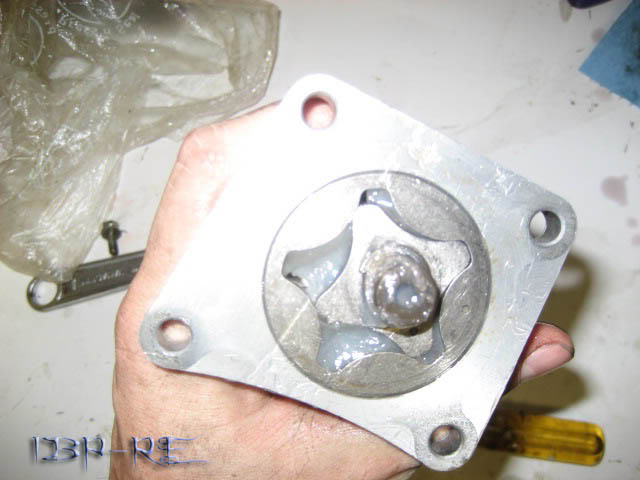
When you put the pump together take it apart pack it and lube everything with patrolium, this keeps the pump from running dry on start up.


 05-02-2007, 11:23 AM
#6
Senior Member

Join Date: Apr 2004
Location: Kincardine, Ontario Canada yeah Canada bitches
Posts: 1,068
Why would you "lap" the seals? You should use a file or a honing stone on the seal groove, not the seal it self, half the time it's crap that wasn't cleaned out.
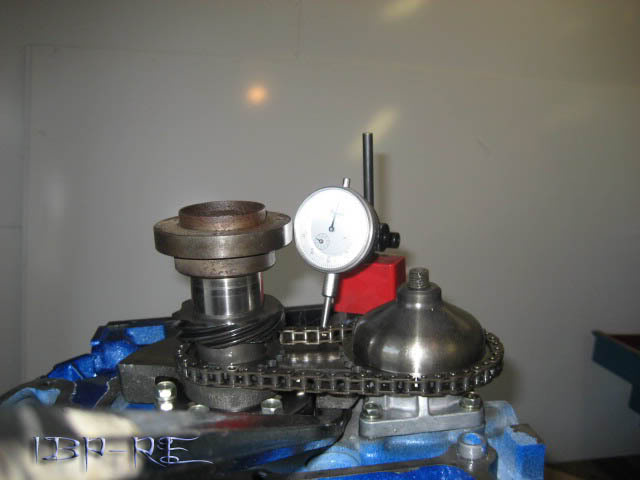
Where are you checking endplay? On the counter weight or on the chain?
Where are you checking endplay? On the counter weight or on the chain?
05-02-2007, 04:55 PM
#7
Senior Member
Thread Starter
Join Date: Aug 2005
Location: Freeport FL
Posts: 381
I do not know to be polite or slap you.
What idiot would even consider checking the end play on the chain?
The seal thickness was out of spec itself there are tolerances on the seal itself not just the grove and grove space. The seal needed to be lapped much like a side seal. You do not lap the sealing surface you lap the side for thickness.
05-02-2007, 09:58 PM
#8
Senior Member
Join Date: Apr 2004
Location: Kincardine, Ontario Canada yeah Canada bitches
Posts: 1,068
Originally Posted by iceblue' post='870246' date='May 2 2007, 04:55 PM
I do not know to be polite or slap you.
What idiot would even consider checking the end play on the chain?
The seal thickness was out of spec itself there are tolerances on the seal itself not just the grove and grove space. The seal needed to be lapped much like a side seal. You do not lap the sealing surface you lap the side for thickness.
No ****, I build my engine with Atkins seals they were perfectly in spec
(everyone of them, they are precision ground), I know how you lap something, and thats not it, you use an abrasive compound, not sandpaper, side seals are clearanced, not lapped.
05-02-2007, 10:08 PM
#9
Senior Member
Join Date: Apr 2004
Location: Kincardine, Ontario Canada yeah Canada bitches
Posts: 1,068
Actually I guess in some places using sandpaper is considered lapping, so I stand corrected, as for the chain I was asking out of shear curiosity, I meant nothing by it. I guess I can not be a dick head, who would have known?
05-02-2007, 10:27 PM
#10
Senior Member
Join Date: Apr 2004
Location: Kincardine, Ontario Canada yeah Canada bitches
Posts: 1,068
Ok screw it, I'll even give you clearancing the side seals as lapping, so I'll shut my mouth, even tho you lap to make things perfectly flat. I've done enough of it in trades school but terms are tossed around, so people use different meanings.
Seems the edit dealing isn't working...
Seems the edit dealing isn't working...

